
I’ve seen countless homes with perfectly lined-up wood floors. Same width. Same length. Same predictable pattern. It’s safe, sure, but it’s also boring.
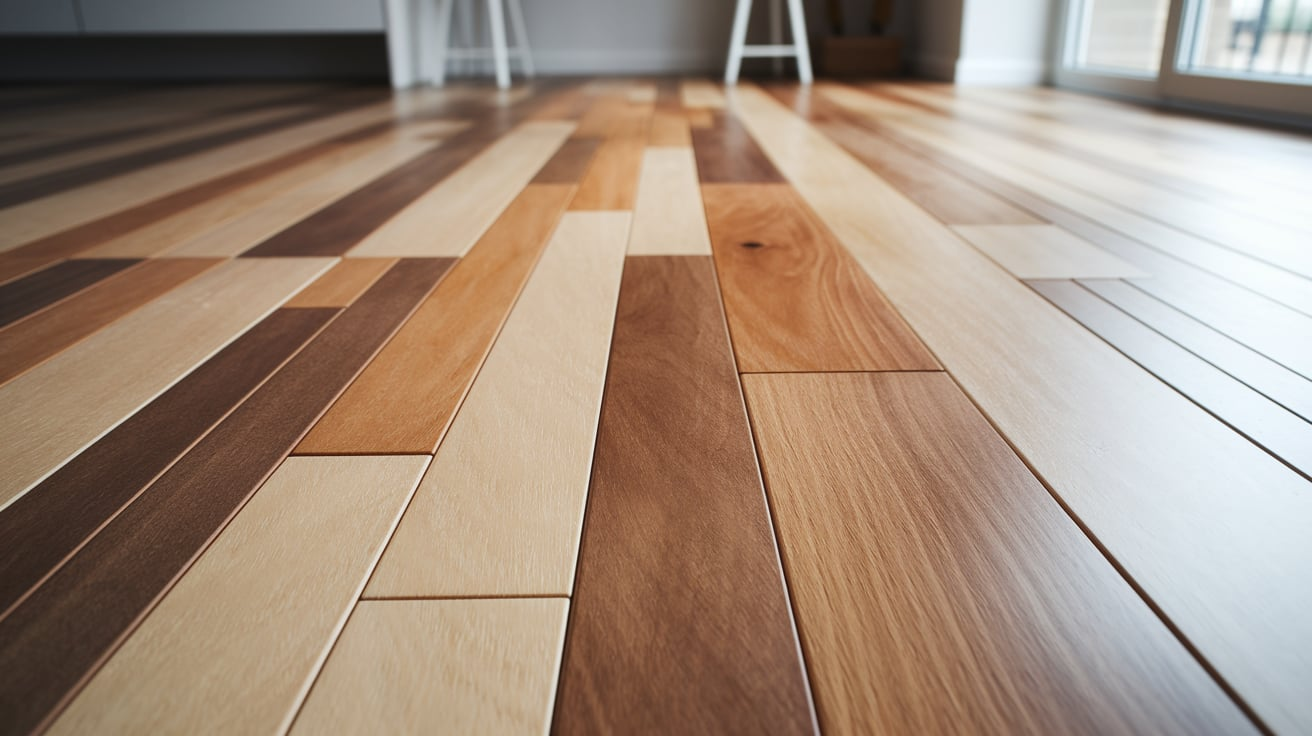
Random wood floor patterns change everything. They add character to your space. They make rooms feel alive and interesting. Instead of following strict rules, you mix things up. Different widths. Varied lengths. Unexpected combinations.
Start with compatible wood species. Oak, maple, and hickory work well together. They have similar hardness levels. This prevents uneven wear over time.
There’s no “wrong” way to do it. You can blend wood tones, mix materials, or play with angles. Each random pattern tells a unique story. Your floor becomes art instead of just something to walk on.
Today I’ll show you 11 creative ideas that will convert your space. These patterns work in any room. They suit different budgets and skill levels.
11 Random Wood Floor Pattern Ideas That Break the Boring Rules
Skip the standard wood floor layouts. These 11 creative patterns mix widths, lengths, and angles to create floors with real character and visual appeal.
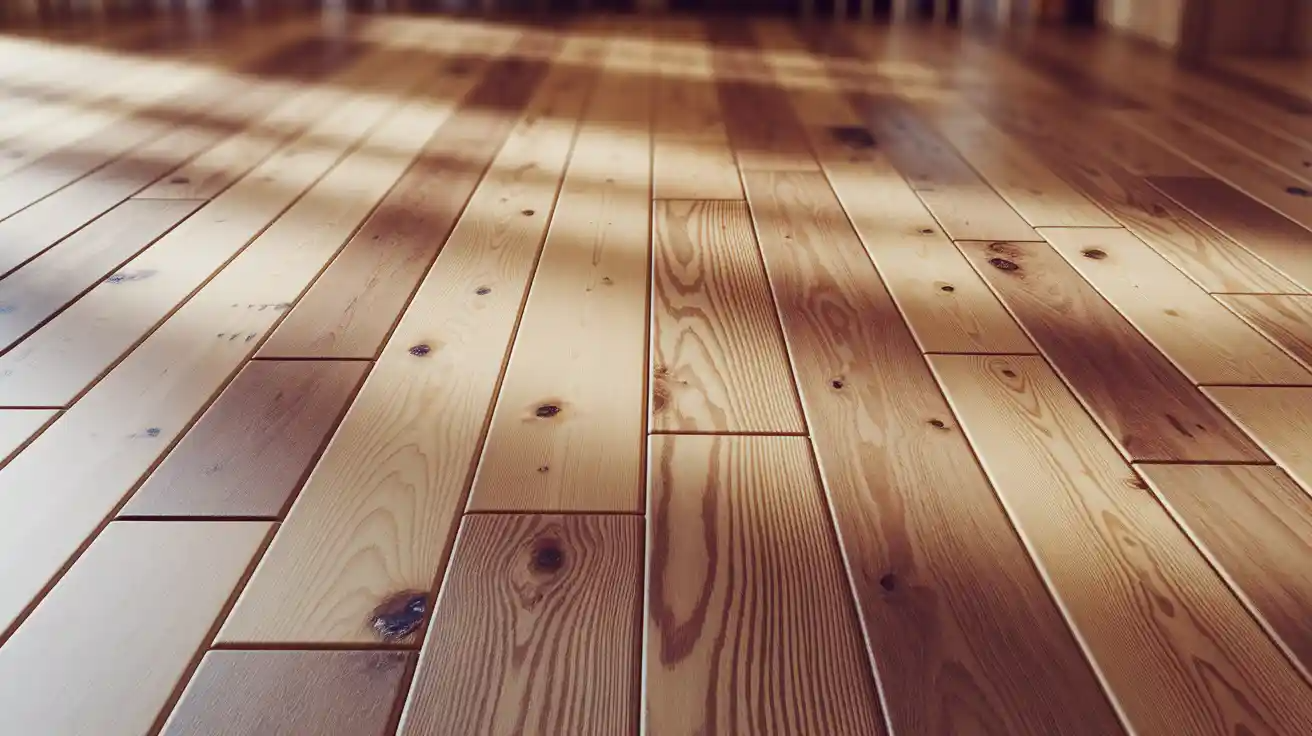
1. Mixed-Width Plank Layout
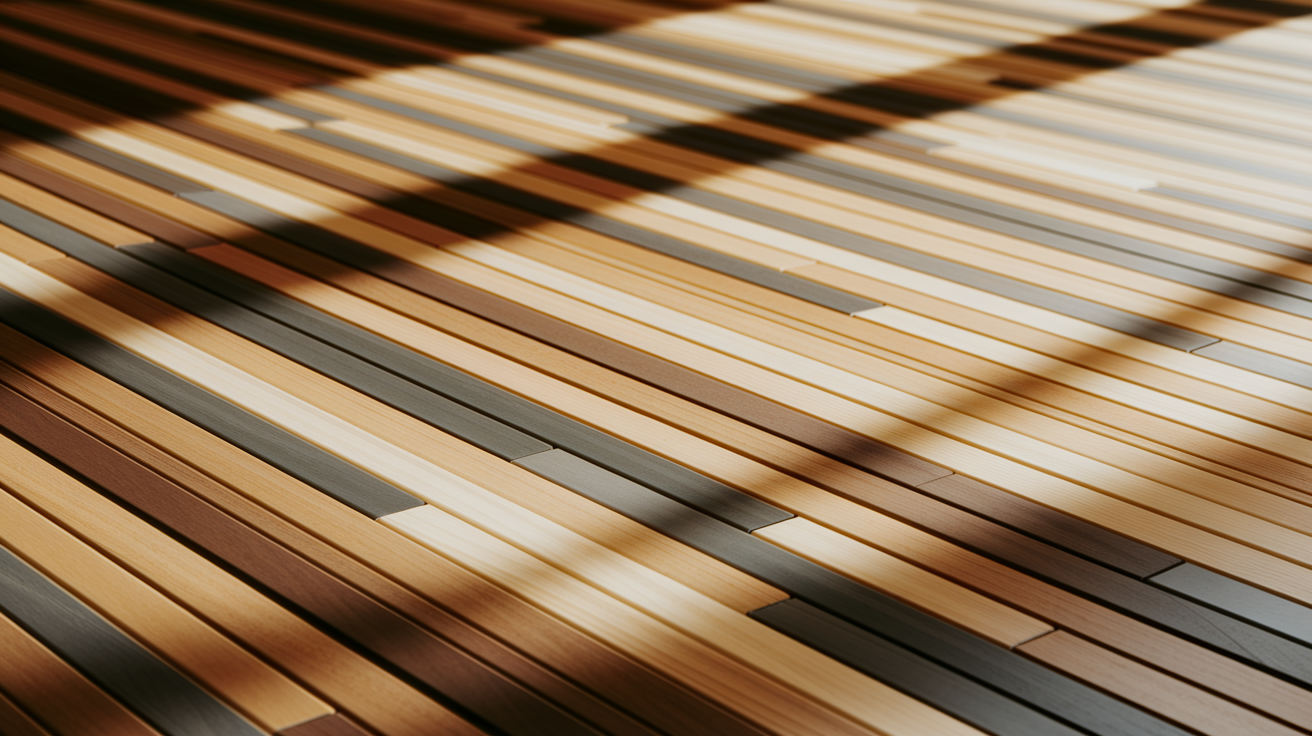
This pattern uses planks of different widths randomly placed. You might have 3-inch, 5-inch, and 7-inch boards all on one floor.
The result? A natural, organic feel. It mimics how wood naturally varies in the forest.
Installation tip: Keep wider boards away from walls. They can make rooms feel smaller. Use them in the center where they have space to breathe.
2. Random Staggered Joint Pattern
Forget about matching up joints every few rows. Instead, stagger them at irregular intervals.
Traditional floors repeat joint patterns every 6-8 inches. Random staggering breaks this rhythm. Your eye can’t predict where the next joint will fall.
This creates visual interest without adding cost. You use the same boards, just arranged differently.
3. Multi-Tone Wood Blending
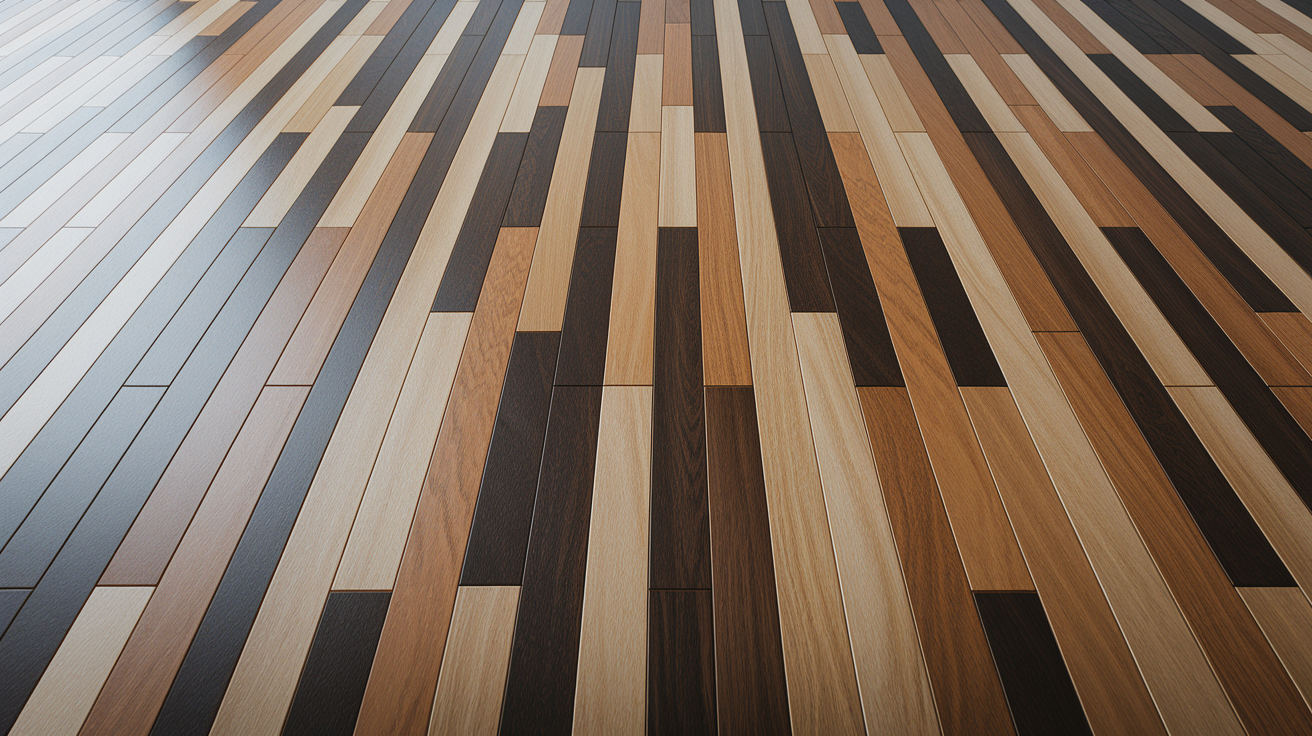
Mix different wood stains or species on one floor. Light oak next to dark walnut. Natural pine beside stained maple.
Start with woods of similar hardness. This prevents problems later. Sand everything to the same level before finishing.
The key is balance. Don’t cluster all dark boards in one area. Spread tones throughout the space.
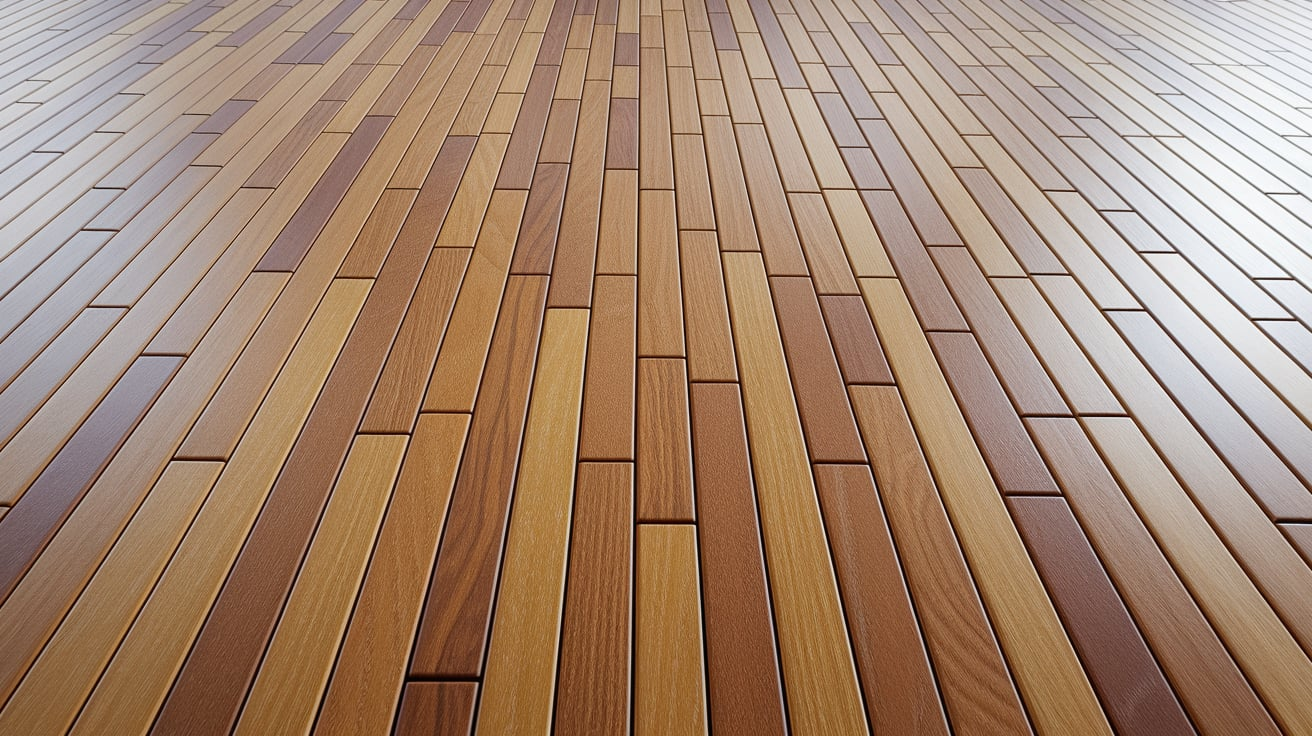
4. Random-Length Planks
Standard planks come in set lengths. Random-length patterns mix 12-inch, 24-inch, and 36-inch boards freely.
This creates an almost quilted appearance. Each area of your floor looks different. But it still flows as one unified design.
Buy planks in multiple lengths. Or cut longer boards into varied sizes. Save the offcuts for accent pieces.
5. Diagonal Random Layout
Turn your random pattern 45 degrees. Diagonal installation adds energy to any room.
This works especially well in narrow hallways. The diagonal lines make the space feel wider.
Start your installation from the center of the room. Work outward to maintain balance. You’ll need more cuts at the walls, but the effect is worth it.
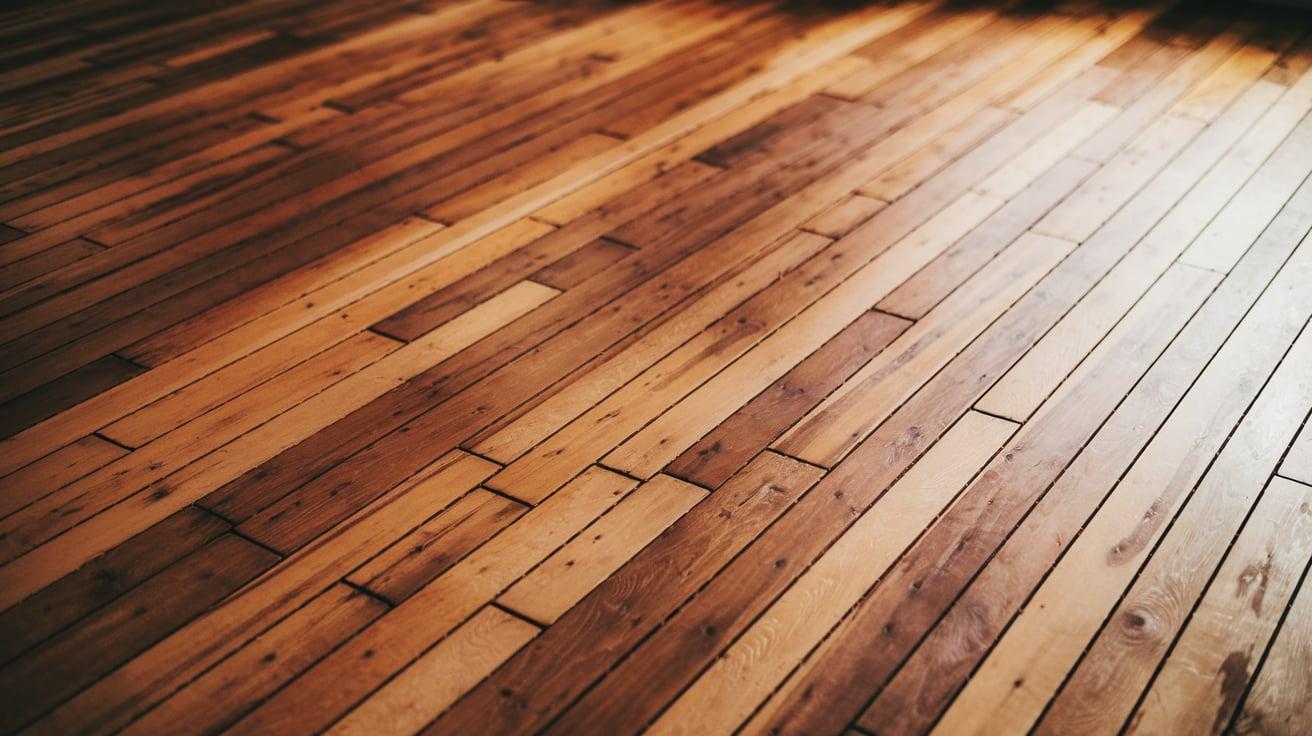
6. Rustic Reclaimed Wood Mix
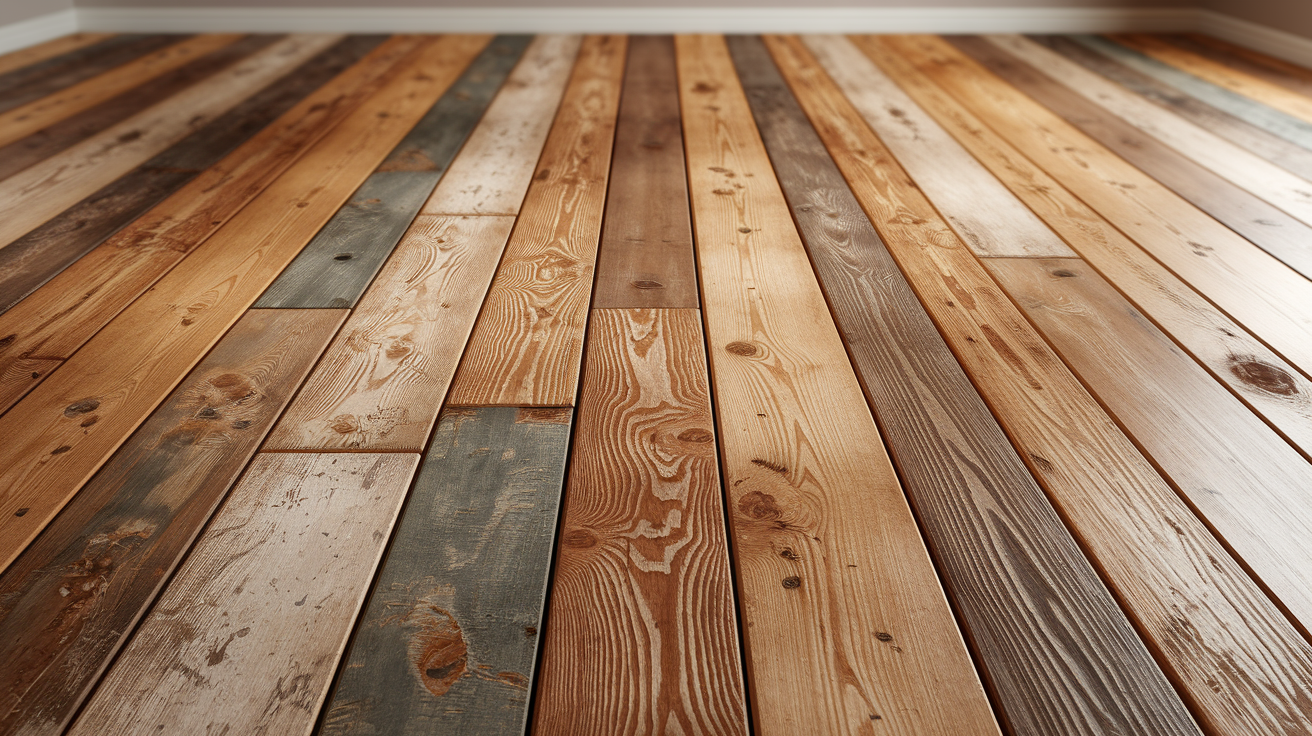
Reclaimed wood brings history to your floors. Barnwood, old gym floors, and demolished building materials all work.
Each piece has a unique character. Nail holes, saw marks, and weathering become design features.
Clean reclaimed wood thoroughly. Check for metal fragments. Some pieces might need extra sanding or filling.
7. Random Wide Planks with Thin Accents
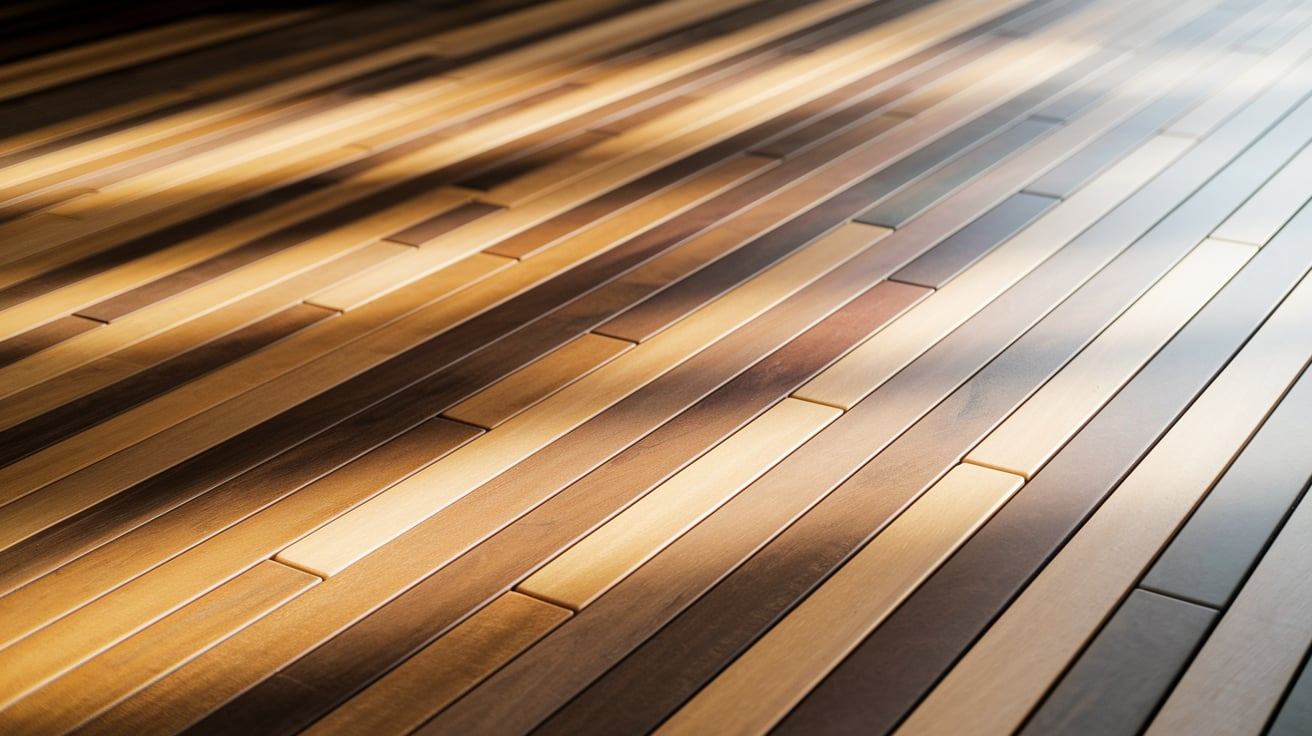
Base your floor on wide planks (6-8 inches). Then add occasional thin strips (2-3 inches) for contrast.
The thin strips act like design lines. They break up large areas of wide boards. They also add vertical interest to horizontal layouts.
Use thin strips sparingly. Too many create a busy look. One thin strip for every 8-10 wide boards usually works well.
8. Random Layout with Inlay Borders
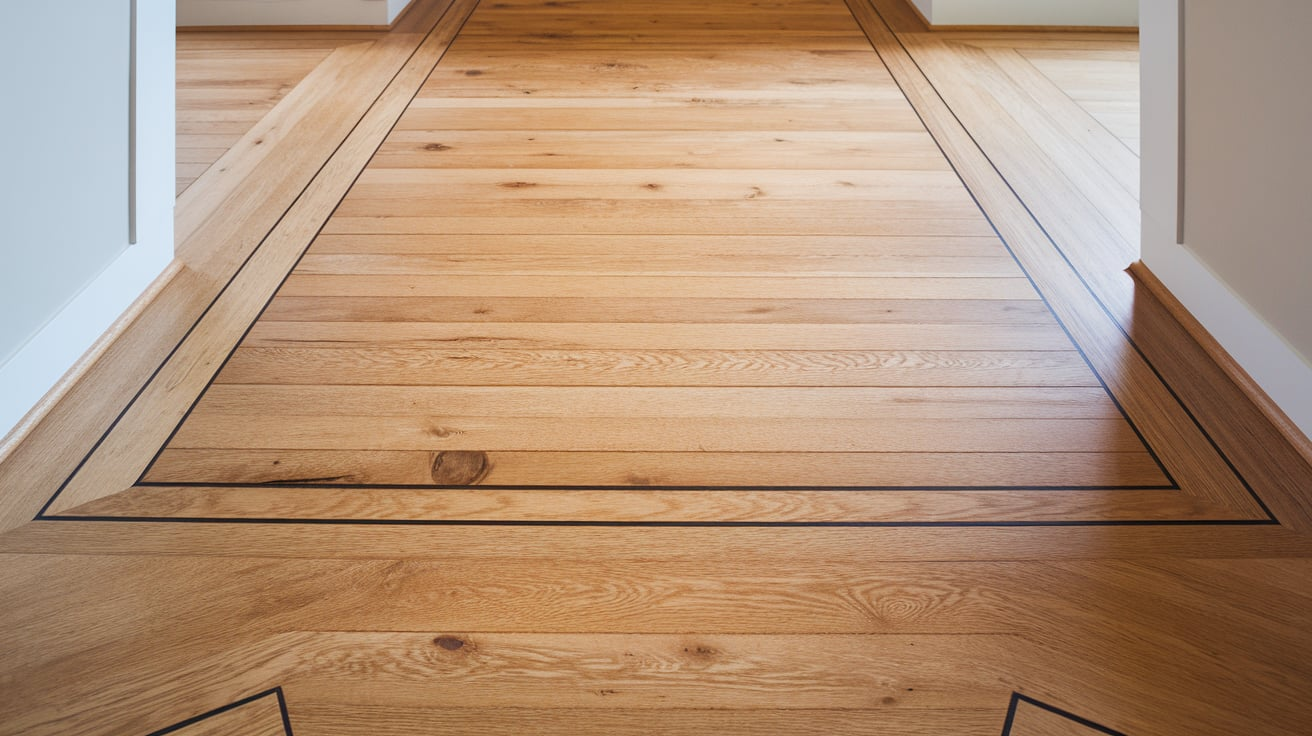
Frame your random center with organized borders. The contrast makes both areas stand out.
The border can be simple strips or complex patterns. Herringbone borders look great with random centers.
Plan your border first. Then work inward with your random pattern. This ensures proper fit at the edges.
9. Random Chevron Mashup

Take the chevron pattern and make it irregular. Instead of perfect angles, vary the chevron size and direction.
Some sections might have tight chevrons. Others might have loose, flowing angles. The randomness creates movement.
This pattern requires more planning. Sketch your design first. Mark angle changes on your subfloor.
10. Random Layout with Natural Knots and Defects Highlighted
Don’t hide wood imperfections. Celebrate them. Knots, cracks, and grain variations become focal points.
Choose boards with characters. Position them where they’ll be noticed. A beautiful knot deserves a prominent spot.
Fill any loose knots with clear resin. This prevents them from falling out later. It also adds interesting visual depth.
11. Mixed Material Random Layout
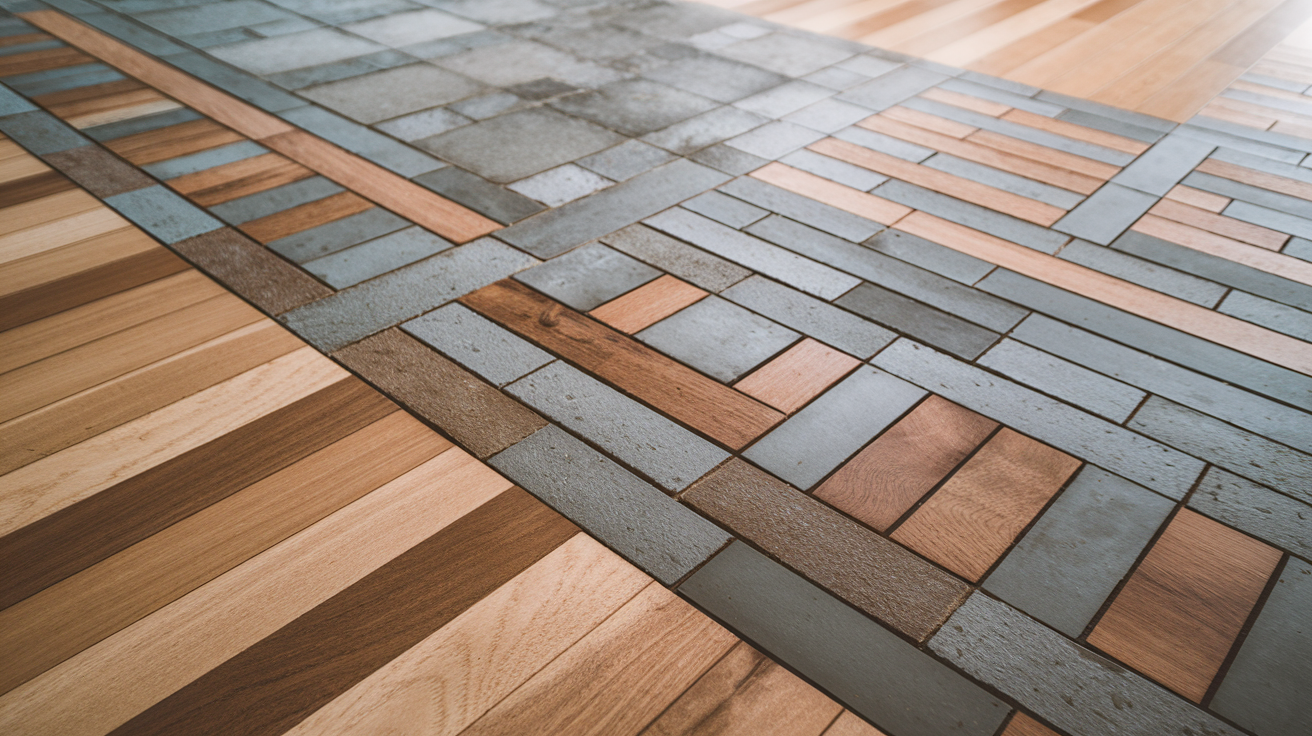
Combine wood with other materials. Stone strips, metal inlays, or tile accents create unique floors.
Keep the proportions balanced. Wood should still dominate the space. Other materials should accent, not compete.
Make sure all materials are the same thickness. This prevents tripping hazards and makes cleaning easier.
Bonus Tips for Nailing the Random Look
- Mock the layout before installation to test spacing and balance
- Avoid visual repetition to keep the layout feeling natural
- Blend wood grades for more variation in color and character
- Evenly distribute tones to prevent heavy color clustering
- Choose a pattern that suits the room’s size and lighting
- Save your best boards for the most visible areas
- Take photos of your layout before installation for reference
- Don’t be afraid to replace a board if it doesn’t look right
- Consider the room’s lighting when placing different tones
Conclusion
Random wood floor layouts transform ordinary rooms into extraordinary spaces. They add personality where standard patterns fall flat. The beauty lies in the unexpected combinations and natural flow.
You don’t need perfect planning or expensive materials. Start with what you have. Trust your instincts about what looks good. Every random pattern tells a different story.
The best part? There’s no wrong way to do it. Your mistakes become happy accidents. Your choices create something uniquely yours.
These 11 ideas are just the beginning. Mix and match them. Create your variations. Your floor should reflect your style, not someone else’s rules.
Ready to break free from boring floors? Pick one idea that speaks to you. Start small if you’re nervous. Once you see the results, you’ll wonder why you waited so long.
Frequently Asked Questions
Can I install random wood patterns myself, or do I need a professional?
Many random patterns are DIY-friendly. Mixed-width layouts and random staggering require basic carpentry skills. Complex patterns like chevron mashups might need professional help. Start with simpler patterns to build confidence.
How much more expensive are random patterns compared to traditional layouts?
Random patterns can cost the same or slightly more. You might have more waste from cutting varied lengths. But you can also use lower-grade boards mixed with higher grades. This can save money while adding character.
What’s the best way to maintain random pattern floors?
Clean them like any wood floor. Sweep regularly and use appropriate wood cleaners. The varied patterns hide dirt and scratches better than uniform floors. Touch up individual boards as needed without worrying about matching perfectly.
Do random patterns work in small rooms?
Yes, but choose your pattern carefully. Too much variation can make small spaces feel chaotic. Try random staggering or mixed-width patterns. Avoid diagonal layouts in very small rooms as they can make walls feel crooked.
Can I add random elements to existing wood floors?
Sometimes. If your current floors are in good condition, you can add accent strips or inlay borders. Replacing random boards with different widths or tones is also possible. Consult a flooring professional to assess your specific situation.


