I bought my first piece of furniture for three dollars at a garage sale and sold it for eighty.
That one flip changed everything for me. If you have ever looked at an old chair or dresser and thought it had potential, you are right.
This guide covers everything you need to know about furniture flipping, from sourcing and repairing to painting and selling.
You will get 29 practical Lesson and a clear step-by-step process. I have done this myself, and every tip here comes from real experience.
What Is Furniture Flipping and Why It Works
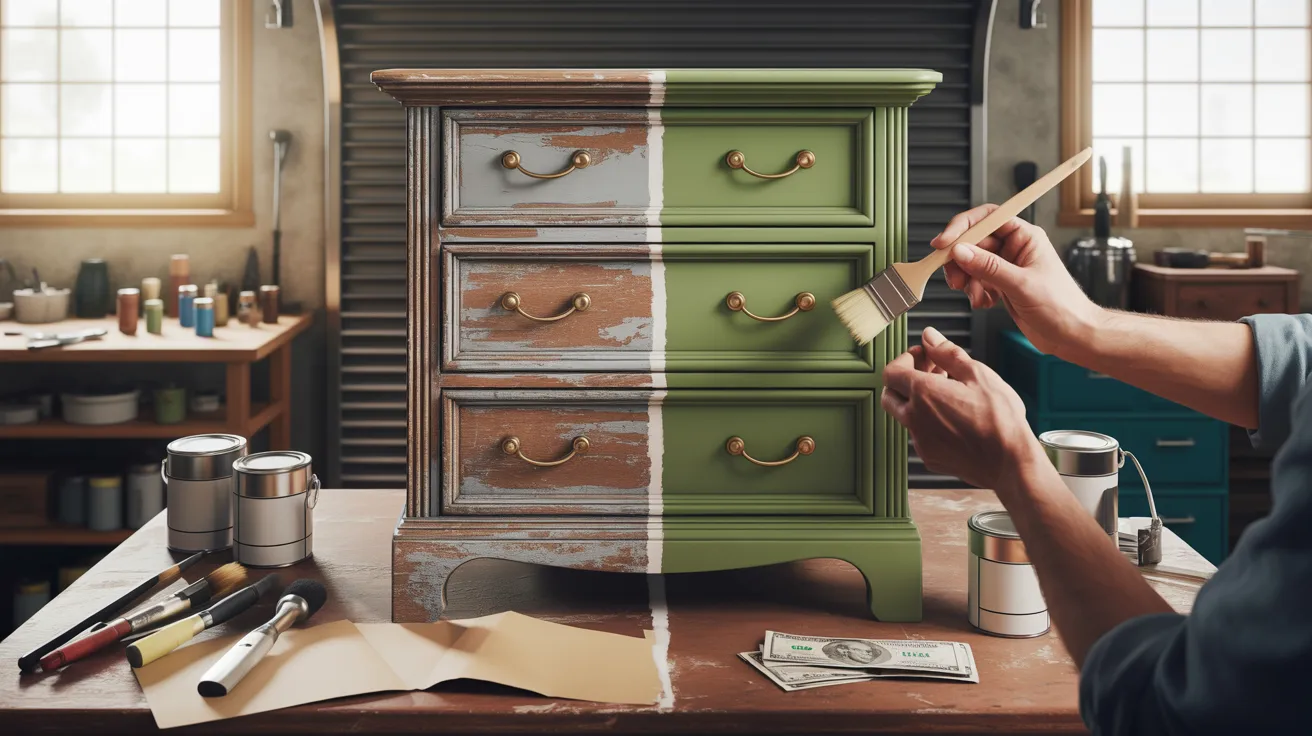
Furniture flipping is the process of buying secondhand pieces at a low price, fixing them up, and selling them for a profit.
It works because most people see a scratched dresser or a worn chair and walk away. You see what it could be with a little work and the right finish.
The market for refurbished furniture is strong. Buyers want quality pieces at fair prices, and a well-done flip delivers that.
You don’t need a big budget or a fancy workspace. A small investment in time and materials can return two to three times what you originally paid.
It’s a skill that builds fast, and every flip makes you sharper.
Tools and Materials for Furniture Flipping
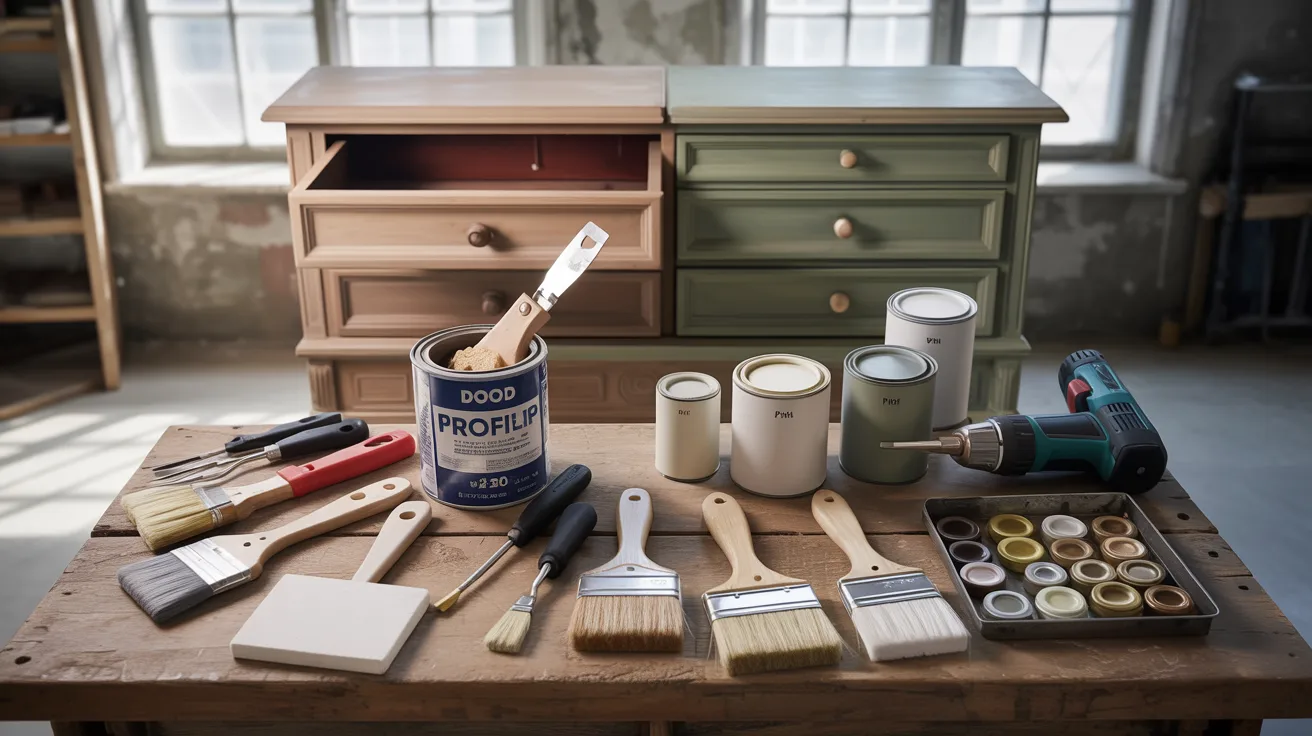
Before you start flipping, make sure you have the right tools ready. Here is what you will need.
Sandpaper, coarse and fine grit: Strips old finish and smooths the surface before painting.
Wood filler for cracks and chips: Fills damage so paint goes on clean and even.
Primer, paint or stain: Primer grips the surface, paint or stain gives it a fresh look.
Paintbrushes and foam rollers: Brushes for tight spots, rollers for flat surfaces.
Screwdriver set and a drill: Essential for removing hardware and making quick repairs.
Replacement hardware, knobs, and handles: The fastest way to change the feel of any piece.
Stock these basics before your first flip and you’ll be ready for most projects that come your way.
List of 29 Furniture Flipping Lessons from Seasoned Flippers
These lessons come straight from flippers who’ve made real mistakes and real money.
1. Source Furniture
The right piece makes the whole flip easier. Look for solid wood furniture with good bones and simple lines.
Avoid anything with severe structural damage or a strong smell. The cheaper and sturdier the find, the better your profit margin will be when it sells.
2. Check Thrift Stores
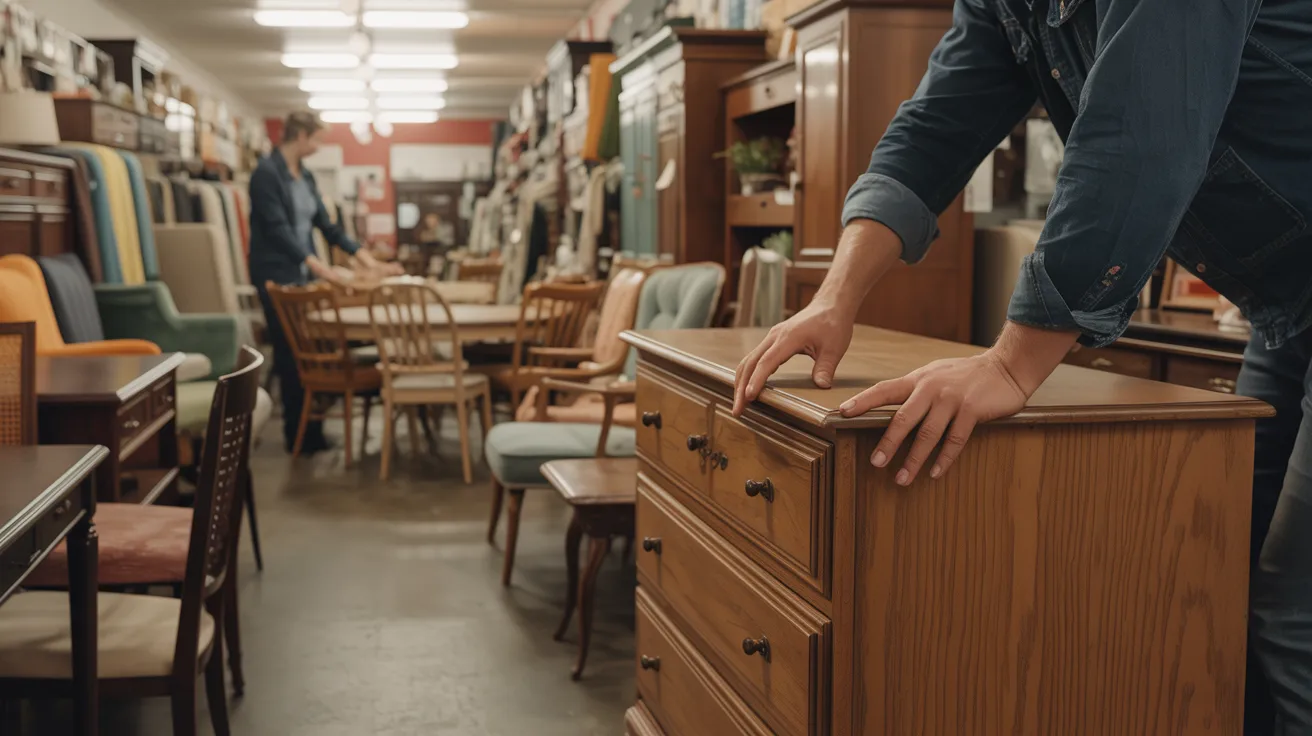
Thrift stores restock regularly and prices are usually low. Go early in the week when new donations arrive.
Build a relationship with staff so they can let you know when good pieces come in. Consistency is the key to finding the best items before anyone else does.
3. Visit Flea Markets
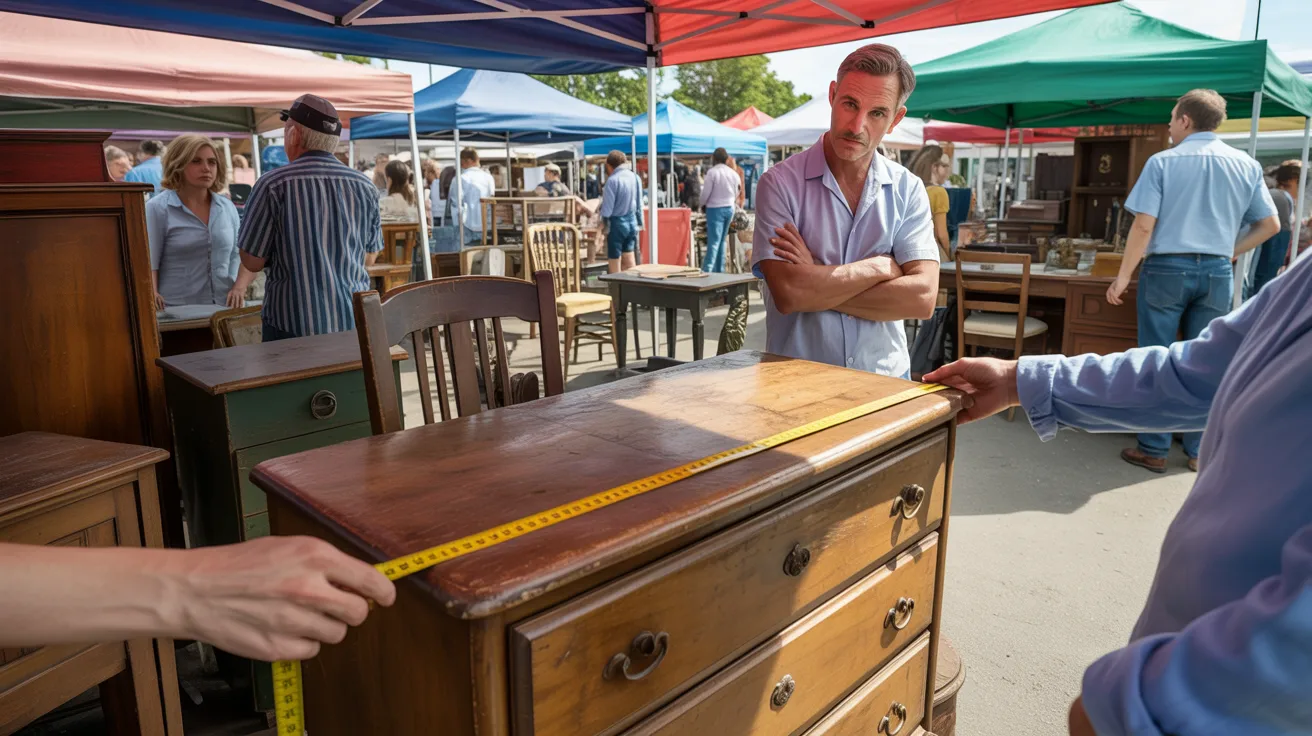
Flea markets are full of older furniture that sellers want to move quickly. Prices are often negotiable and the variety is wide.
Go with a budget in mind and stick to it. Bring a measuring tape so you know what will fit in your vehicle before you commit to a purchase.
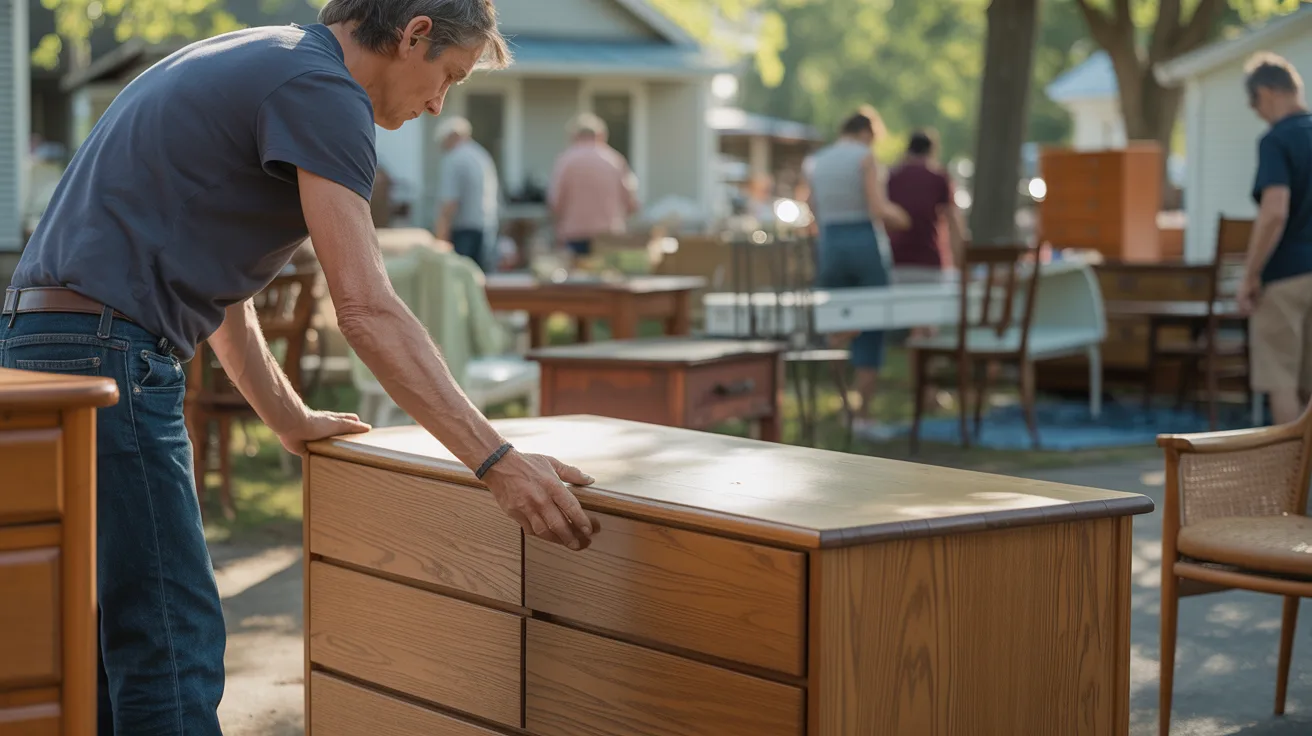
4. Browse Garage Sales

Garage sales offer some of the lowest prices you will find anywhere. Sellers want things gone fast, which works in your favor.
Arrive early for the best selection. Come back near closing time for even lower prices on anything that has not sold through the day.
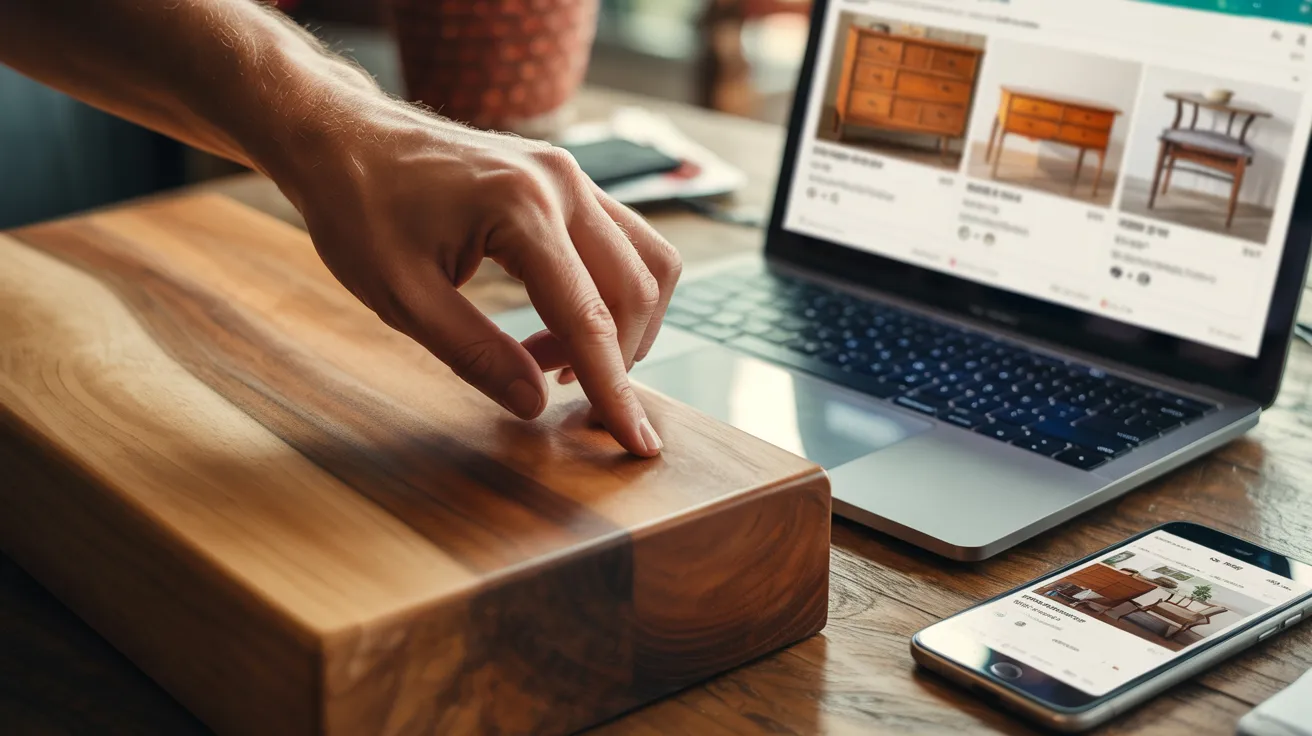
5. Check Online Listings
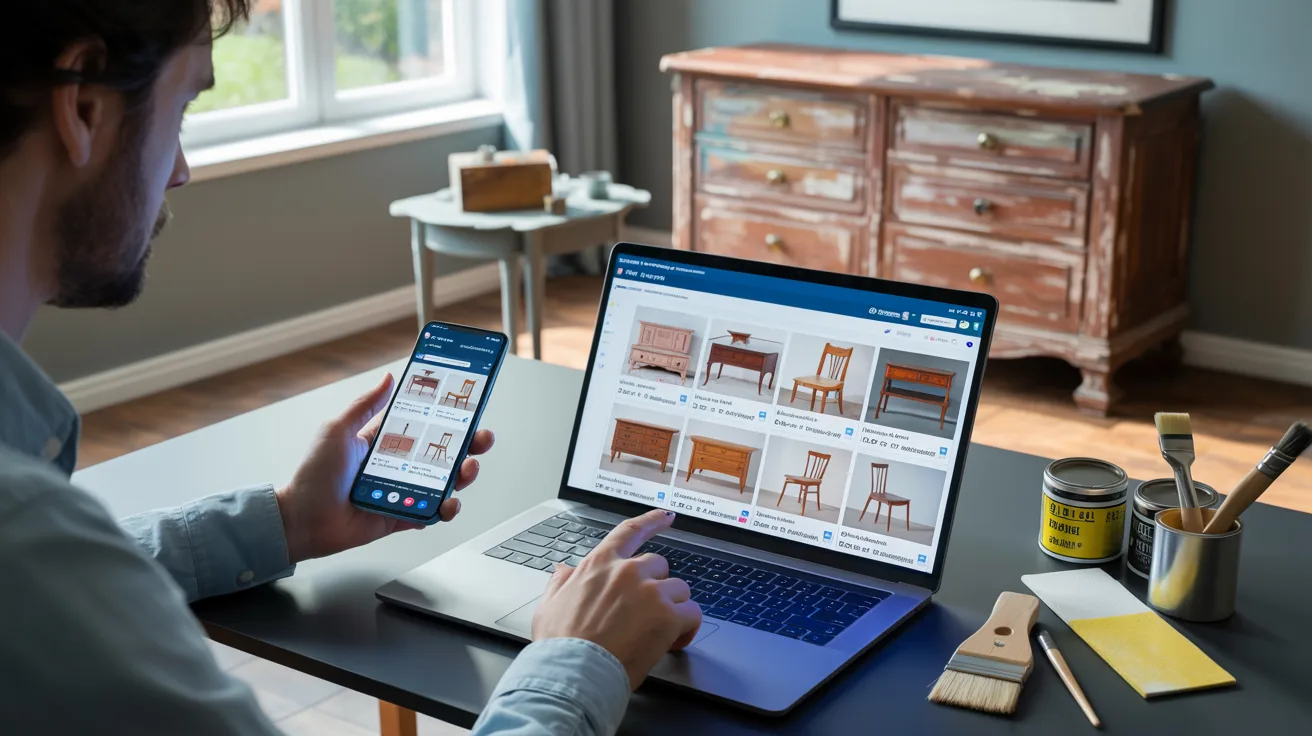
Facebook Marketplace and Craigslist are full of free and low-cost furniture. Search daily and set up alerts for the pieces you want.
Act fast because good listings disappear quickly. Always check the photos carefully and ask about conditions before arranging a pickup.
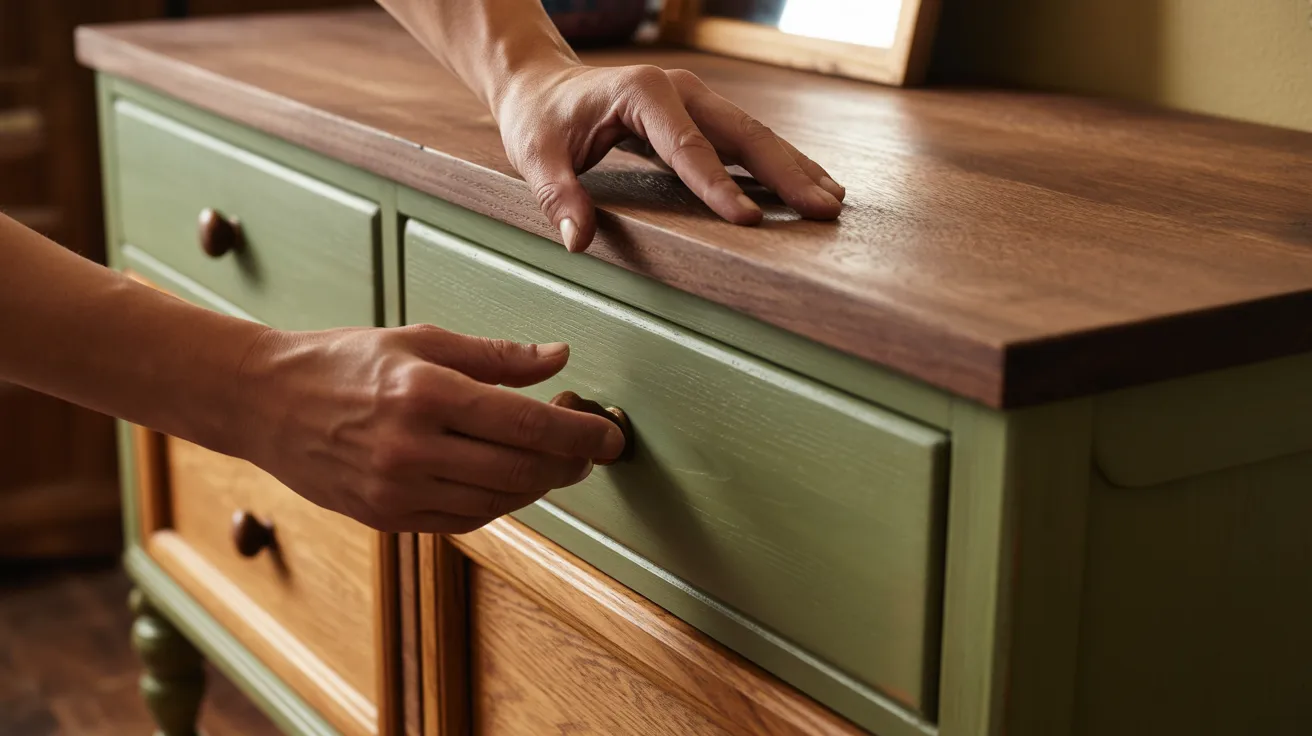
6. Inspect Structure
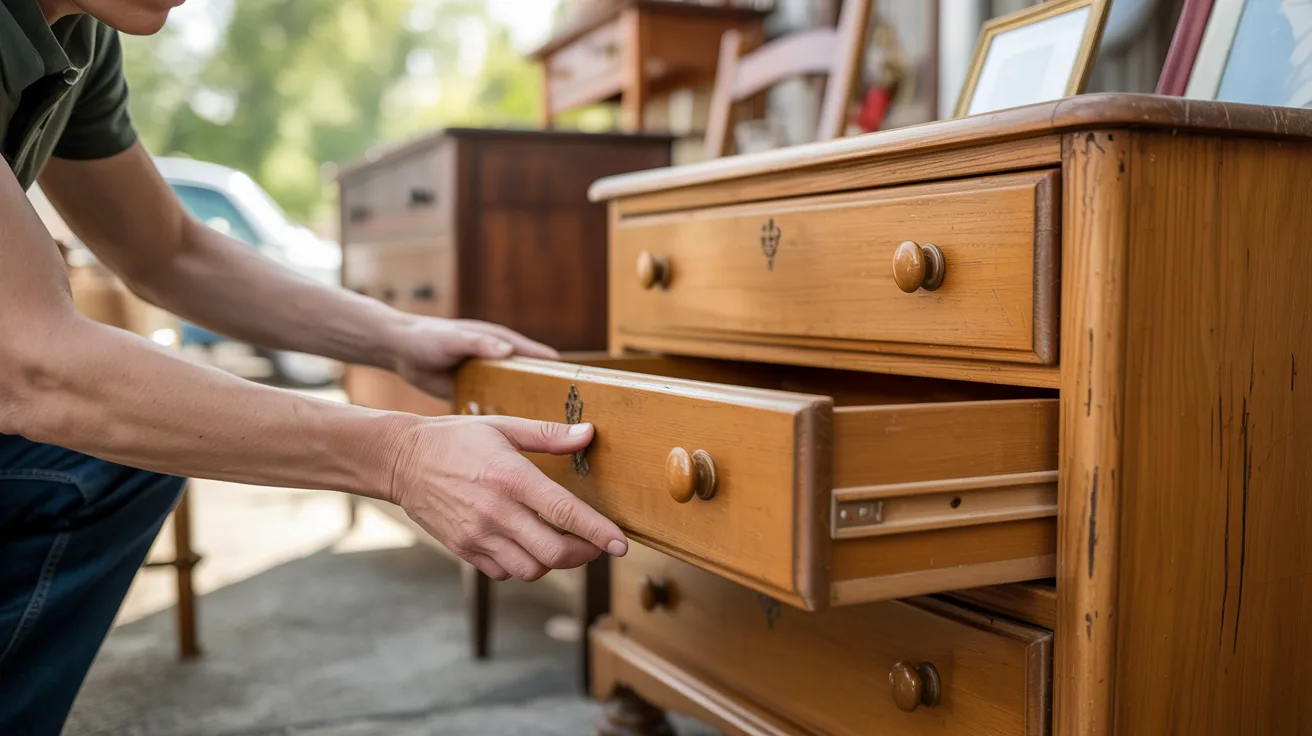
Always check the structure of a piece before you buy it. Press on the frame, test the joints, and open every drawer.
A wobbly frame can often be fixed but a cracked or broken frame is rarely worth the effort. Buy pieces that need cosmetic work, not structural rebuilding.
7. Avoid Rotten Wood
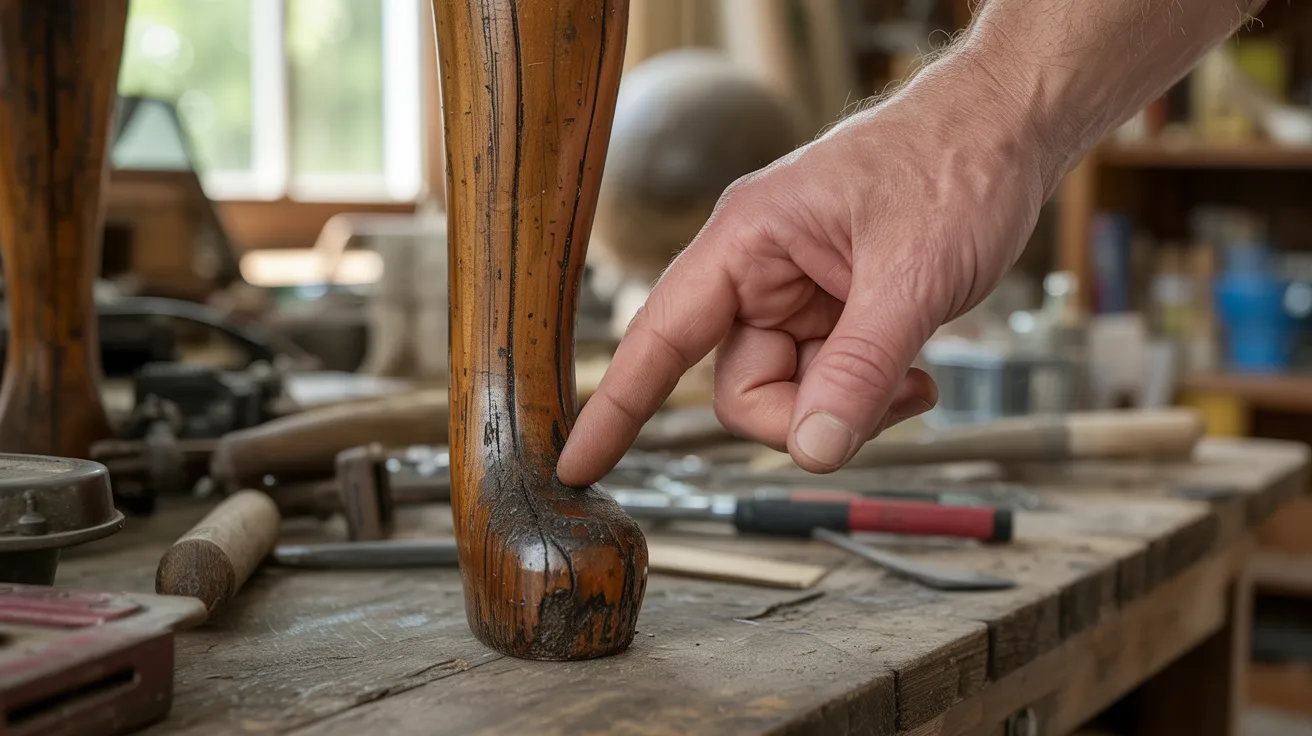
Rotten wood cannot be fixed with filler or paint. Press your finger into the surface and feel for soft or spongy areas.
Check the legs and base most carefully since those areas absorb the most moisture over time. Walk away from anything that shows signs of rot.
8. Negotiate Prices
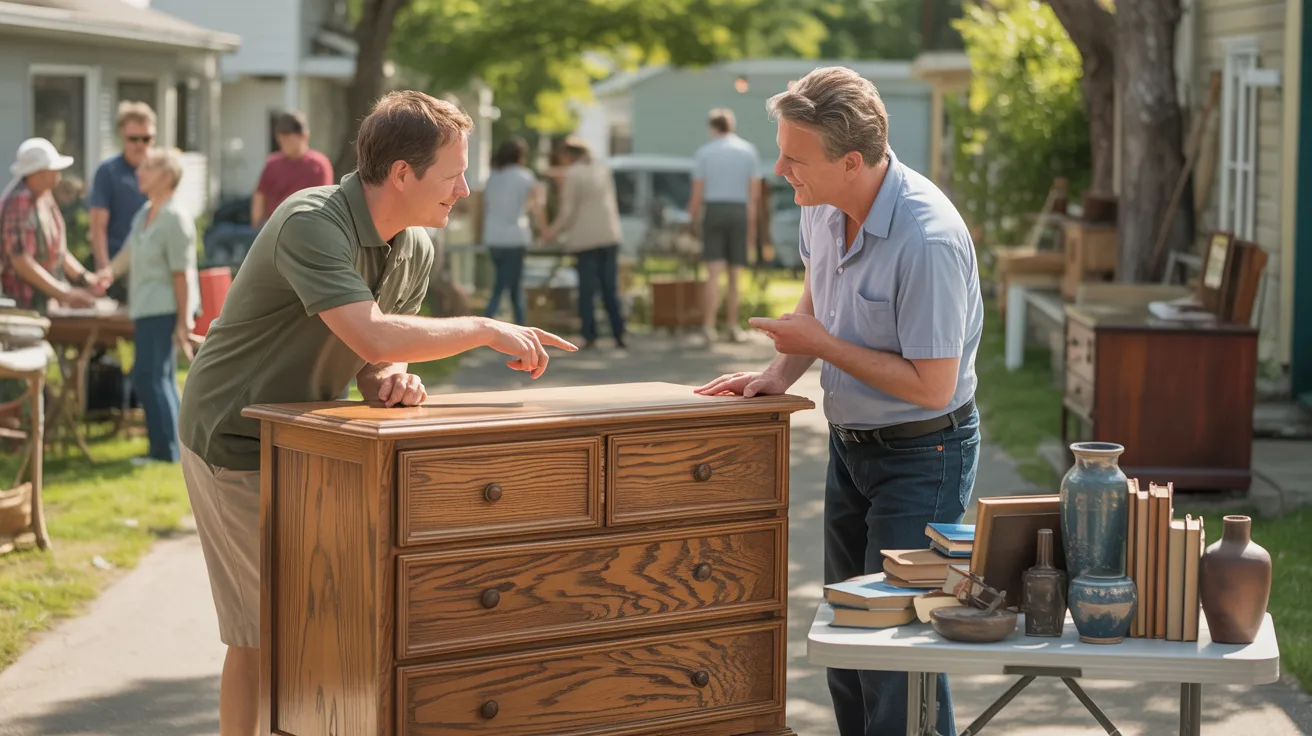
Most sellers expect negotiation, especially at flea markets and garage sales. Be polite and reasonable. Point out any damage you spotted during inspection as a reason for a lower price.
A confident but respectful offer often gets accepted, especially later in the day when sellers want to clear space.
9. Spot Trends

Know what styles are selling before you buy. Mid-century modern, farmhouse, and industrial pieces tend to sell quickly.
Follow furniture accounts on social media and browse resale platforms to see what gets the most attention. Buying what is in demand makes selling faster and easier every time.
10. Reveal Hidden Gems
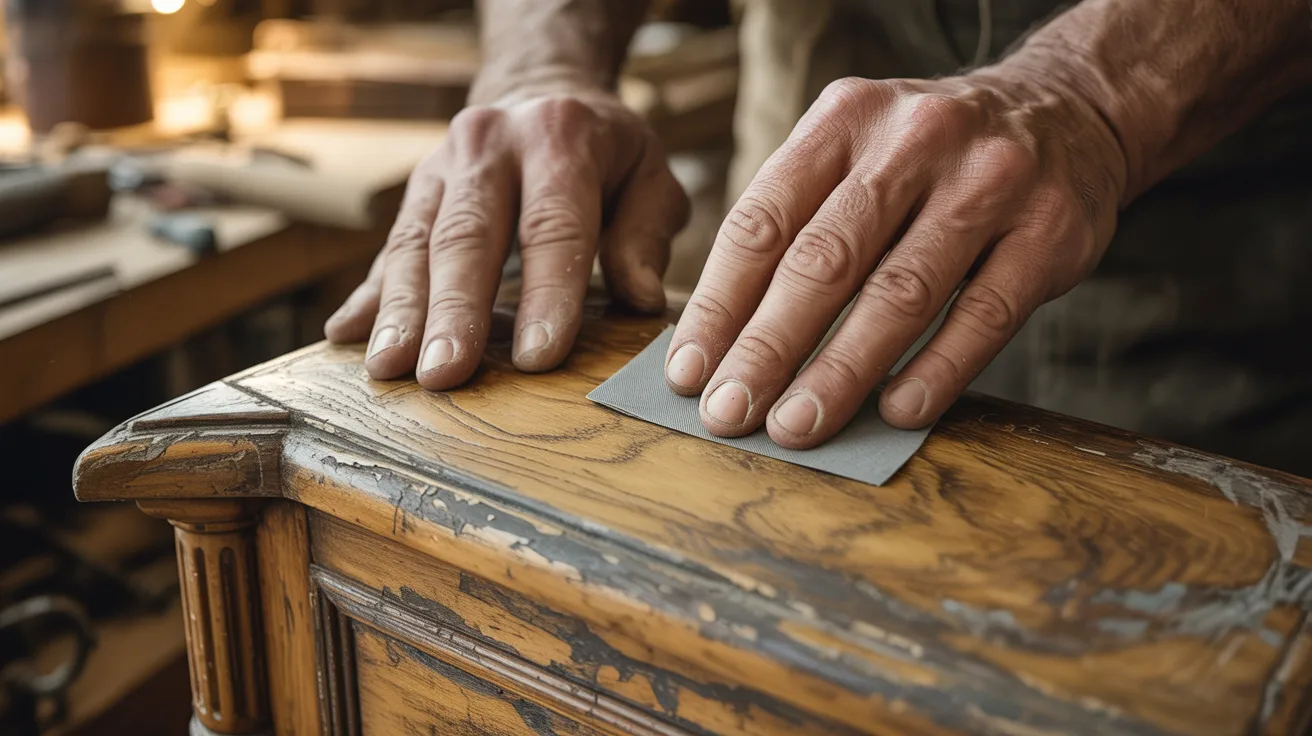
Some of the best flips are hidden under layers of old paint or dark stain. Sand a small area to check what is underneath before you decide how to finish a piece.
Solid wood with good grain can be stripped back and finished naturally for a much higher selling price.
11. Inspect Joints and Scratches
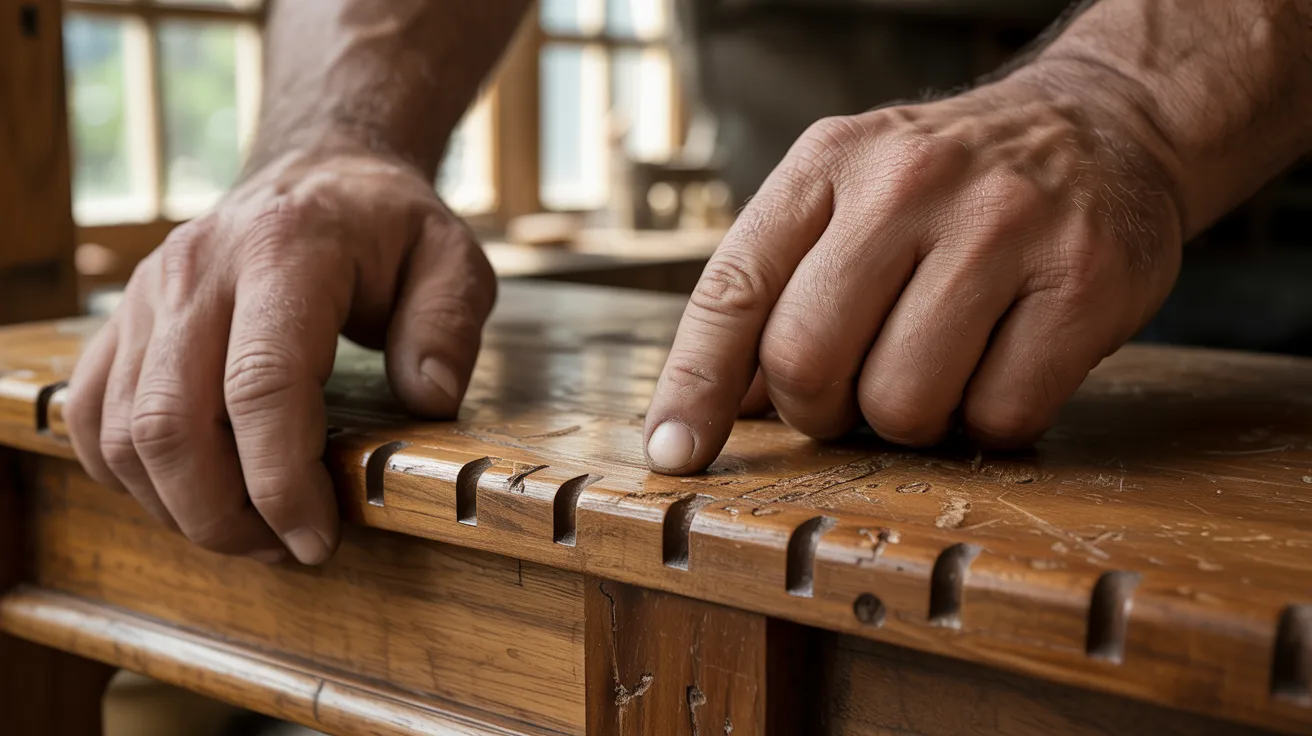
Loose joints can be re-glued and tightened. Surface scratches can be filled and sanded smooth. Check every joint by applying gentle pressure in different directions.
Minor damage like this is easy to fix and should not put you off a good piece at a low price.
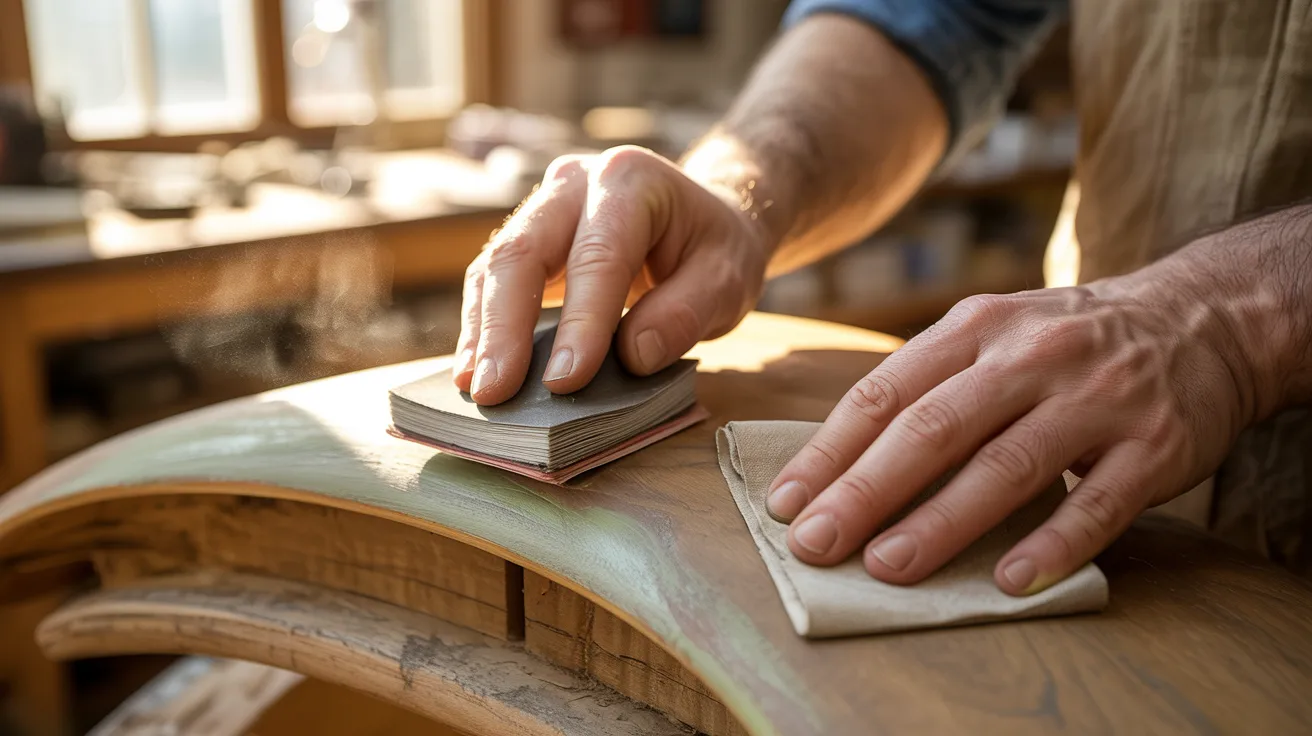
12. Sand Surfaces
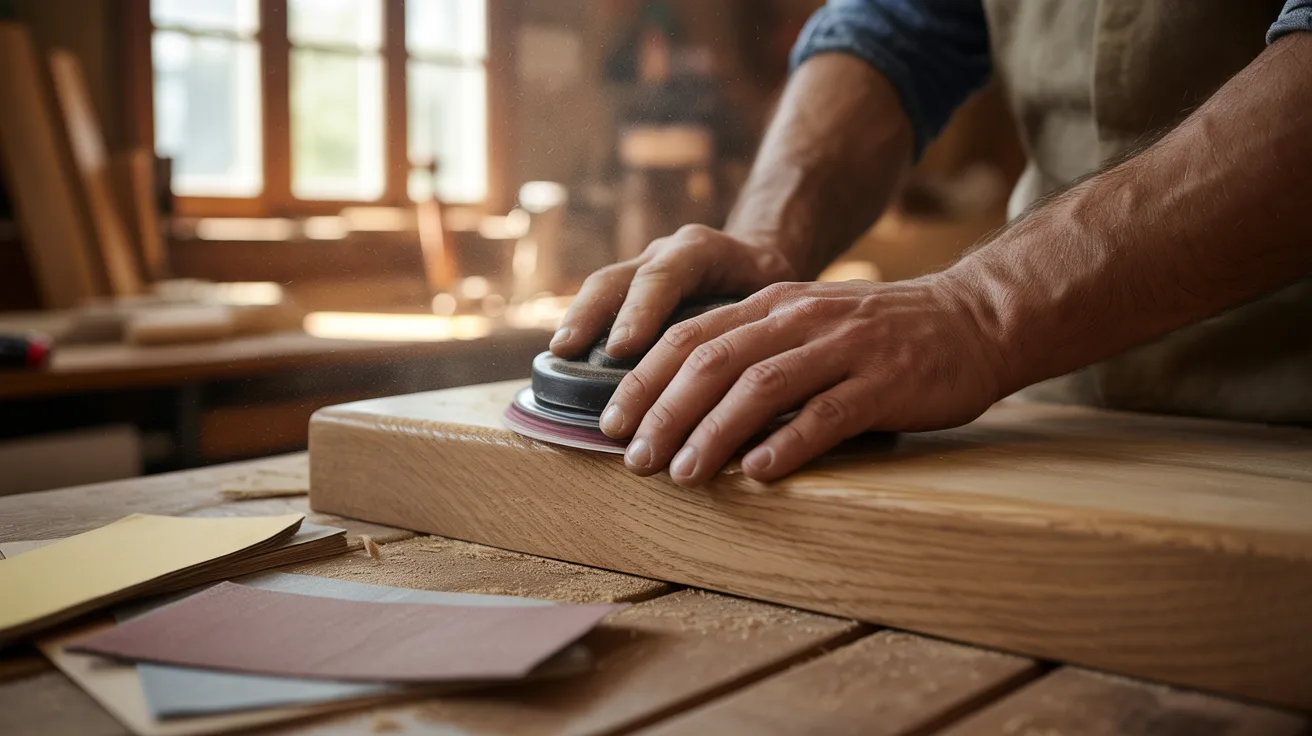
Sanding is the most important prep step in any flip. Start with a coarser grit to remove old finish and move to a finer grit for a smooth surface.
Always sand in the direction of the wood grain. A well-sanded surface holds paint and stain far better than one that is rushed.
13. Repair Drawers and Legs
Sticky drawers just need light sanding on the sides and a little wax on the runners. Wobbly legs can be re-glued and clamped overnight.
These small repairs take very little time but make a big difference to how the finished piece feels and functions when a buyer inspects it.
14. Remove Old Hardware

Always remove old hardware before painting or staining. It protects the metal and gives you a cleaner finish on the wood.
Old hardware can be cleaned, painted, or replaced entirely depending on the look you are going for. New hardware alone can change the whole feel of a piece.
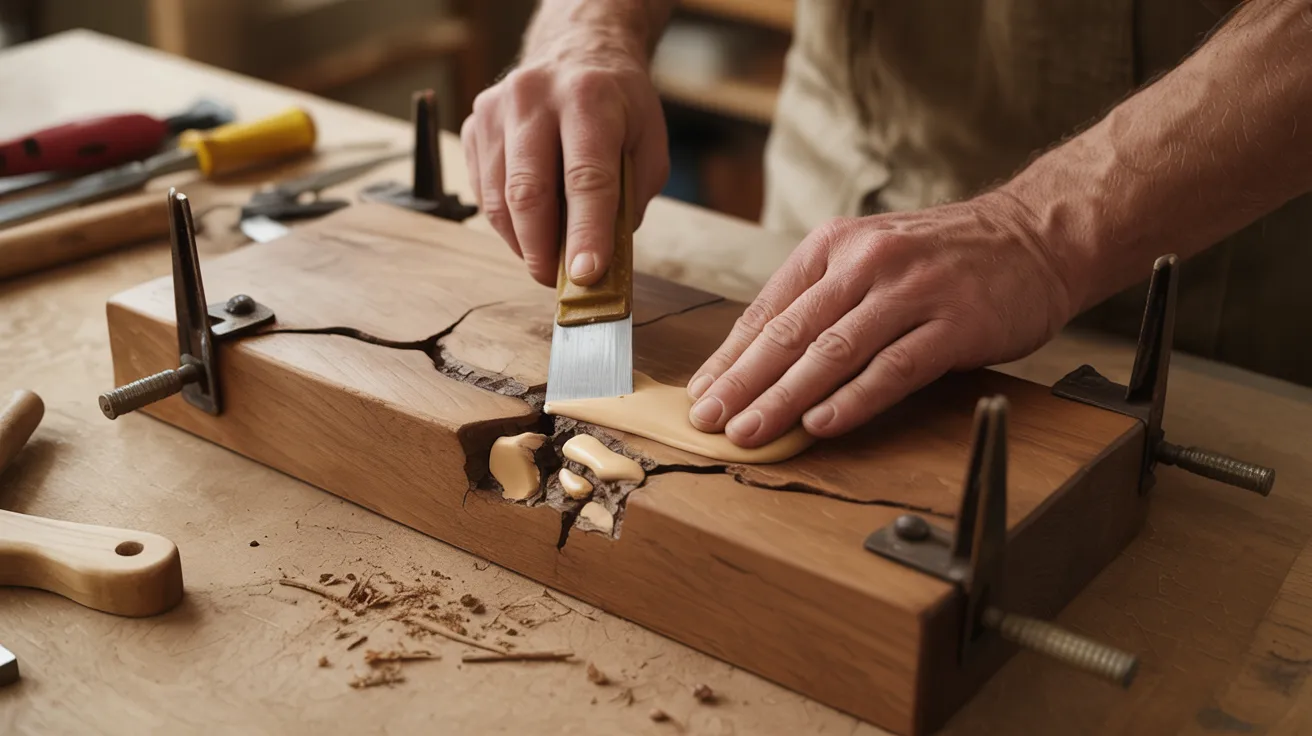
15. Fill Cracks and Chips
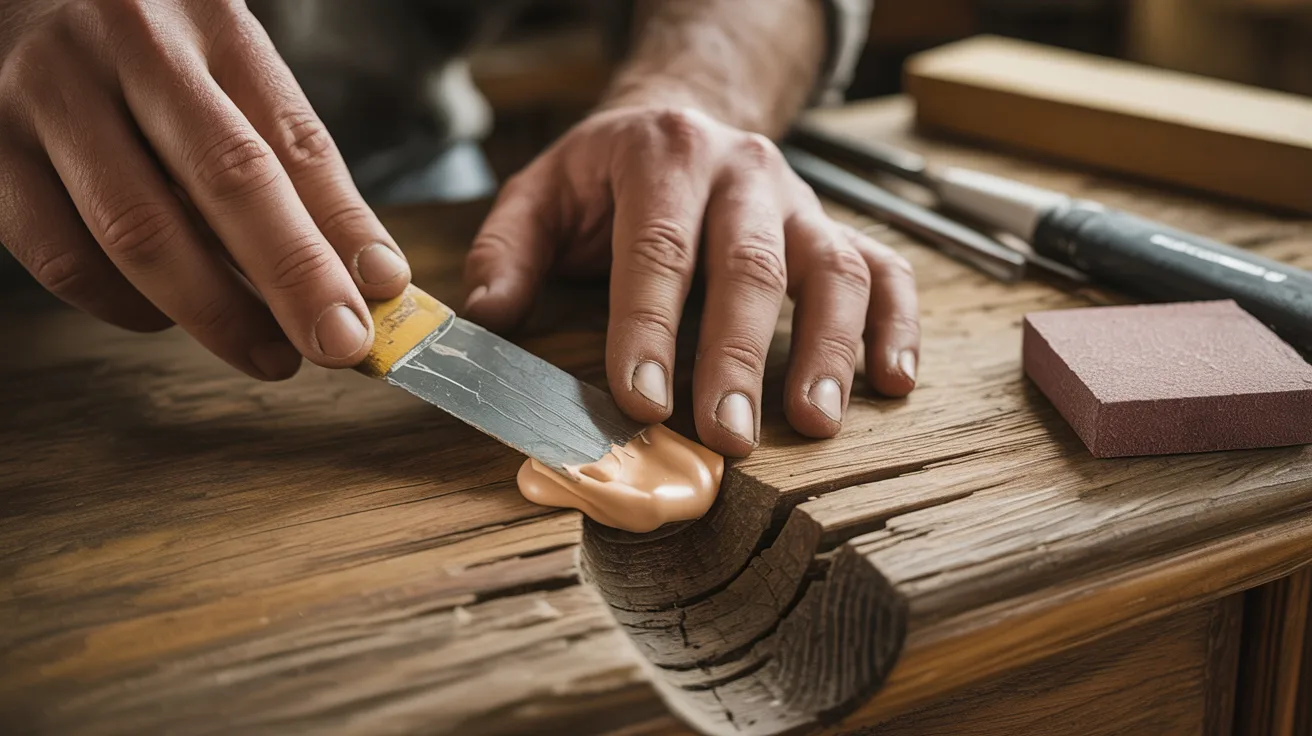
Use a good quality wood filler for cracks, chips, and holes. Apply it slightly overfilled, let it dry fully, then sand it back flush with the surface.
A smooth, even surface before painting makes the finished result look far more professional and adds to the perceived value of the piece.
16. Choose Paint or Stain
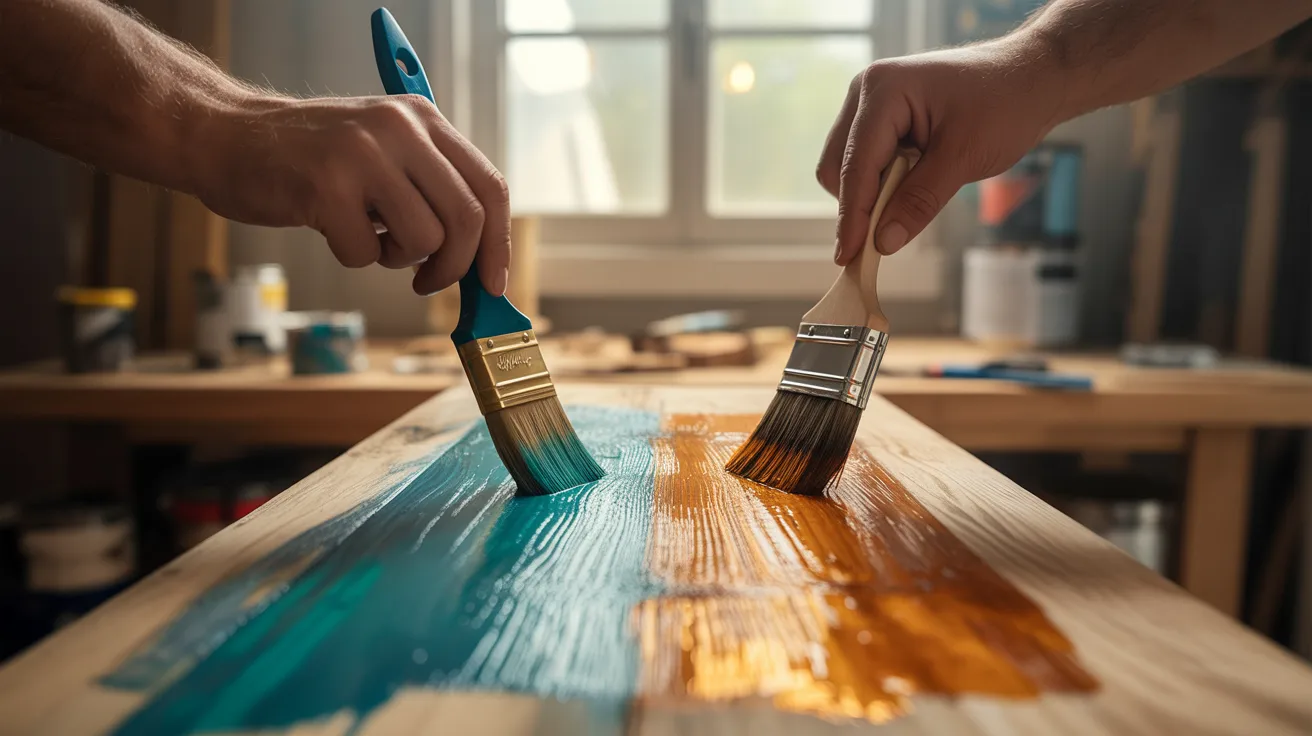
Paint gives you color and coverage. Stain shows the natural grain of the wood. The right choice depends on the piece and what buyers in your market are looking for.
Chalk paint works well for a matte, vintage finish. Oil-based stain is better for a natural, warm wood look.
17. Test Colors

Always test your paint or stain color on a hidden area of the piece before committing to the full application. Colors look different on wood than they do on a swatch card.
A quick test saves you from repainting an entire piece because the shade looked different once it dried.
18. Apply Primer
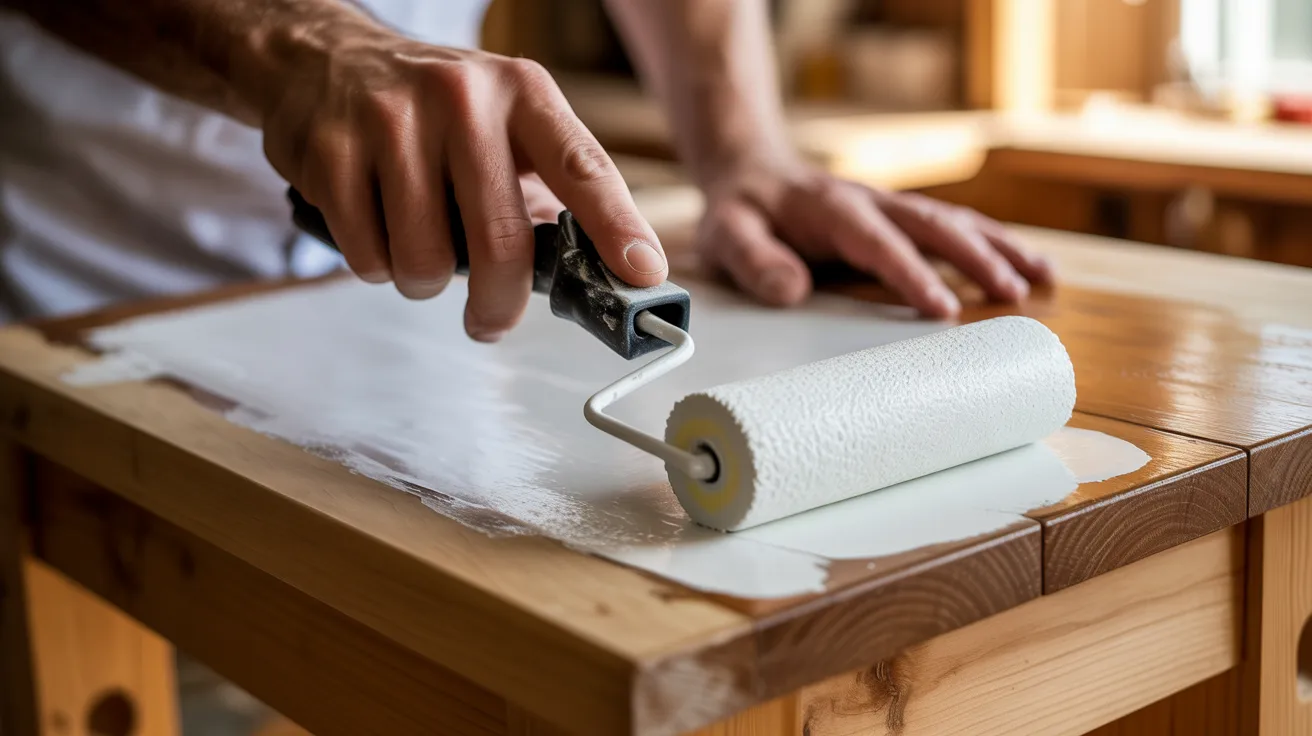
Primer seals the wood and gives your paint a surface to grip onto. It also prevents tannins from bleeding through light-colored paint.
Use a good bonding primer on slick or previously painted surfaces. One solid coat of primer makes every coat of paint on top look smoother and more even.
19. Layer Thin Coats
Thin coats dry faster, look smoother, and are far less likely to drip or bubble. Two or three thin coats will always look better than one thick coat.
Allow each coat to dry fully before applying the next one. Patience at this stage is what separates a professional finish from an amateur one.
20. Blend Stains

When using stain, work in small sections and blend as you go to avoid lap marks and uneven color. Wipe off excess stain with a clean cloth before it dries.
If you want a deeper tone, apply a second coat after the first one has dried completely and fully cured.
21. Replace Cushions
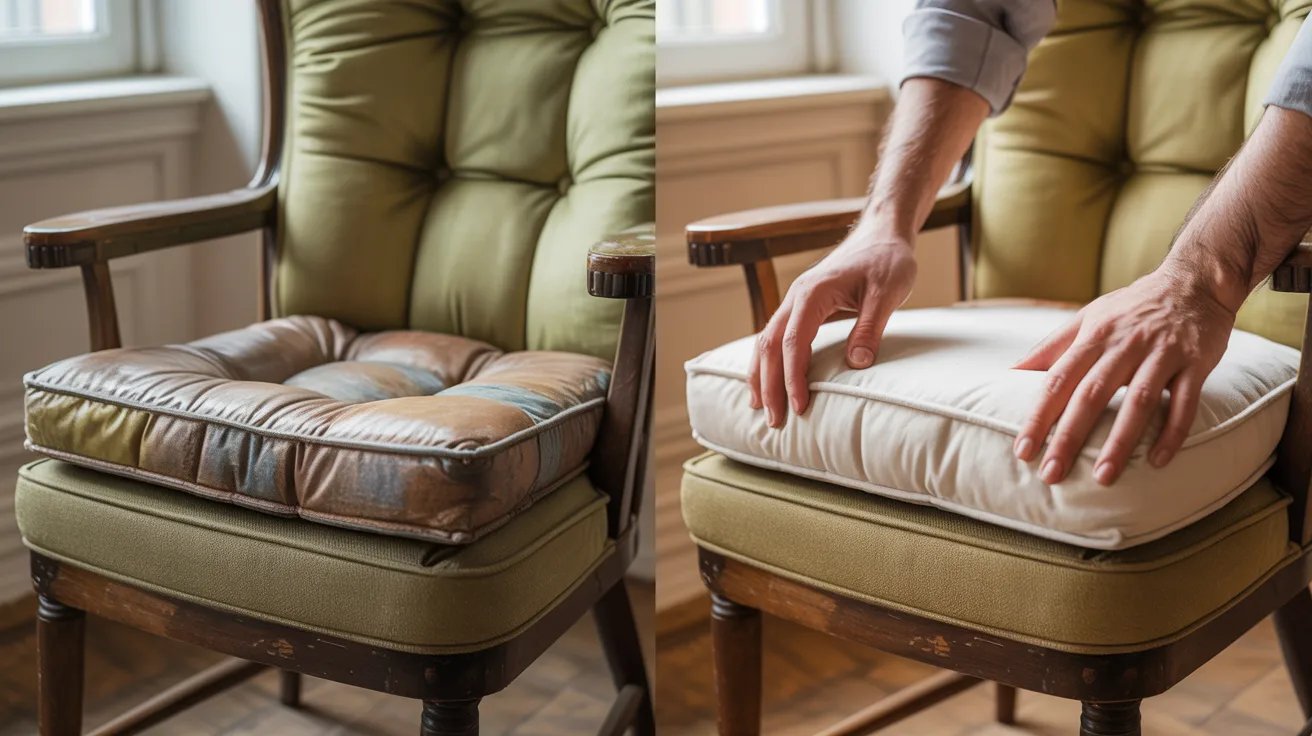
Old cushions flatten and discolor over time. Replacing the foam and fabric on a chair or bench is one of the highest-value upgrades you can make.
It does not cost much but it makes the finished piece look and feel brand new. Buyers notice cushion quality immediately during an in-person viewing.
22. Pick Durable Fabrics
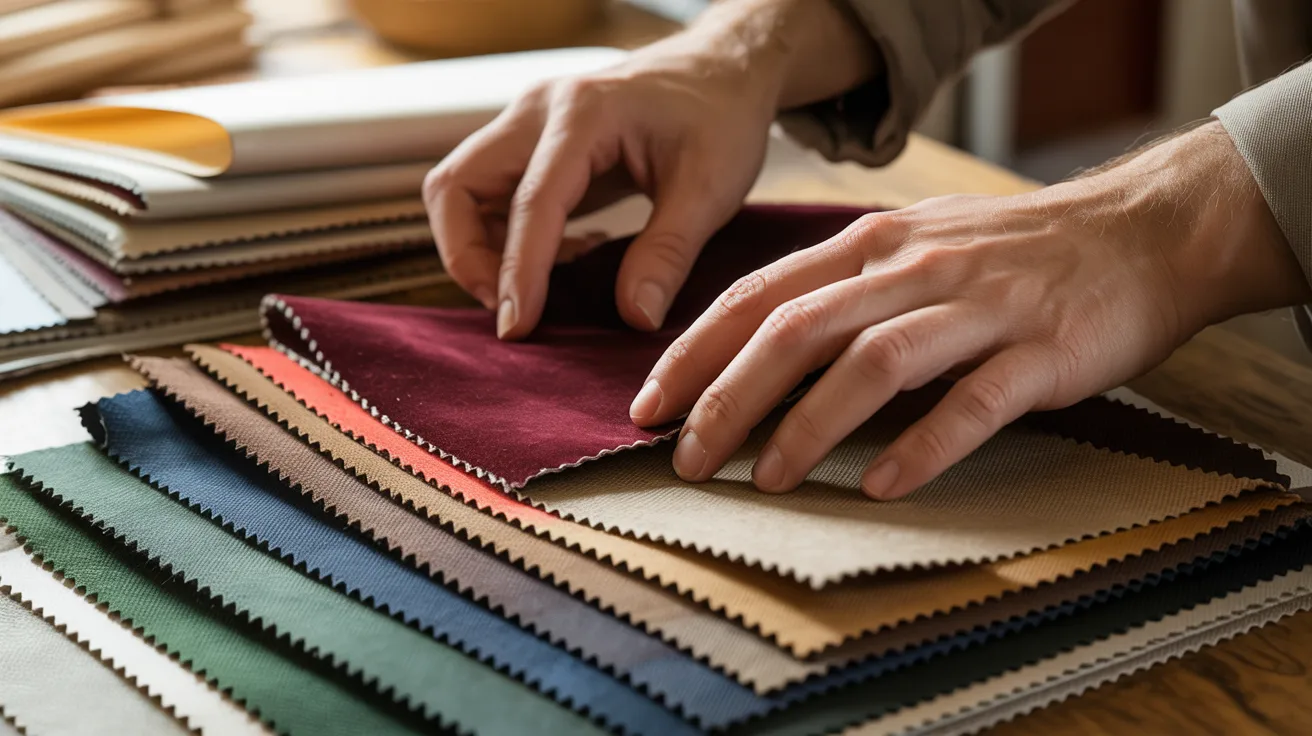
Choose fabrics that are easy to clean and built to last. Velvet, canvas, and outdoor fabric all hold up well and appeal to a wide range of buyers.
Avoid thin or delicate fabrics that show wear quickly. A durable fabric choice builds confidence in the buyer and supports a higher selling price.
23. Upgrade Hardware
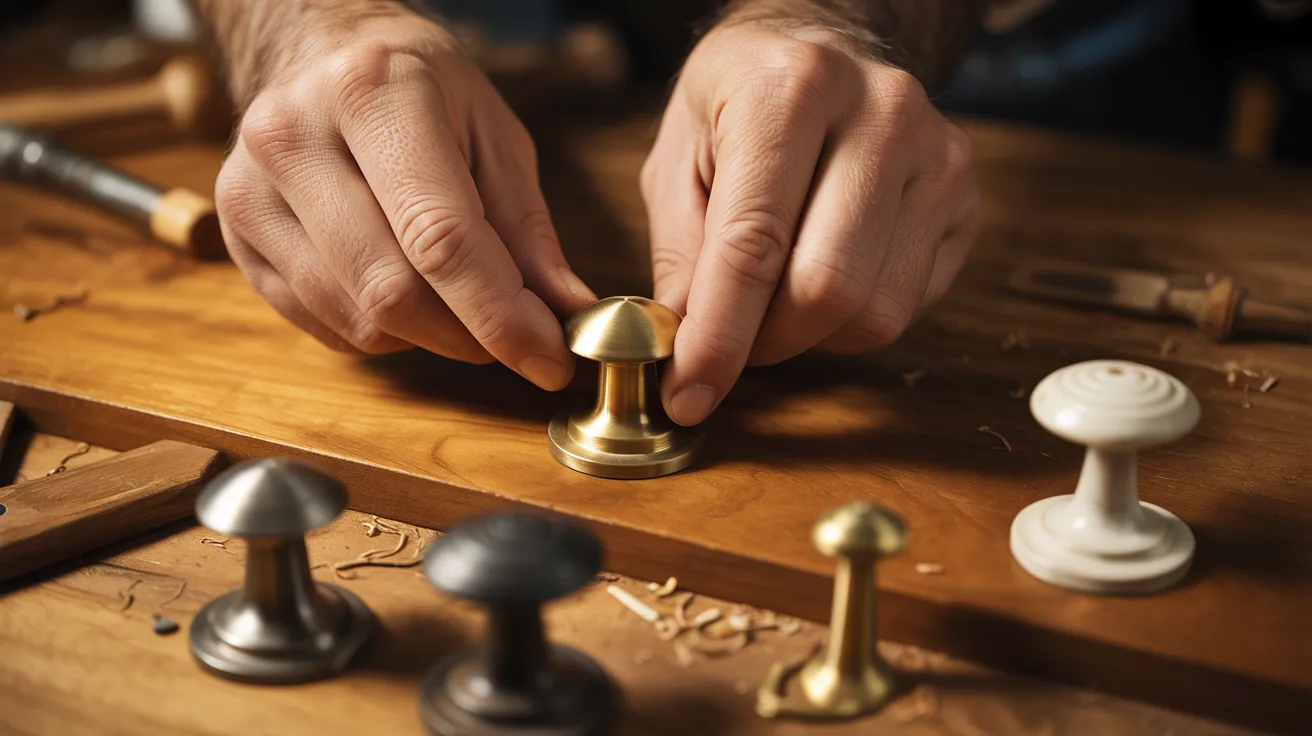
New hardware is one of the fastest ways to change the look of a piece. Brass, black matte, and ceramic knobs are all popular right now.
Match the hardware style to the overall finish of the piece. Well-chosen hardware signals quality and attention to detail to anyone who looks at your listing.
24. Mix Finishes
Mixing a painted body with a stained top or natural wood legs adds visual interest and depth to a flip. This technique works especially well on tables and dressers.
It takes a little more planning but the result often sells faster and at a higher price than a single-finish piece would.
25. Sand Between Coats
Light sanding between coats of paint smooths out any dust, brush marks, or bubbles that formed while drying.
Use a fine-grit sandpaper and wipe away the dust before the next coat goes on. This small extra step makes a noticeable difference in the final smoothness and quality of the finished surface.
26. Take Quality Photos

Good photos sell furniture faster than anything else. Use natural light and a clean, simple background. Shoot from multiple angles and include close-up shots of any standout details.
A well-lit photo shows buyers exactly what they are getting and builds enough trust to make them reach out without hesitation.
27. Price Competitively
Check what similar pieces are selling for on Marketplace and resale platforms before you set a price. The price is too high and it will sit.
The price is too low and you lose money. Factor in your materials, time, and the condition of the finished piece. A fair price based on real market data sells faster every time.
28. Market Online

List your flipped furniture on Facebook Marketplace, Instagram, and local buy and sell groups. Write a clear, honest description and mention any repairs or upgrades you made.
Buyers appreciate transparency. Post consistently and respond to messages quickly. The faster you respond, the more likely a serious buyer will follow through with a purchase.
29. Share Stories and Offer Delivery

Tell the story of the piece in your listing. Where you found it, what you did to it, and why it stands out. People connect with the story.
Offering local delivery also removes a major barrier for buyers who do not have a vehicle large enough to transport furniture. It often seals the deal.
Step-by-Step Furniture Flipping Tutorials
Follow these six steps in order and you will have a finished, sellable piece of furniture every time.
Step 1: Find and Evaluate

Visit thrift stores, flea markets, garage sales, and online listings to find your piece. Inspect the structure carefully before buying.
Look for solid wood with minor cosmetic damage. Check for rotten wood, broken frames, and strong odors. A good find at a low price is the foundation of every profitable flip.
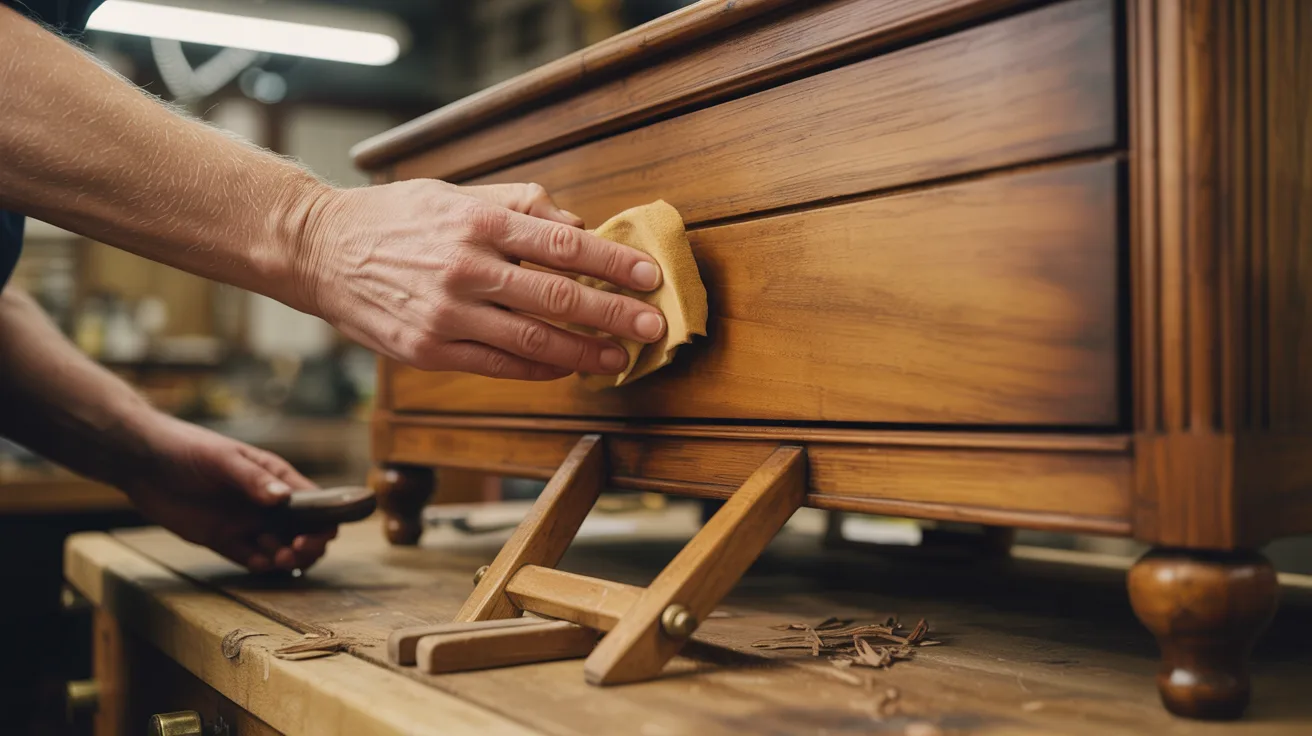
Step 2: Clean and Prep

Wipe down the entire piece with a degreaser and a clean cloth. Remove all hardware and set it aside. Clean inside every drawer and along every surface.
This step reveals the true condition of the wood and gives you a clear starting point before any repair or sanding work begins.
Step 3: Repair and Sand
Fill all cracks, chips, and holes with wood filler and let it dry fully. Re-glue any loose joints and clamp them overnight.
Once repairs are done, sand the entire piece starting with a coarse grit and finishing with a fine grit. Clean off all dust before moving to the next step.
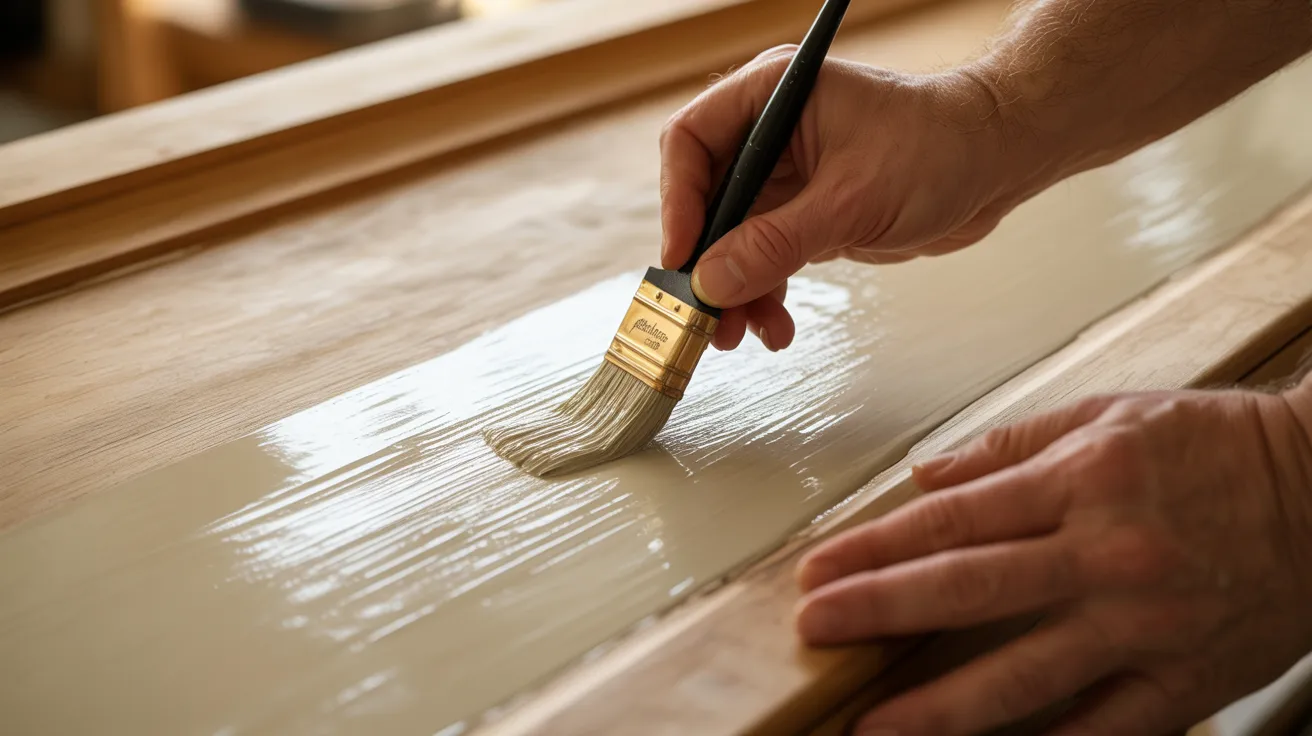
Step 4: Paint, Stain and Finish
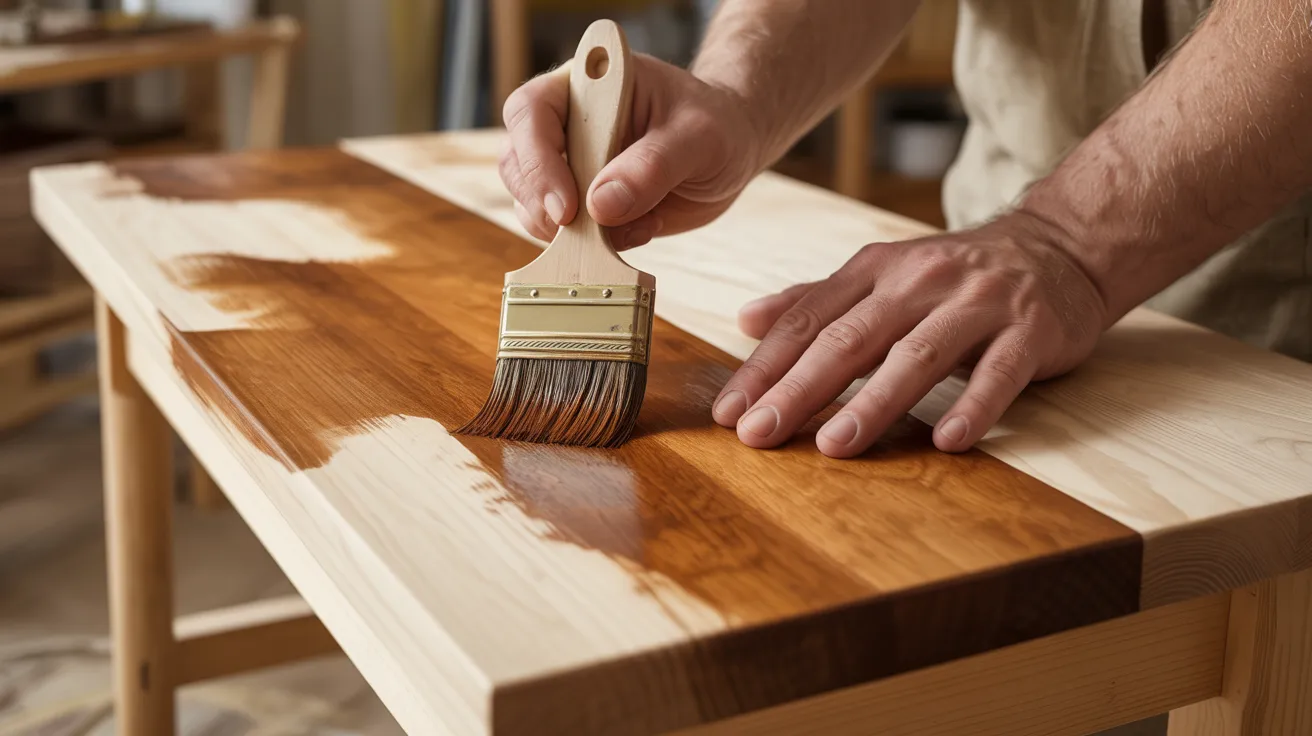
Apply primer first if you are painting. Let it dry fully before adding your first coat of paint or stain. Work in thin, even layers and sand lightly between coats.
Finish with a protective topcoat to seal everything in and protect the surface from daily wear and handling by future buyers.
Step 5: Reupholster and Upgrade
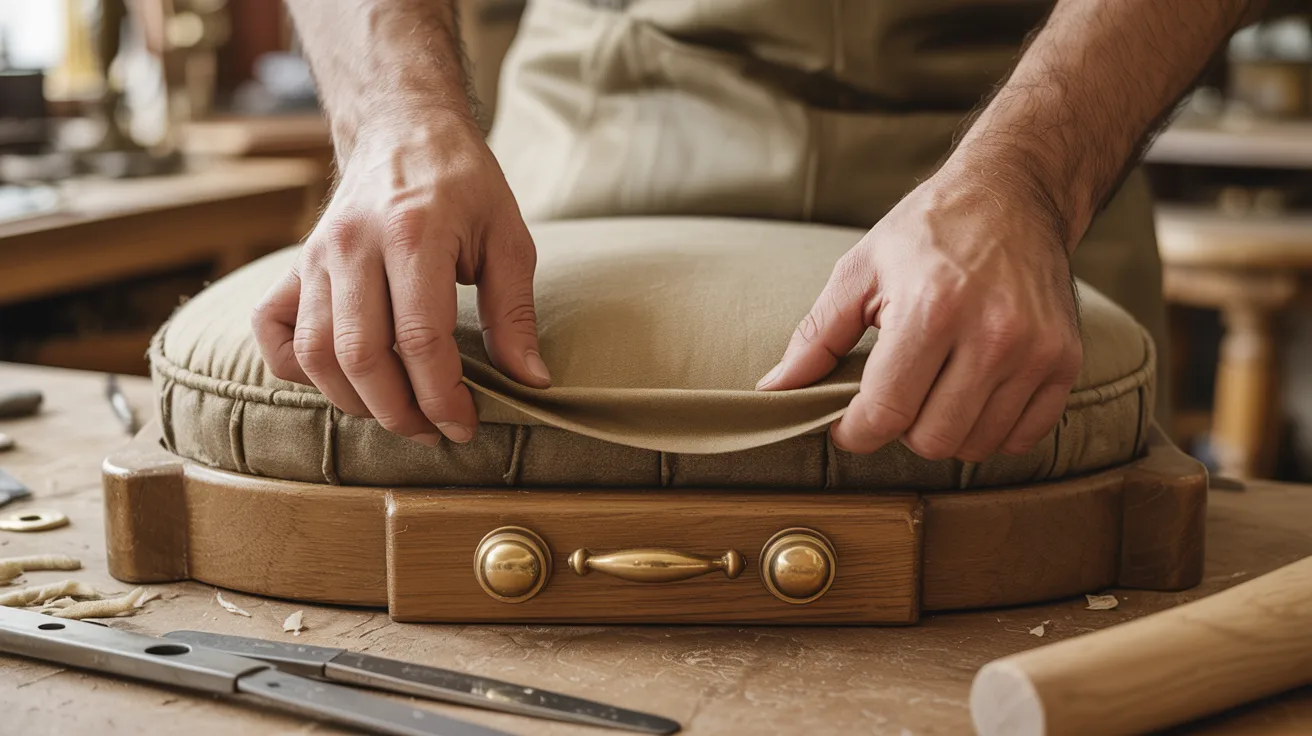
Replace any cushions with fresh foam and new fabric. Install the new hardware you selected during prep.
These final upgrades pull the whole piece together and signal quality to anyone who looks at it. Take your time at this stage since these details are what buyers notice first in photos and in person.
Step 6: Sell and Market

Take high-quality photos in good natural light. Write a clear, honest listing with a competitive price. Post on multiple platforms and respond to inquiries quickly.
Offer local delivery if you can. Follow up with anyone who showed interest but did not buy. Consistent follow-through is what turns a good flip into a completed sale.
Tips to Sell and Market Flipped Furniture
Getting the flip done is only half the work. Selling it well is what turns effort into income.
- Take photos in natural light to show true color and build buyer trust.
- Write honest descriptions and mention repairs, paint, and fabric used.
- Price based on the market by checking comparable listings first.
- Post on multiple platforms to get the widest reach on every listing.
- Reply within the hour so buyers don’t move on before you respond.
The more you practice selling, the faster your pieces move and the more profitable each flip becomes.
Conclusion
Furniture flipping gave me something I didn’t expect, the ability to see potential in things most people walk past.
My first flip was rough, but it sold, and that was enough to keep me going.
Start with one piece this week. It doesn’t need to be perfect. It just needs to be done. Drop a comment below and tell me what you are working on right now.
If this guide helped, share it with someone who loves a good find.
Frequently Asked Questions
How much money can you make flipping furniture?
Most beginners make $50 to $200 per piece, more with experience.
Do I need a lot of space to flip furniture?
No. A garage or spare room is plenty.
What type of furniture sells best when flipped?
Dressers, chairs, and side tables in mid-century or farmhouse styles.
How long does it take to flip a piece of furniture?
One to three days for simple pieces, up to a week for complex ones.
Is furniture flipping worth it as a side income?
Yes. Low costs, fast learning, and strong profit margins make it worth it.