Removing polyurethane from wood sounds simple, but it rarely is. One wrong move and you end up with a scratched surface or a patchy finish.
Most people strip polyurethane to refinish old furniture, fix peeling coats, or restore the wood’s natural look. The finish breaks down over time, and starting fresh is often the only real fix.
Oak behaves differently than pine. Chemical strippers work differently than sanding. Beginners want real answers from people who have actually done it, not just textbook steps.
What Is Polyurethane and Why Is It Hard to Remove
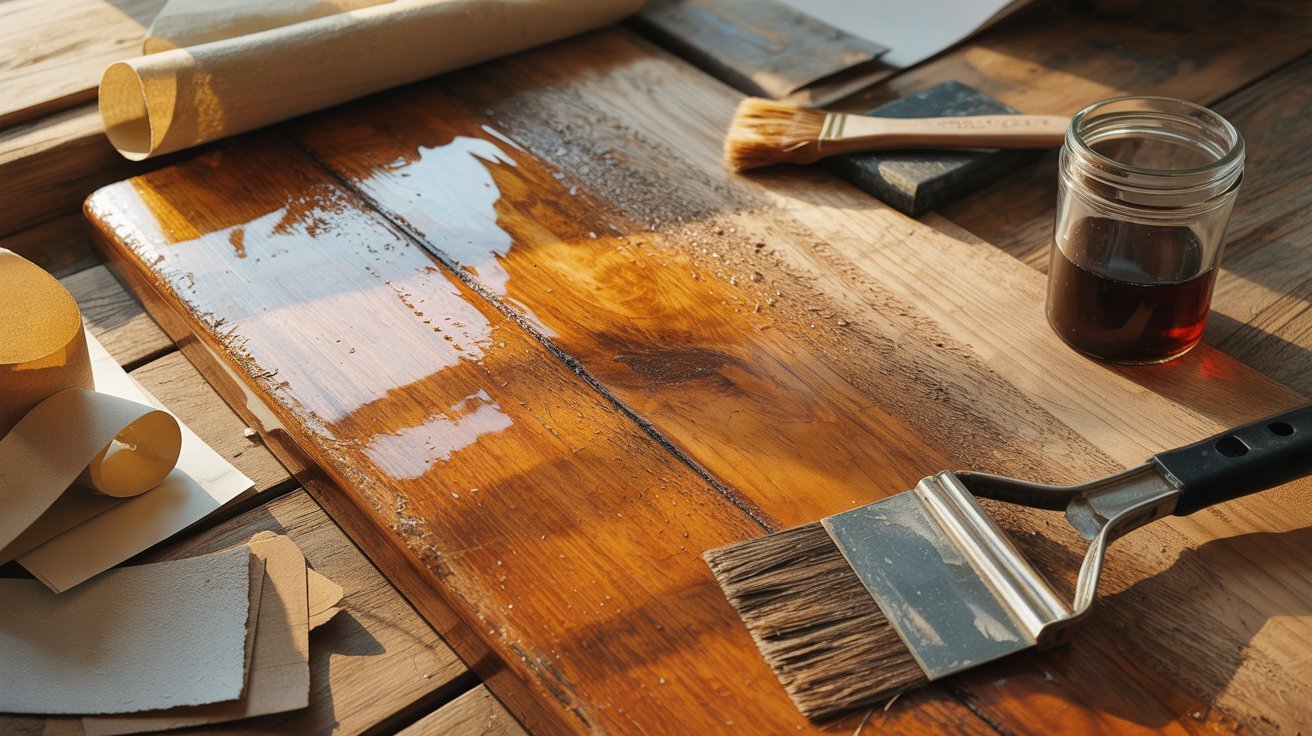
Polyurethane is a liquid plastic coating applied to wood to protect it from moisture, scratches, and daily wear. Once it dries, it bonds tightly to the wood surface and forms a hard shell.
That tight bond is exactly what makes it difficult to remove. It does not peel off easily. Most DIYers run into uneven stripping, wood discoloration, or stubborn residue left behind.
Without the right method, you can damage the wood before the finish even comes off.
Most Recommended Methods Shared by DIY Communities
A practical guide covering the best DIY methods to strip polyurethane from wood cleanly and safely.
Using Chemical Paint Strippers
Chemical paint strippers are one of the most popular choices for furniture refinishing. You apply the product, wait for it to soften the polyurethane, then scrape it off. Always work in a ventilated space and wear proper safety gear.
Sanding Off Polyurethane
Sanding works well when the finish is thin. Many DIYers use it after chemical stripping to clean up what’s left. Always sand in the direction of the wood grain to avoid scratches.
Using Acetone or Solvents
For small or detailed areas, acetone and solvents can help dissolve the finish without much scraping. They work best on spots where sanding or stripping feels too aggressive.
Step-by-Step Process to Remove Polyurethane From Wood
A clear, beginner-friendly walkthrough to strip polyurethane from wood without damaging the surface underneath.
Step 1: Prepare Your Workspace
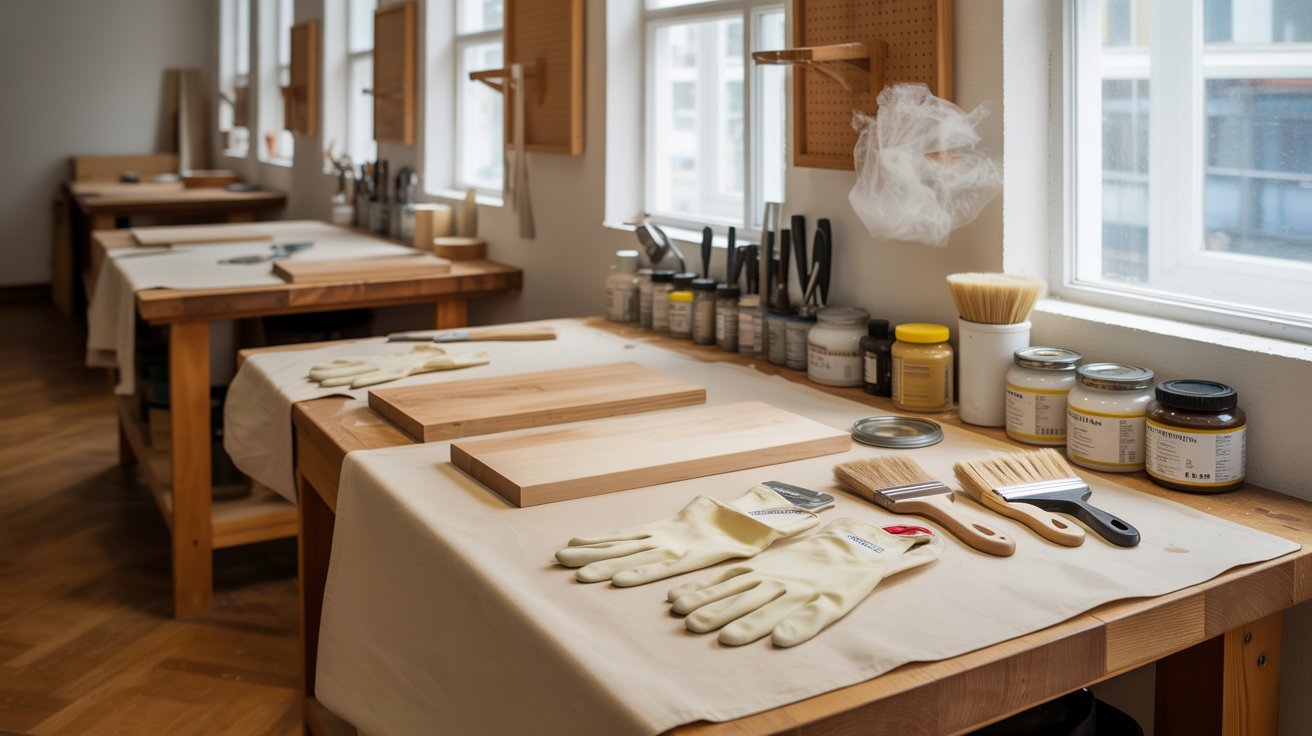
Before you start, lay drop cloths on the floor to catch drips and debris. Open windows and doors to keep air moving.
Good ventilation matters when working with chemical strippers. A well-prepared workspace keeps you safe and makes the whole process much easier to manage.
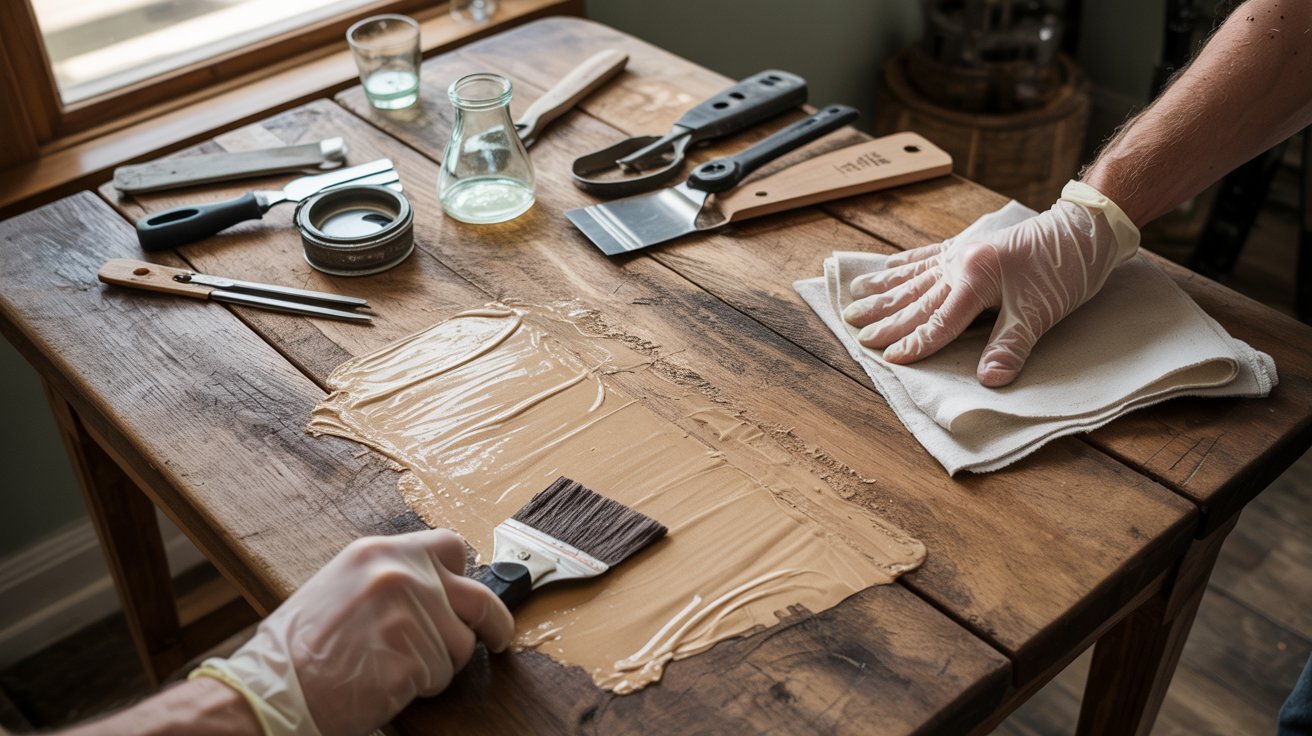
Step 2: Apply Paint Stripper Generously

Use a brush to spread the paint stripper evenly across the wood surface. Do not rush this step. Keep the surface wet and fully covered.
A thick, even coat gives the stripper enough contact time to soften the polyurethane properly before you move to the next step.
Step 3: Wait for the Finish to Bubble
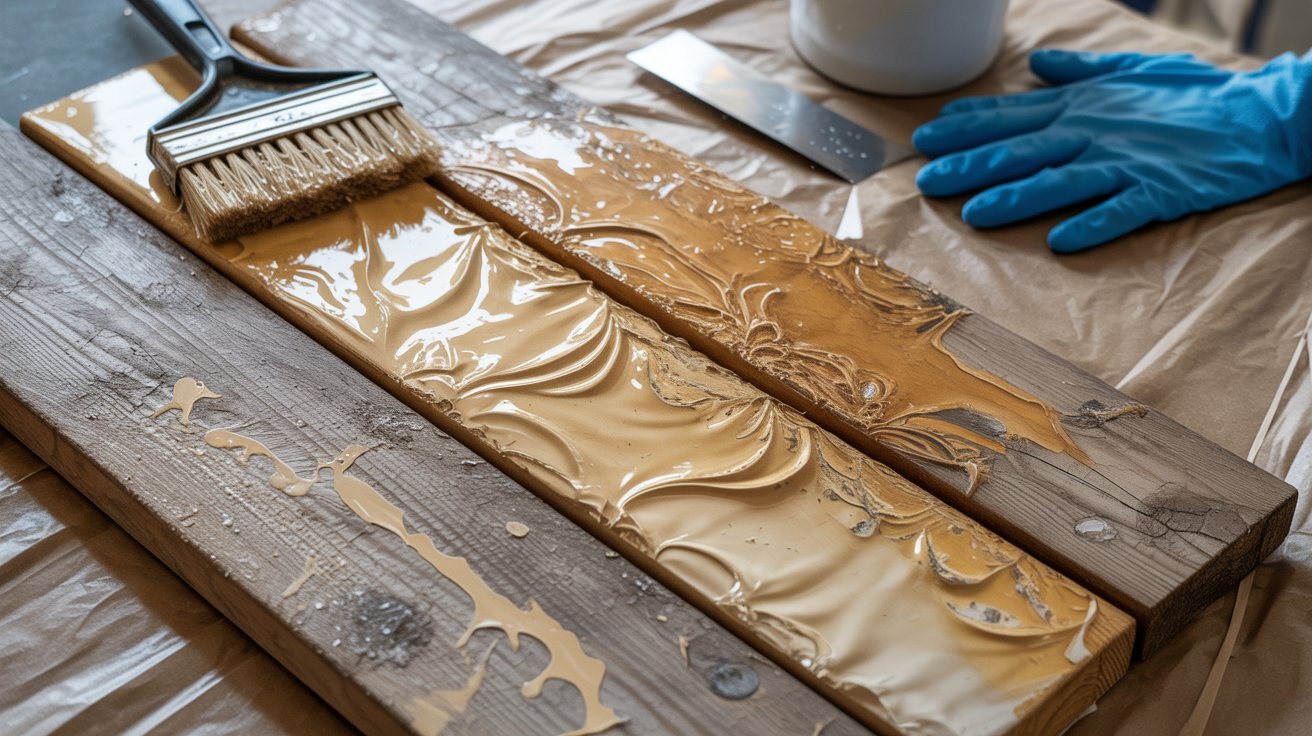
Once applied, give the stripper time to work. You will notice the polyurethane starting to bubble or wrinkle.
This means it is breaking down and loosening from the wood. Do not scrape too early. Waiting the full recommended time gives you much better results with less effort.
Step 4: Scrape Off the Finish

Use a plastic scraper or putty knife to remove the softened polyurethane. Work slowly and carefully to avoid gouging the wood.
Lift the loosened layers in steady strokes. For curved or detailed areas, a smaller tool gives you better control without scratching the surface underneath.
Step 5: Clean and Neutralize the Surface

After scraping, wipe the wood down with a cleaning solution or after-wash product. This removes leftover stripper residue and neutralizes any chemicals still sitting on the surface.
Skipping this step can interfere with your next finish. Give the wood time to dry completely before moving forward.
Step 6: Lightly Sand the Wood
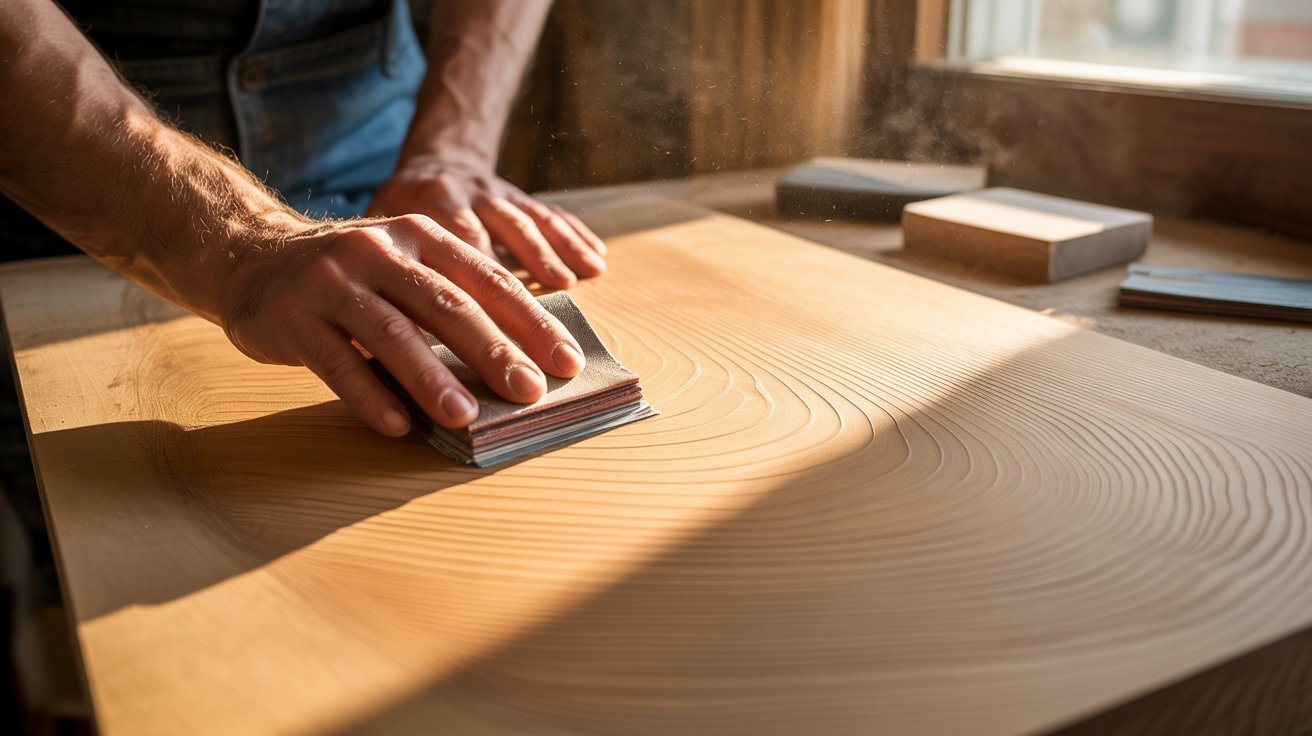
Once the surface is dry, use fine-grit sandpaper to smooth out any remaining finish or rough patches.
Always sand with the grain, never against it. This prepares the wood for staining, painting, or a fresh coat of finish and gives you a clean, even base to work from.
Tips Frequently Shared by DIY Communities
- A thick layer of stripper works far better than a thin one. It stays wet longer and breaks down the polyurethane more effectively.
- Cover the stripper with plastic wrap after applying it. This slows down drying and gives the product more time to work into the finish.
- Work on one small section at a time instead of the whole surface. This keeps the stripper active and makes scraping much easier to control.
- For carved or detailed areas, use a small detail brush to apply the stripper. It gets into tight spots that a regular brush simply cannot reach.
- Always test your chosen method on a hidden area first. Different wood types react differently, and a quick test saves you from costly mistakes.
Quick Comparison of Polyurethane Removal Methods
Not every removal method works the same way. This quick breakdown helps you pick the right approach based on your project size, skill level, and available time.
|
Method |
Difficulty |
Time Required |
Best For |
|
Chemical Stripper |
Easy |
Fast |
Furniture restoration |
|
Sanding |
Moderate |
Slow |
Thin finishes |
|
Solvents (Acetone) |
Moderate |
Medium |
Small areas |
|
Combination Method |
Easy |
Medium |
Most DIY projects |
Final Thoughts
Picking the right removal method makes a real difference in your results. Chemical strippers suit larger surfaces, sanding works for thinner finishes, and solvents handle the smaller spots.
Rushing the process is where most people go wrong. Take your time, prep the surface well, and let the products do their job properly.
Got a wood project coming up? Drop your questions in the comments. We read every one and love helping fellow DIYers get it right.
Frequently Asked Questions
Can I remove polyurethane from wood without chemicals?
Yes, sanding is a chemical-free option that works well on thin finishes. It takes more time and effort but is a solid choice for smaller projects.
How long should I leave the stripper on the wood?
Most strippers need 15 to 30 minutes to soften the finish properly. Always check the product label since timing can vary between different brands.
Will removing polyurethane damage the wood underneath?
It can, if done carelessly. Using the right tools and working slowly keeps the wood surface intact and ready for a fresh finish.
Can I use acetone on all wood types?
Acetone works on most wood types but always test it on a hidden spot first. Some woods react badly to strong solvents and may discolor.
Do I need to sand after using a chemical stripper?
Light sanding after stripping is highly recommended. It removes any leftover residue and gives the wood a smooth, clean surface before applying a new finish.