Getting your laminate flooring pattern right makes a real difference. It affects how a room looks and how long your floor lasts.
I’ve seen many DIY floors go wrong, not because of poor materials, but because of poor planning.
This guide covers everything you need: Popular patterns to choose from. Tools and materials you need. A clear, step-by-step installation process.
You will also learn what mistakes to avoid and how to keep your floor looking great for years. This guide gives you a solid plan for any room size.
What Is a Laminate Flooring Pattern?
Understanding patterns helps you install flooring that looks great and lasts longer.
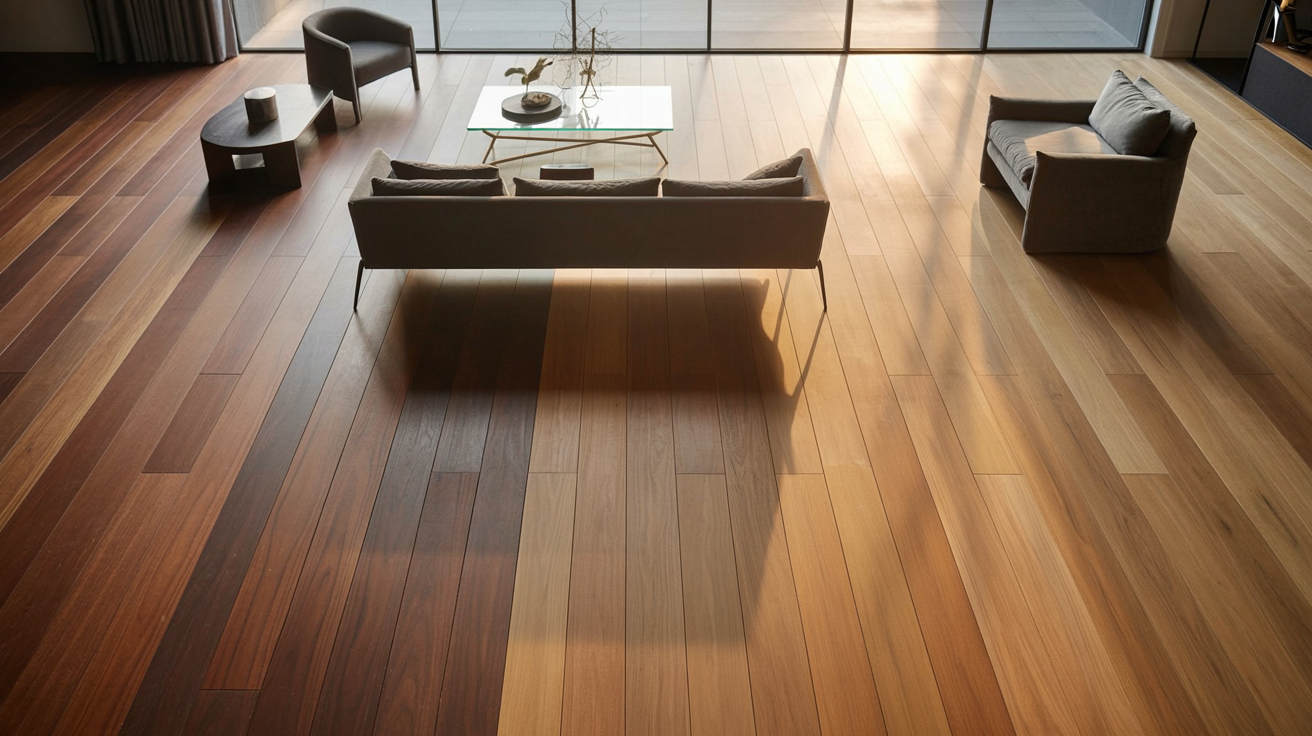
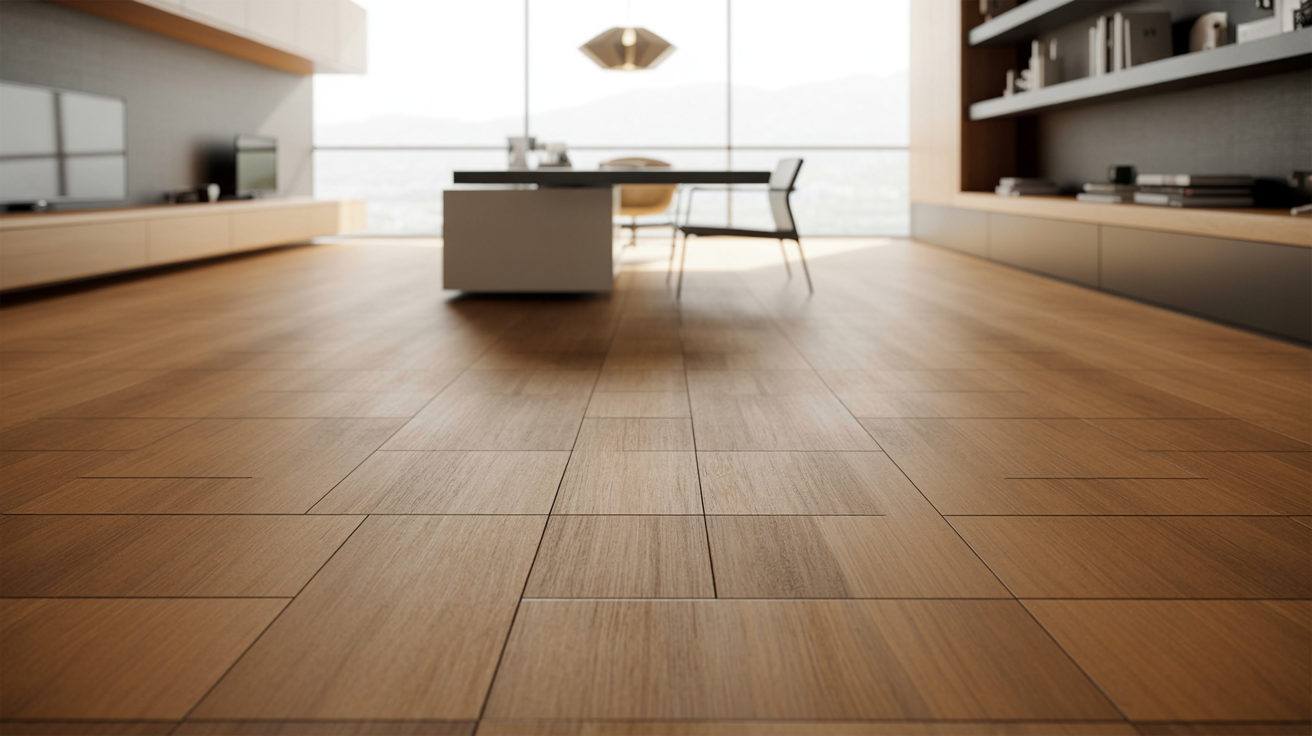
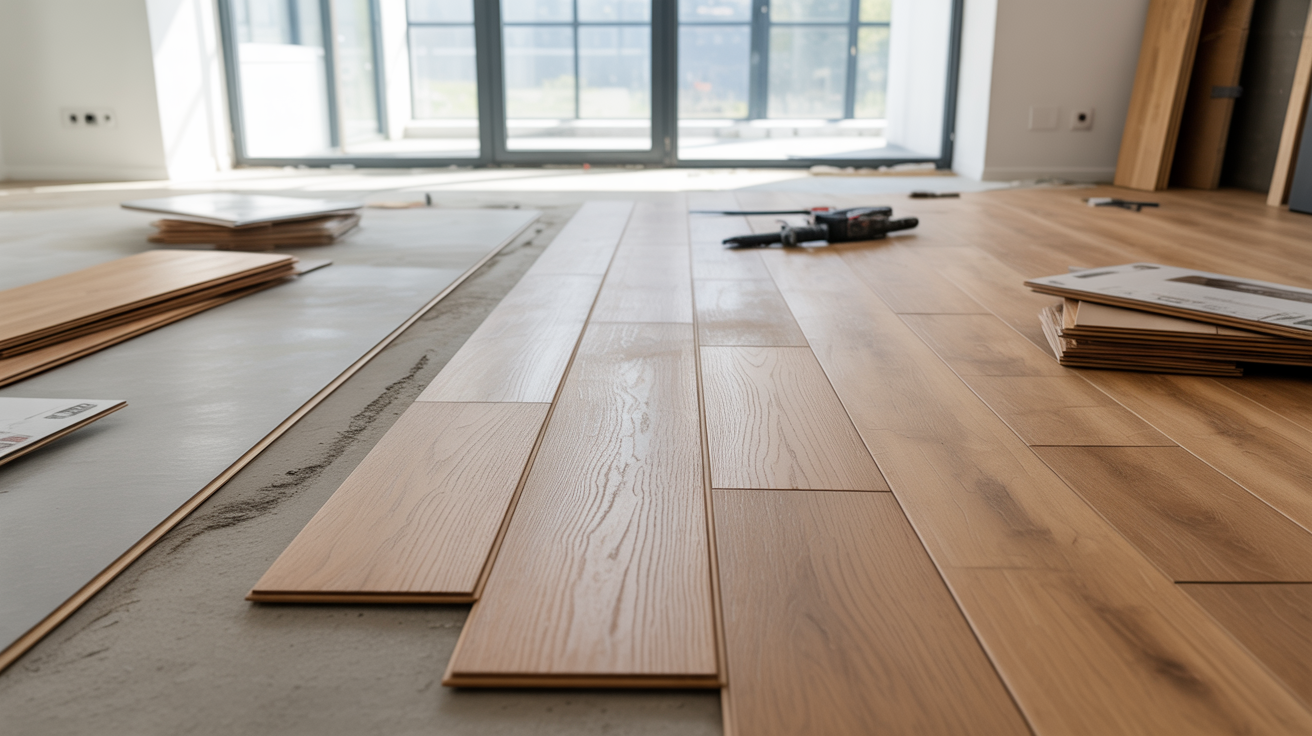
A laminate flooring pattern refers to how planks are arranged across a floor. The direction you lay them affects how large or small a room feels.
Planks running lengthwise make a room look longer. Planks across the width make it feel wider.
The right pattern also adds structural strength to the floor. Poor planning leads to weak joints and an unnatural look.
Most mistakes happen before a single plank is laid. Always measure the room, plan the layout, and account for expansion gaps before you start.
How to Lay Laminate Flooring Pattern Step-by-Step
Follow these steps carefully to get a clean, long-lasting finish.
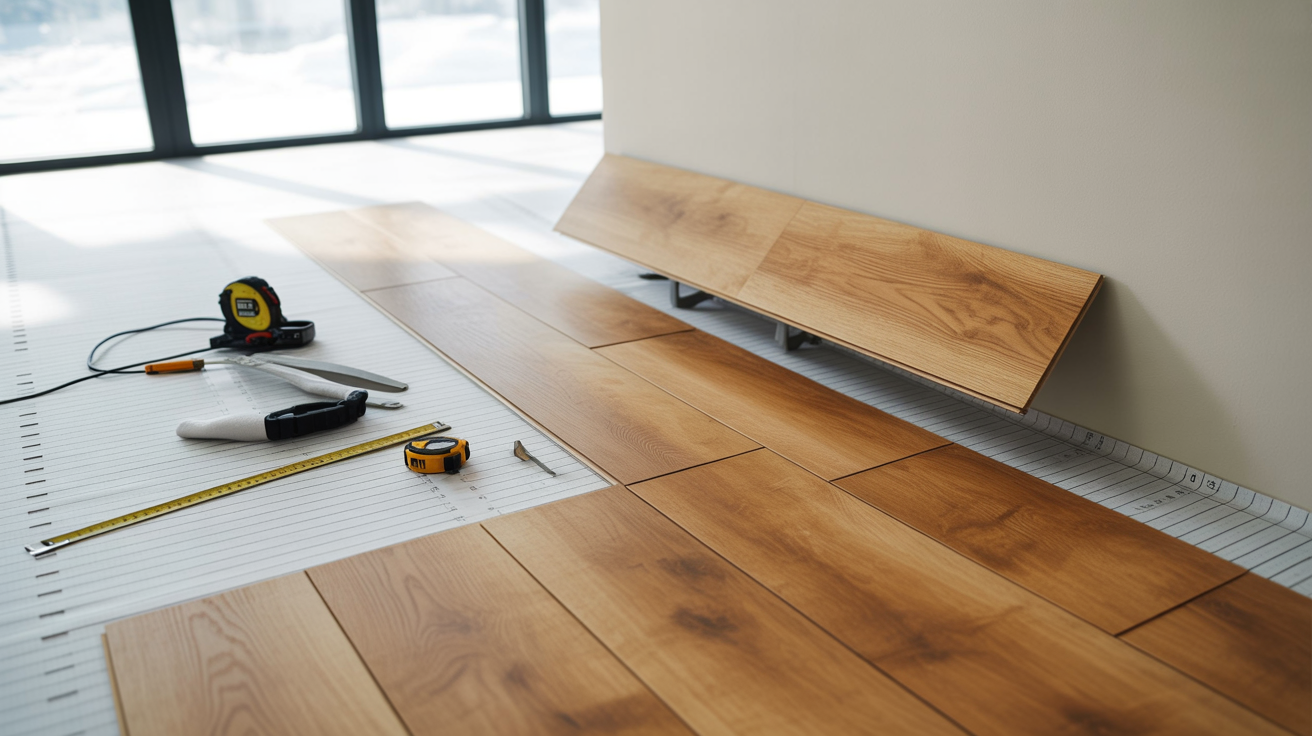
Step 1: Plan the Flooring Pattern Layout
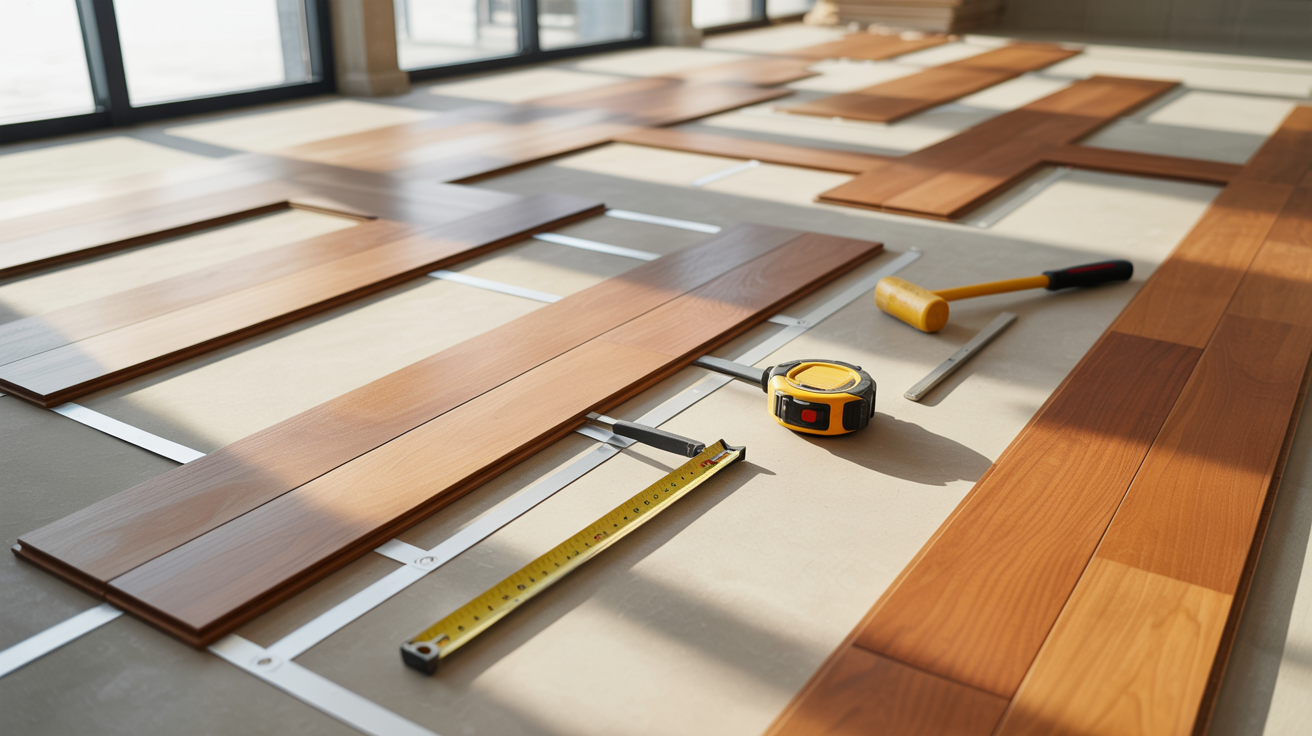
A solid plan on paper saves a lot of guesswork once you start cutting.
Measure the room and sketch the layout before cutting anything. Decide on the direction and pattern first. Dry-lay a few rows to see how the pattern looks in the actual space.
Step 2: Install Underlayment for Support

Underlayment creates a stable base and reduces noise underfoot.
Roll out underlayment across the entire subfloor. Tape the seams together so there are no gaps. This layer adds light cushioning and helps with sound dampening.
Step 3: Start the First Row Along the Longest Wall
The first row sets the direction and alignment for every row that follows.
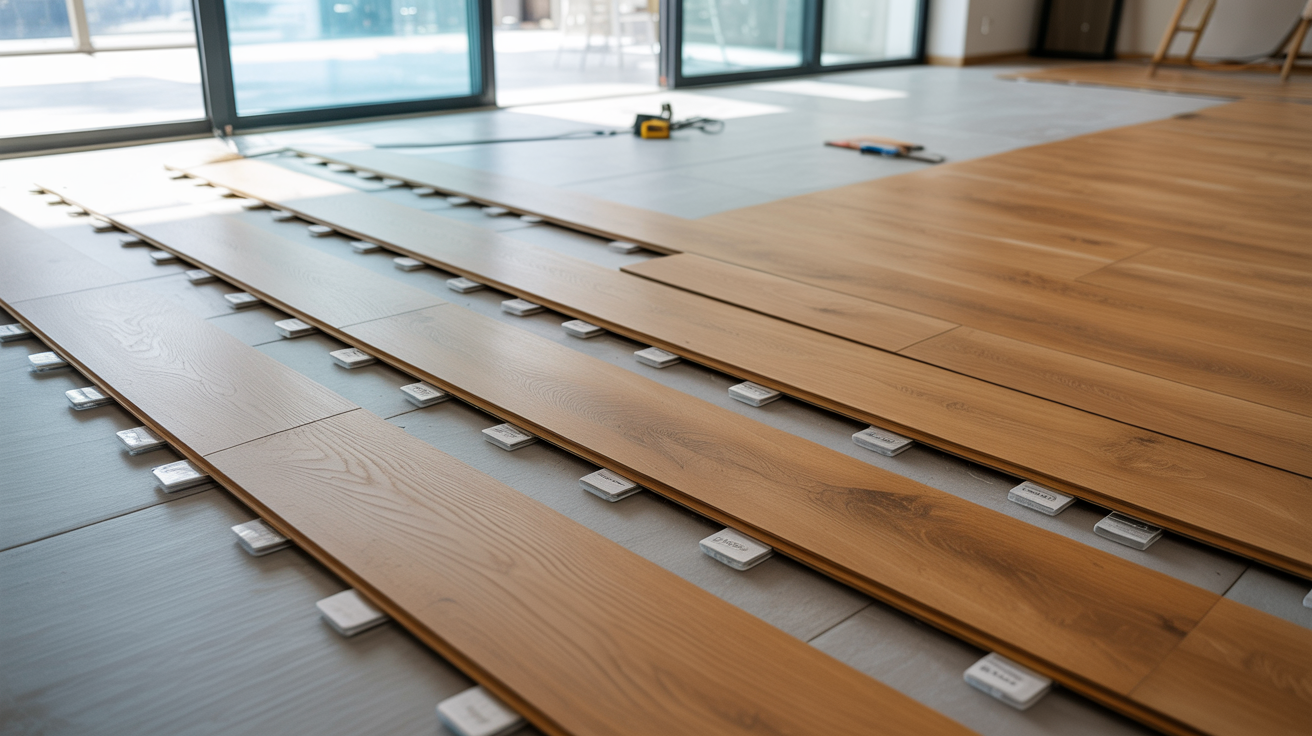
Place the first plank with the tongue side facing the wall. Use spacers to keep a gap between the plank and the wall. Keep this row perfectly straight before moving forward.
Step 4: Maintain Expansion Gaps Near Walls
Laminate flooring moves slightly with temperature and moisture changes.
Leave a gap of about 10 to 12 mm around all walls. Use spacers throughout the installation. Remove them only after all planks are laid and trim is in place.
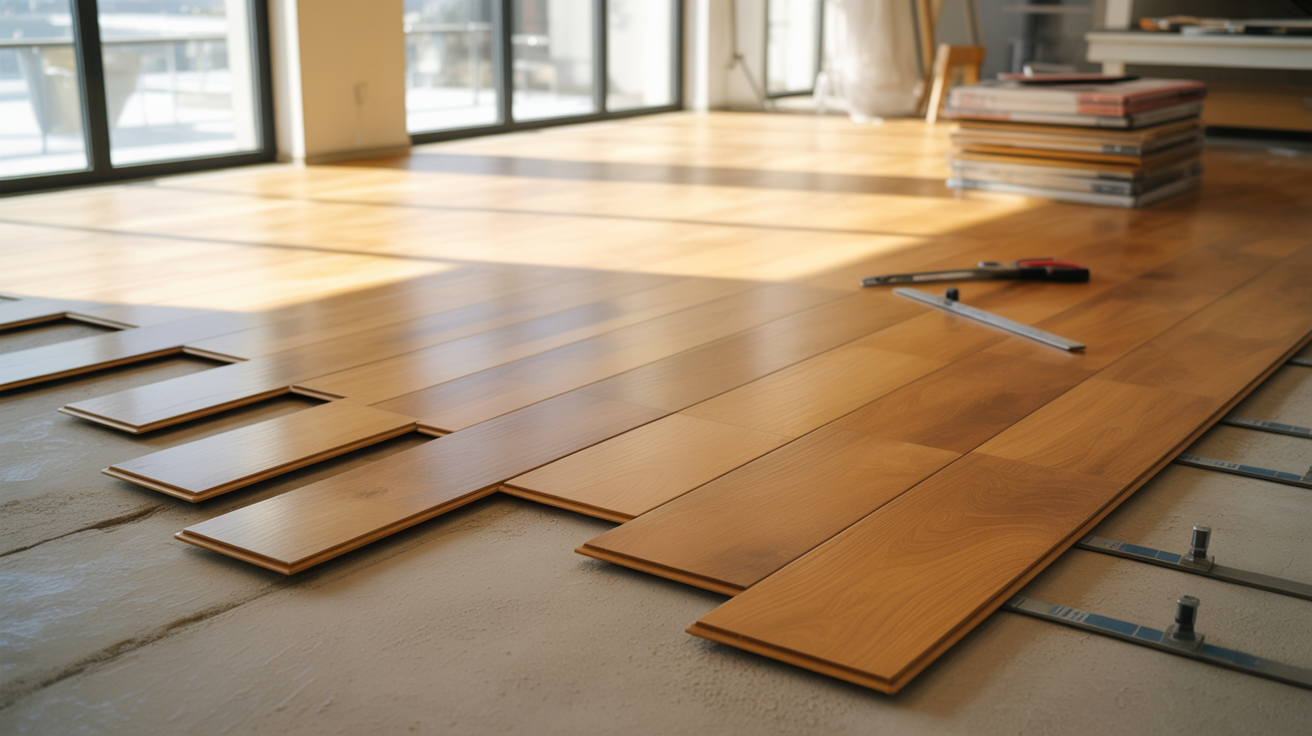
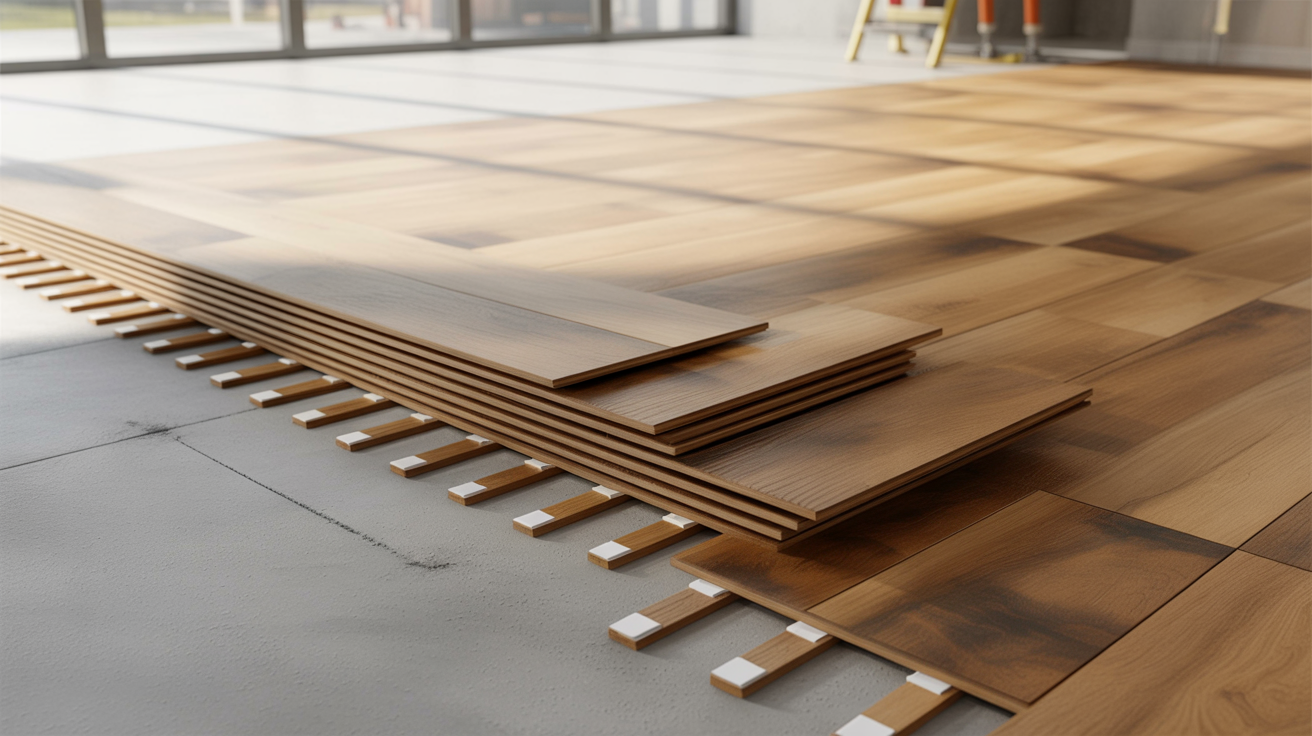
Step 5: Stagger Planks to Create a Natural Pattern
Staggering the joints keeps the floor strong and prevents it from looking repetitive.
Offset each row by at least one-third the length of a plank. This stops joints from lining up and keeps the structure solid. Use offcuts from the previous row to start the next one.
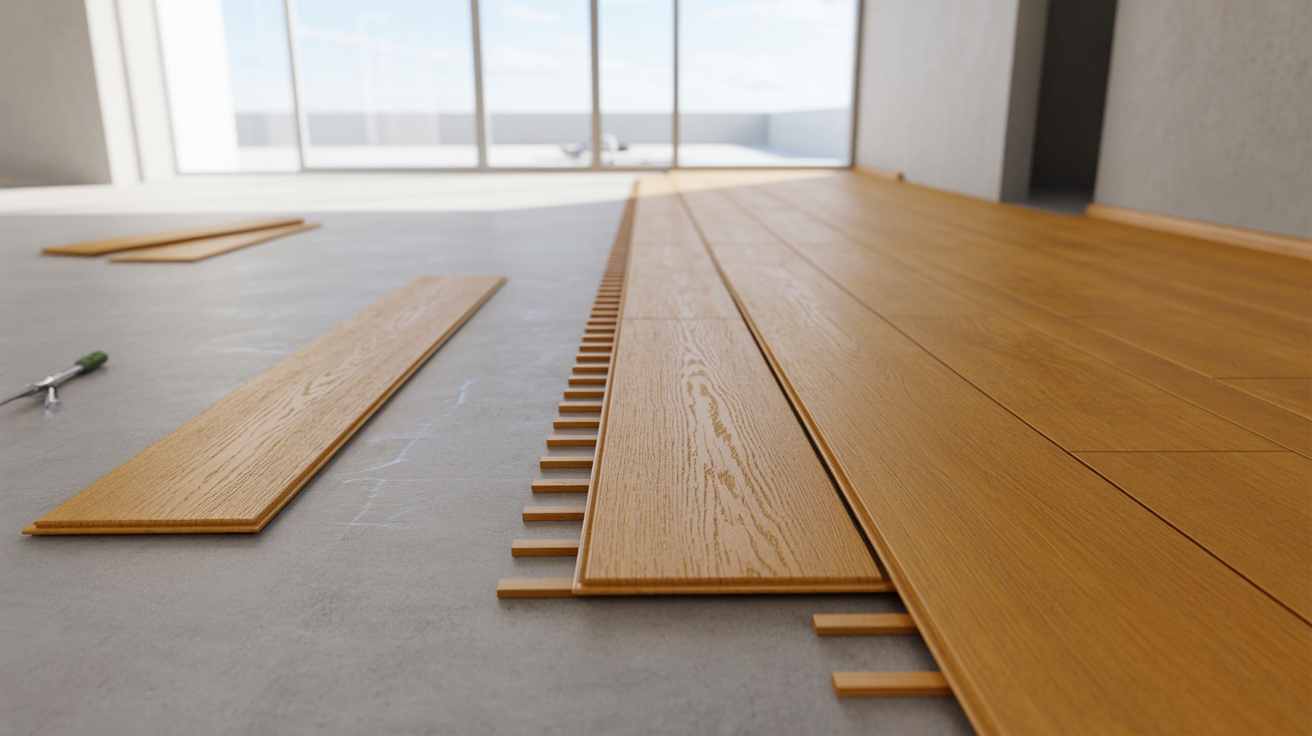
Step 6: Continue Installing Rows Using Locking System
Each plank locks into the previous row using the click-and-lock mechanism.
Angle the plank and press it into the groove of the previous row. Tap it lightly with a mallet and tapping block. Work row by row across the room until you reach the far wall.
Step 7: Cut and Fit the Final Row of Planks
The last row almost always needs trimming to fit the remaining space.
Measure the gap and rip planks to size using a saw. Leave the same expansion gap as the other walls. Use a pull bar to lock the final row into place without force.
Step 8: Install Baseboards and Finishing Trim
Trim and baseboards give the floor a clean, finished look along every edge.
Fix baseboards along the walls to cover the expansion gaps. Add transition strips at doorways or where flooring meets other surfaces. Follow the manufacturer’s instructions for nailing or gluing.
Best Laminate Flooring Patterns for Different Rooms
Not every pattern suits every room matching the layout to the space gives better results.
Small Rooms and Narrow Spaces
The right pattern in a small room can make it feel noticeably bigger.
Use a diagonal or straight lay pattern running toward the longest wall. This draws the eye down the room and creates a sense of extra space.
Open Concept Living Areas
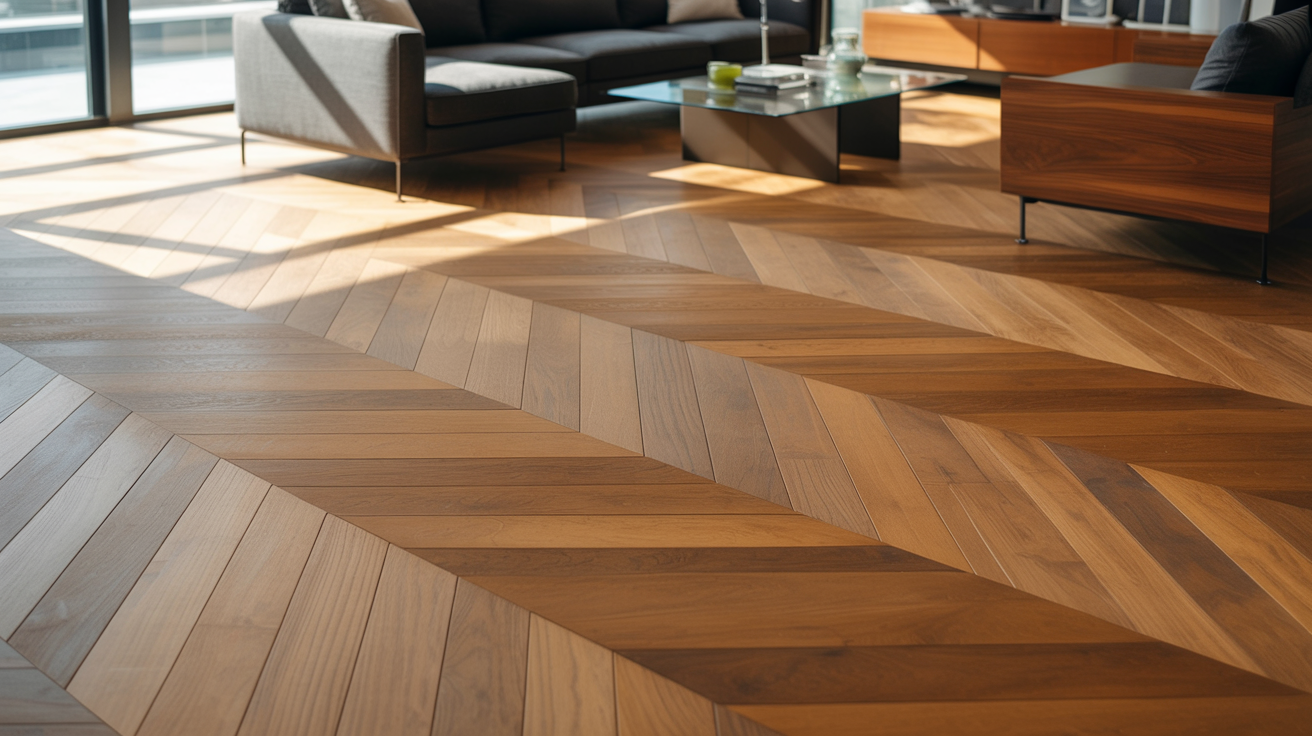
Large open spaces benefit from patterns that add texture without feeling too busy.
A random staggered or herringbone pattern works well here. These layouts add visual depth and keep large floors from looking flat.
Hallways and Long Corridors
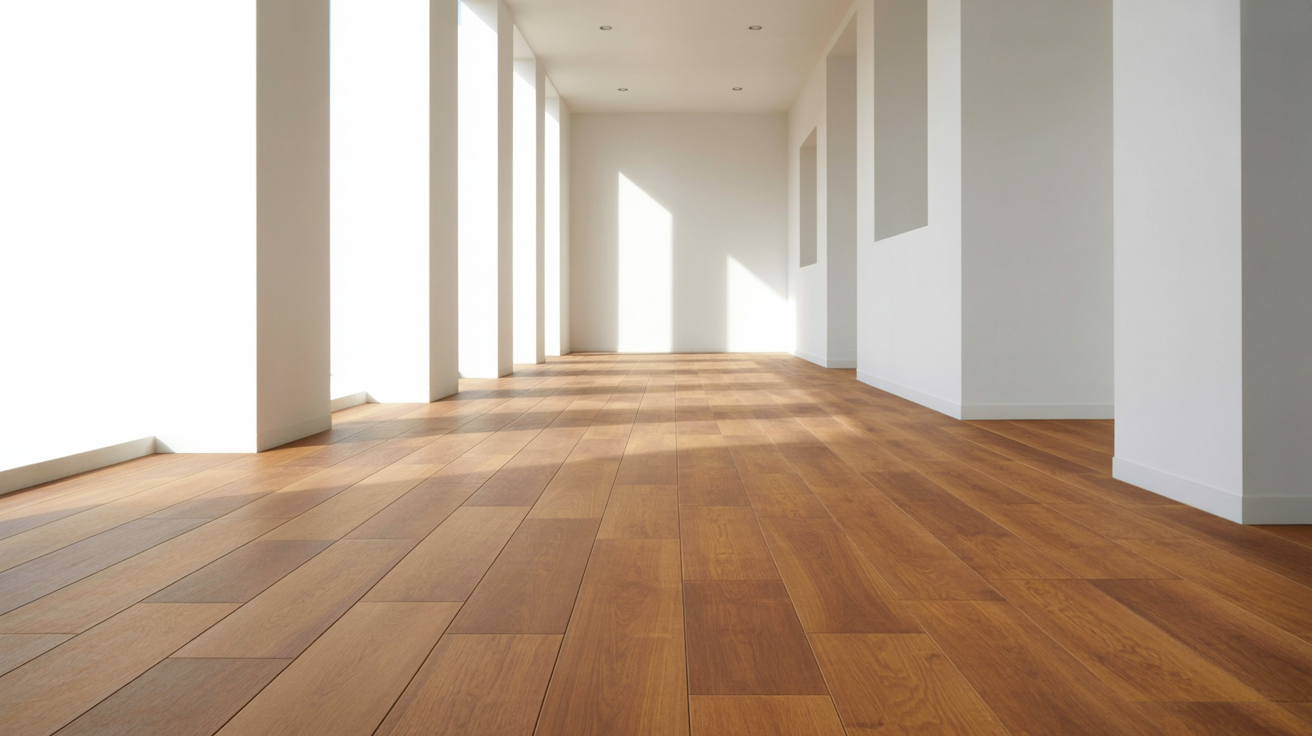
Running planks along the length of a hallway creates a clean, flowing look.
A straight lay pattern is the best choice for corridors. It elongates the space and makes narrow hallways feel wider and more open.
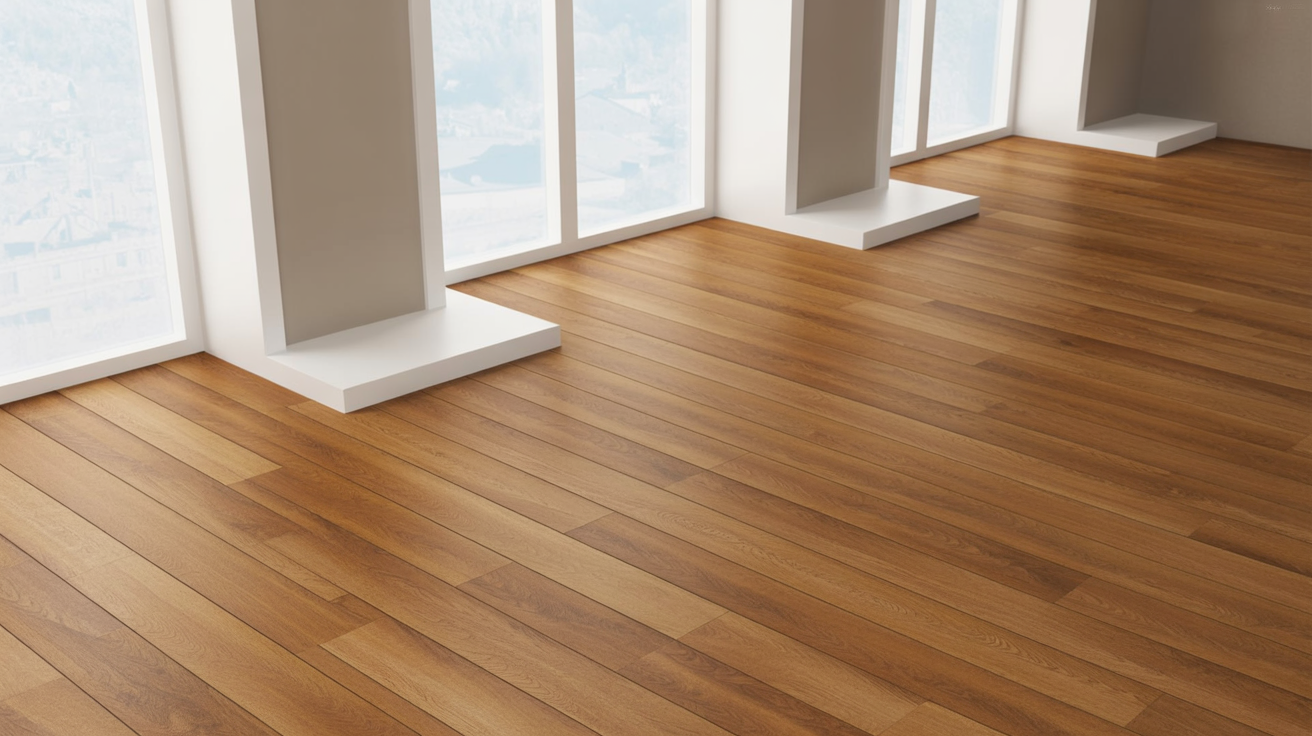
Rooms With Multiple Windows
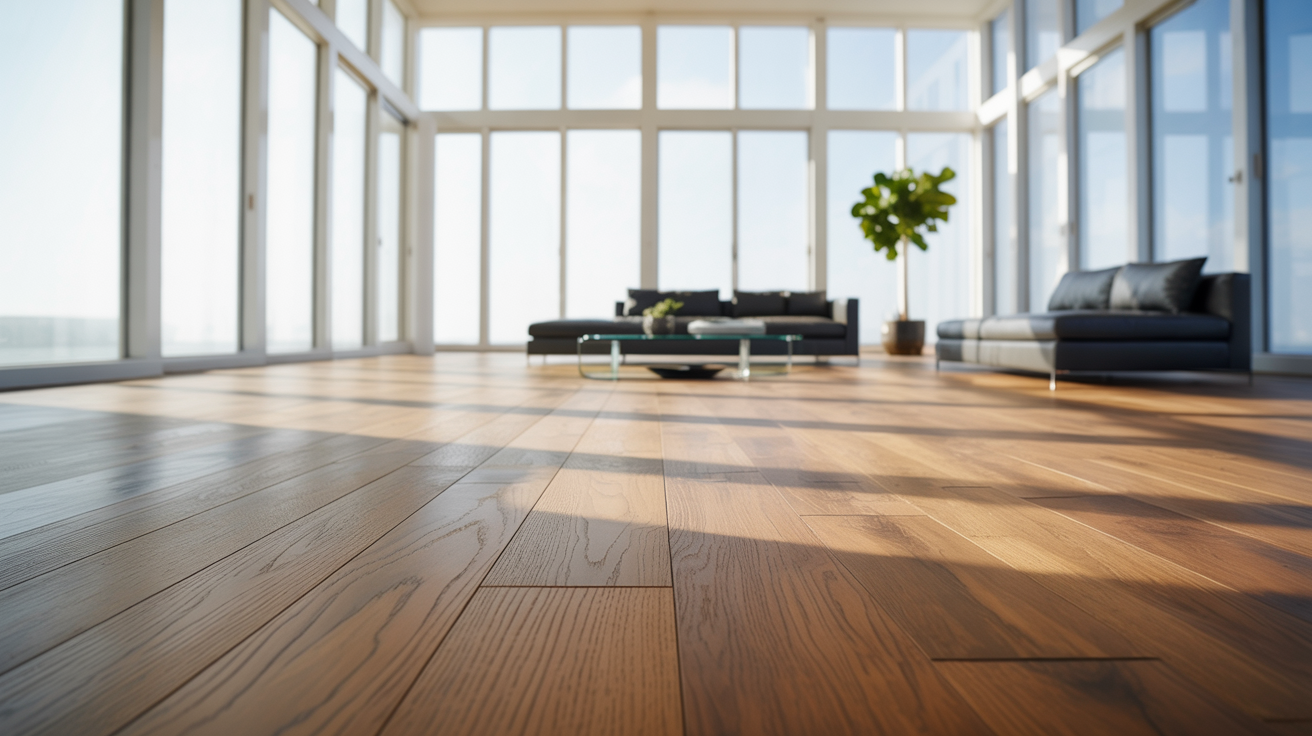
Light plays a big role in how the floor looks throughout the day.
Use a straight lay pattern that runs toward the main window. This keeps the floor balanced and highlights the natural light in the room.
Common Mistakes to Avoid When Laying Laminate Flooring Patterns
Avoiding these mistakes will save you time and money on corrections.
Aligning seams in every row weakens the floor and makes it look unnatural. Always stagger the joints by at least one-third of a plank length to keep the structure solid.
Ignoring expansion gaps is one of the most costly mistakes you can make. Planks expand with heat and moisture. Without gaps, they will buckle or lift over time.
Installing over an uneven subfloor causes locking joints to loosen and fail. Level the surface completely before laying any planks. Fill low spots and sand down raised areas first.
Choosing the wrong direction for planks can make a room feel smaller or off-balance. Always plan the direction based on the room shape and the main light source before you begin.
Tips for Creating a Professional Laminate Flooring Pattern
Small details during installation make a big difference in the final result.
- Stagger planks by keeping joints at least 300 mm apart between rows
- Run planks toward the main light source to reduce visible seams
- Mix plank lengths to mimic a natural wood look
- Maintain the same direction and pattern across connected open spaces
- Leave planks in the room for 48 hours before installation to acclimate
Conclusion
I remember standing in my own room, staring at a pile of planks, wondering where to start. Planning the laminate flooring pattern first made all the difference.
A little time spent measuring and mapping saves hours of frustration later.
If this guide helped you, drop a comment below and let me know which pattern you chose. Share this post with someone who is planning a flooring project.
And if you want more hands-on home improvement tips, check out our related guides.
Frequently Asked Questions
What is the best laminate flooring pattern for beginners?
The straight lay pattern is the easiest for beginners. It requires fewer cuts and follows a simple, single-direction layout.
How much space should you leave between laminate flooring and the wall?
Leave a gap of 10 to 12 mm between the planks and all walls. This allows the floor to expand without buckling.
Can you install laminate flooring in a herringbone pattern?
Yes, laminate flooring can be laid in a herringbone pattern. It requires more planning, precise cuts, and extra material compared to standard layouts.
Should laminate flooring run parallel or perpendicular to light?
Run the planks parallel to the main light source in the room. This reduces the visibility of seams and makes the floor look more natural.
How do you keep laminate flooring from separating over time?
Maintain proper expansion gaps and install over a level subfloor. Keep humidity levels stable and avoid excess moisture near the floor.