I spent years paying for commercial wine storage before I finally said enough.
Building a diy wine cellar at home cost less than I expected and gave me full control over how my collection is stored.
This guide covers everything, from setting up a diy wine cellar cooling system to choosing the right diy wine cellar racks.
I’ll also show you how a diy wine cellar under stairs can work better than you’d think.
Let’s get into it.
Why Build a DIY Wine Cellar?

Wine needs stable temperature and humidity to age properly. A home cellar gives you that control without paying monthly storage fees.
You design it around your space and bottle count. No compromise, no wasted room.
Commercial storage adds up fast. A DIY build is a one-time cost that pays for itself quickly, and you get full access to your collection anytime.
Whether it’s a small diy wine cellar under stairs or a full basement setup, the size is up to you. Add a diy wine cellar cooling system and it runs reliably all year.
7 Steps to Build Your DIY Wine Cellar
Take it one step at a time. The process is straightforward when you follow a clear plan.
Step 1: Choose the Right Location
Pick a space that stays naturally cool, a basement is ideal. A diy wine cellar under stairs also works well for smaller homes with limited space.
Avoid areas near heat vents, water heaters, or sun-facing exterior walls. Aim for 50 to 70 percent relative humidity in the space.
Step 2: Plan Your Layout and Design
Decide on your bottle count before buying anything. Measure the space, then plan rack placement, door swing, and cooling unit position on paper first.
Consider custom diy wine cellar racks sized to fit your exact walls, no wasted gaps, no guesswork.
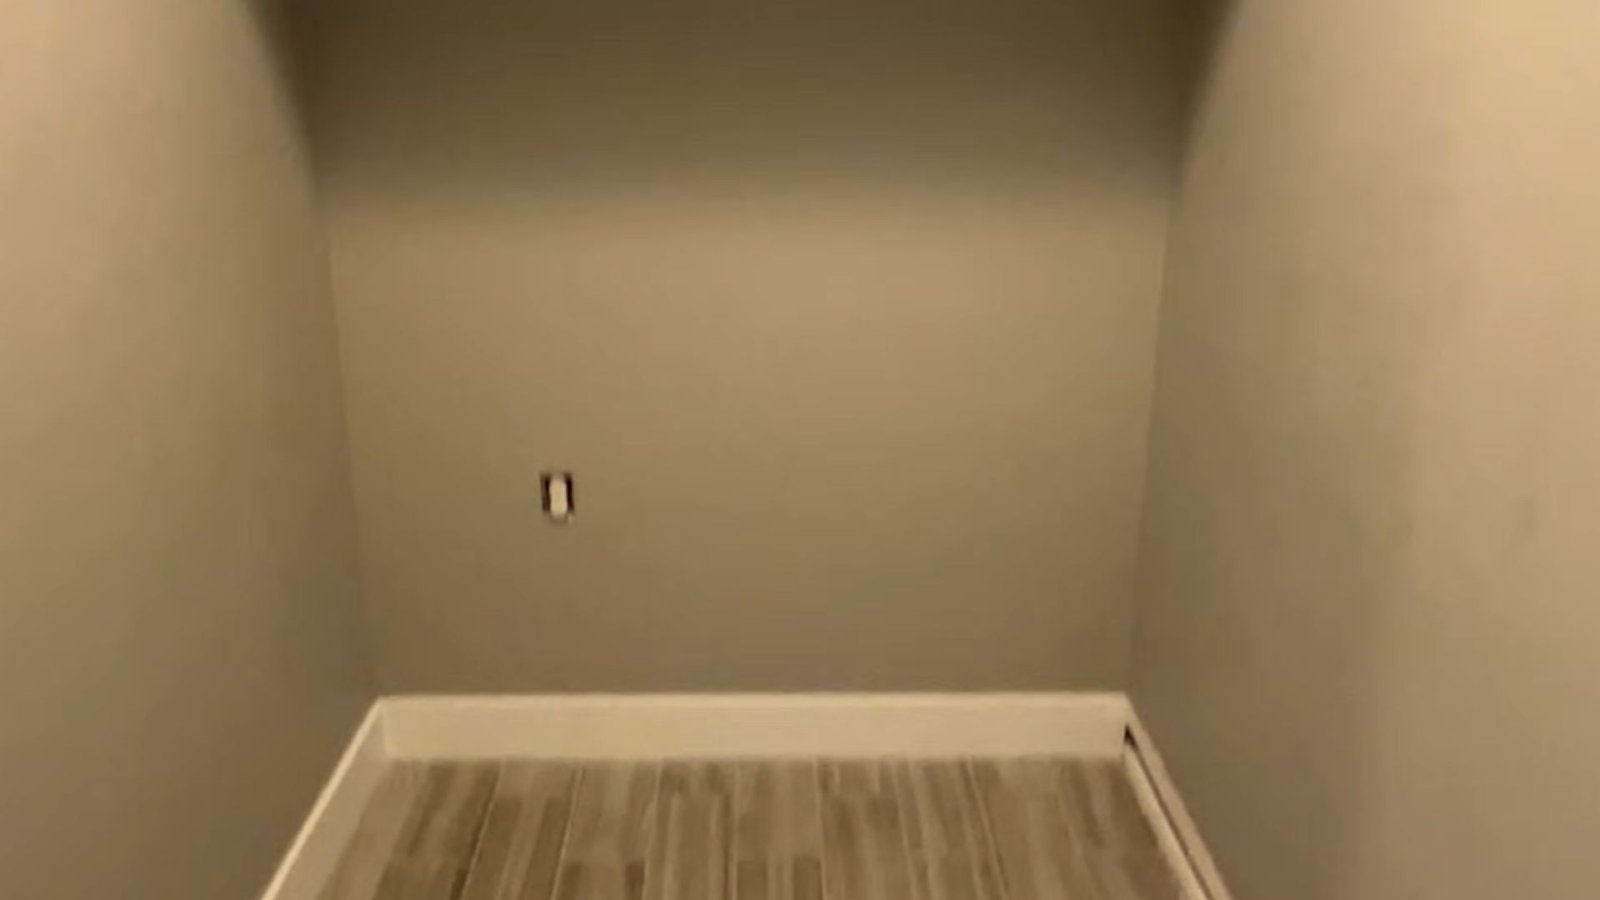
Step 3: Prepare the Space
Clear everything out and check walls and floors for cracks or water damage. Seal any problem areas before you start building.
Plan electrical outlets early for the cooling unit and lighting. If wiring isn’t your comfort zone, hire an electrician for that part.
Step 4: Install Insulation and Vapor Barrier
This step matters more than any other. Use closed-cell spray foam or rigid foam board on every wall, the ceiling, and the floor. No gaps.
A diy wine cellar cooling system works best when insulation is solid, good insulation means a smaller unit can handle the job efficiently.
Install a vapor barrier on the warm side of the insulation to block moisture buildup inside the walls.
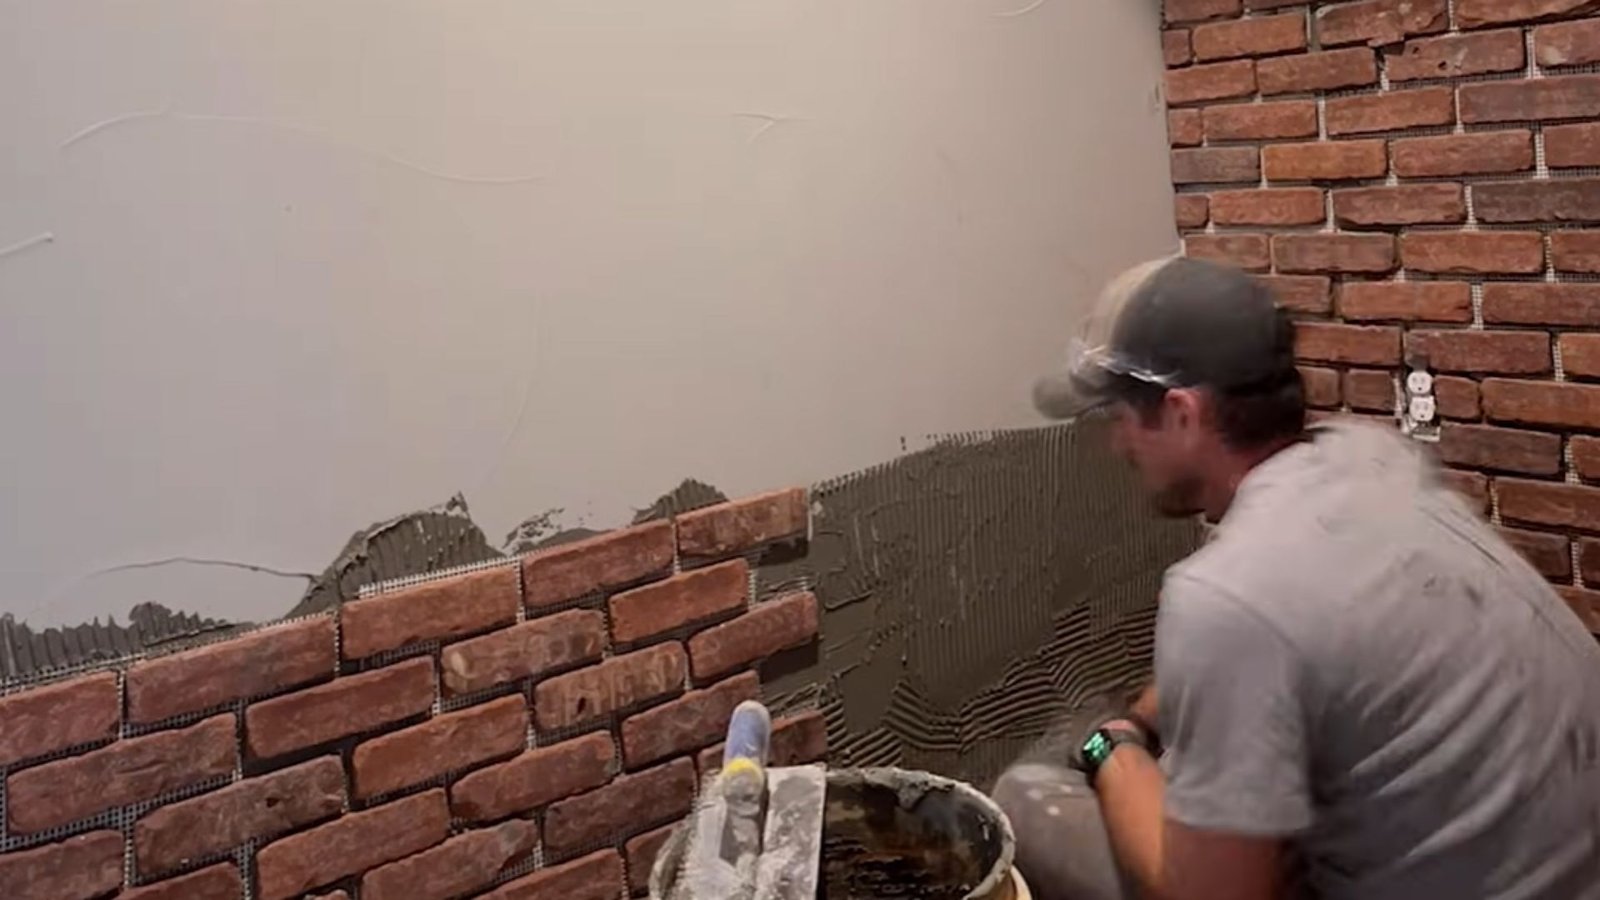
Step 5: Flooring and Wall Finishes
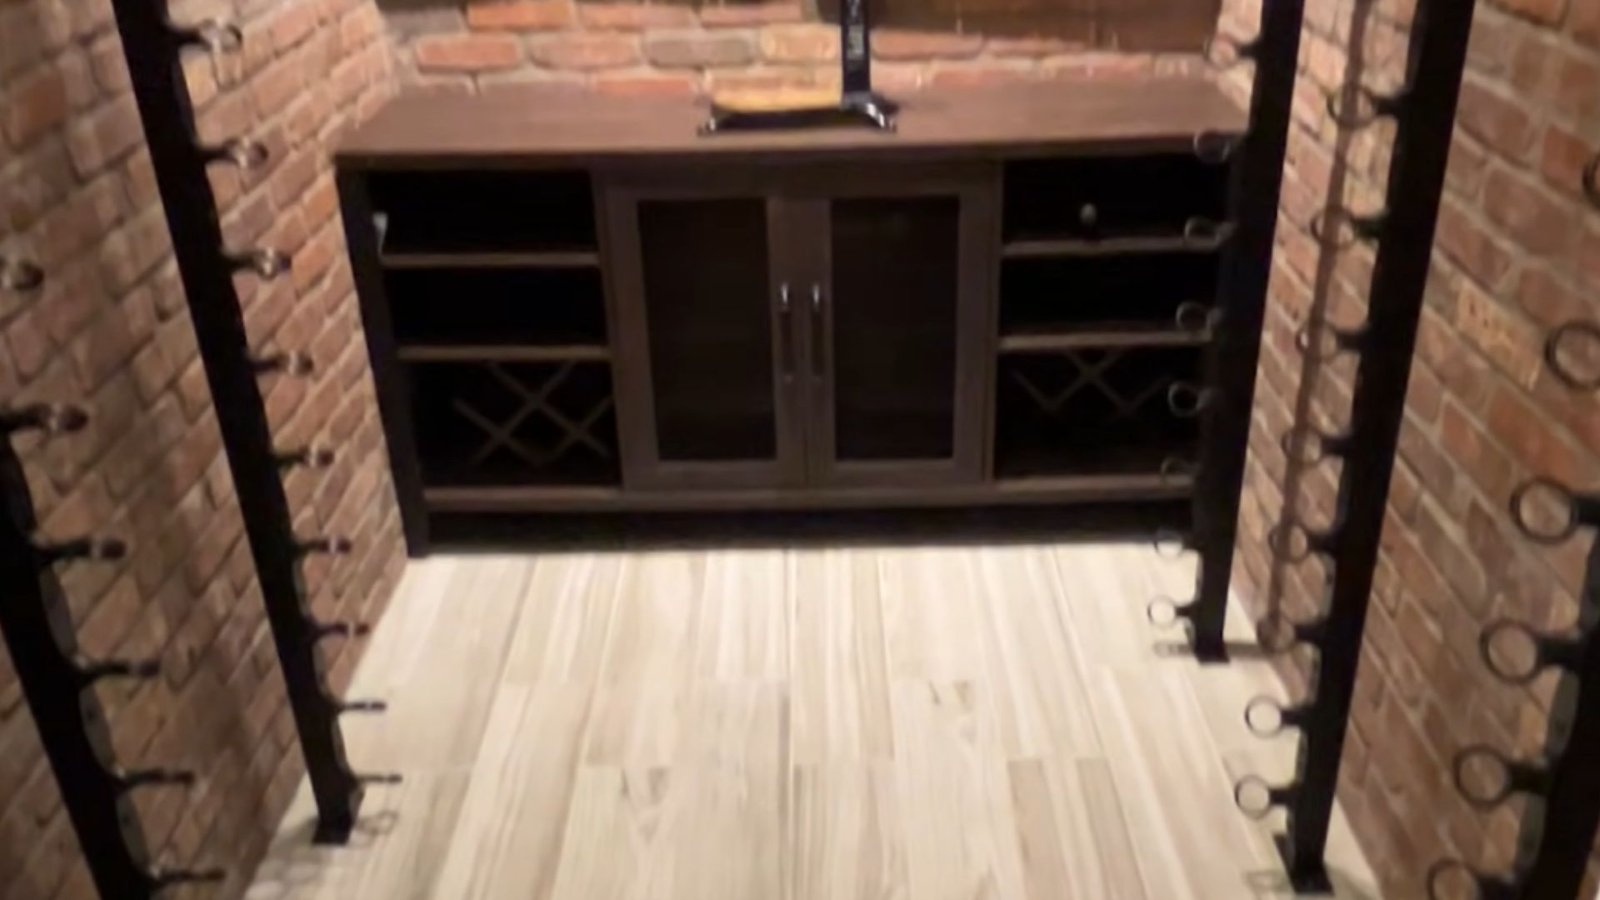
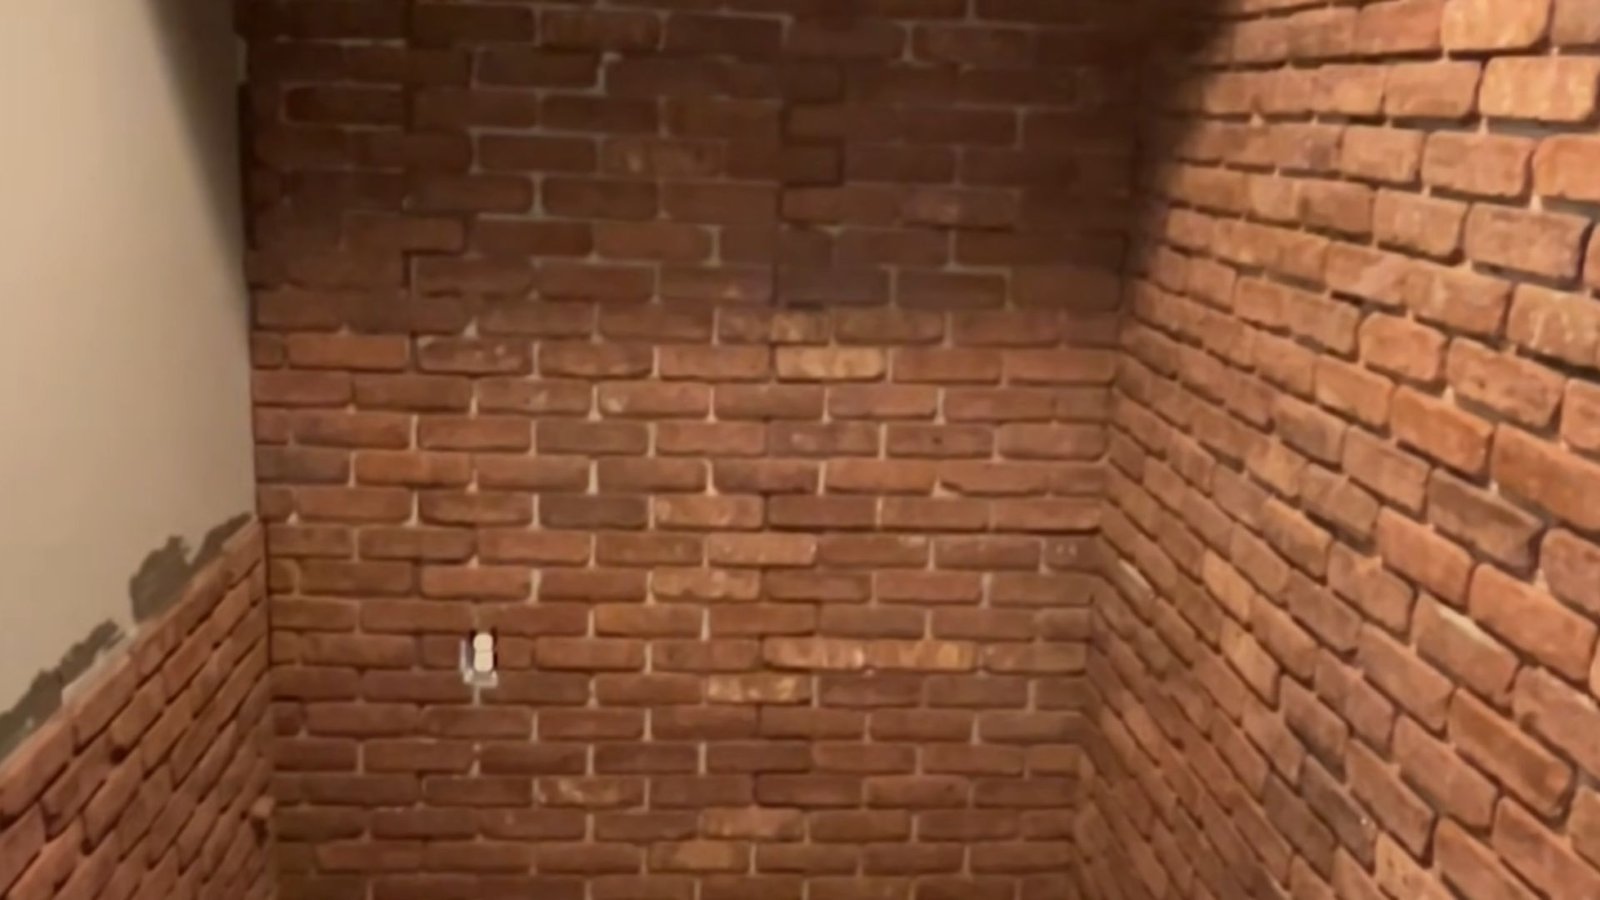
Stick to moisture-resistant materials. Stone tile, porcelain, or sealed concrete on the floor. Treated wood panels or brick on the walls.
Skip carpet and unsealed wood. Both absorb humidity and become a mold problem over time.
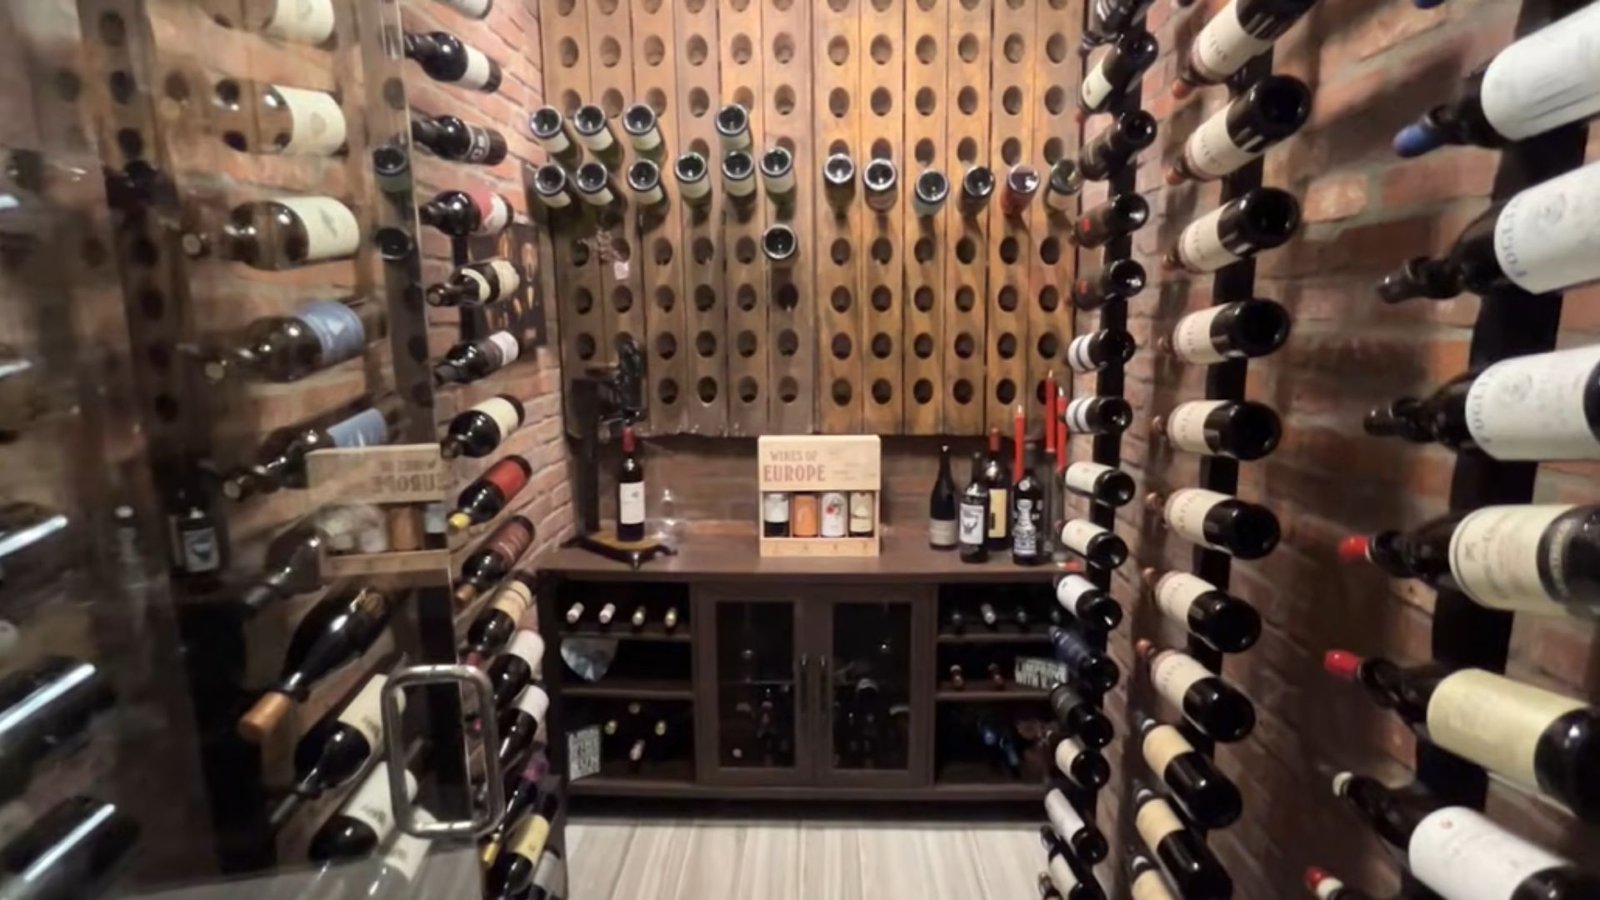
Step 6: Install Wine Racks and Shelving

Wood is the most popular choice for diy wine cellar racks. Redwood handles humidity best. Pine is a good budget alternative.
Metal racks are easier to clean and support more weight. Floor-to-ceiling layouts give you the most storage per square foot.
Custom racks cut to fit corners or sloped ceilings are especially useful in under-stairs builds.
Step 7: Set Up Cooling System and Lighting
A through-the-wall cooling unit is the most practical option for most home cellars. It keeps the temperature steady between 55°F and 65°F.
Install your diy wine cellar cooling system and run it for a few days before adding any bottles. Let the environment stabilize first.
Use LED lights with low UV output. Put them on a timer, wine doesn’t need constant light, and less heat means the cooling unit runs easier.
Materials and Tools You’ll Need

Get everything together before you start. Mid-build hardware runs waste more time than you’d expect.
- Lumber (2x4s for framing)
- Rigid foam insulation or closed-cell spray foam
- Vapor barrier sheeting
- Wood or metal wine racks
- Through-the-wall cooling unit
- Insulated door
- Low-UV LED lighting
- Stone, tile, or sealed concrete for flooring
- Treated wood or moisture-resistant wall panels
- Tools: saw, drill, level, measuring tape, stud finder, utility knife, screwdriver set
Don’t cut corners on insulation or the cooling unit. Those two items carry the most weight in keeping your wine stored properly.
Cost Estimates for DIY Wine Cellars
DIY typically cuts installation costs by 40 to 60 percent compared to hiring it out.
Here’s a rough breakdown:
| Cellar Type | Estimated Cost | What’s Included |
|---|---|---|
| Small under-stairs | $500 – $1,500 | Basic racks, insulation, small cooling unit |
| Mid-range cellar | $2,000 – $5,000 | Full insulation, custom racks, dedicated cooling unit |
| High-end cellar | $5,000+ | Custom racks, premium cooling system, decorative finishes |
Budget for insulation and cooling first. Decorative finishes can always come later.
Design Ideas and Tips

The functional side is done, now make it yours.
Here are ideas that work well in real builds:
- Under-stairs layout: Use shorter racks near the entry and taller ones toward the back to follow the ceiling slope naturally.
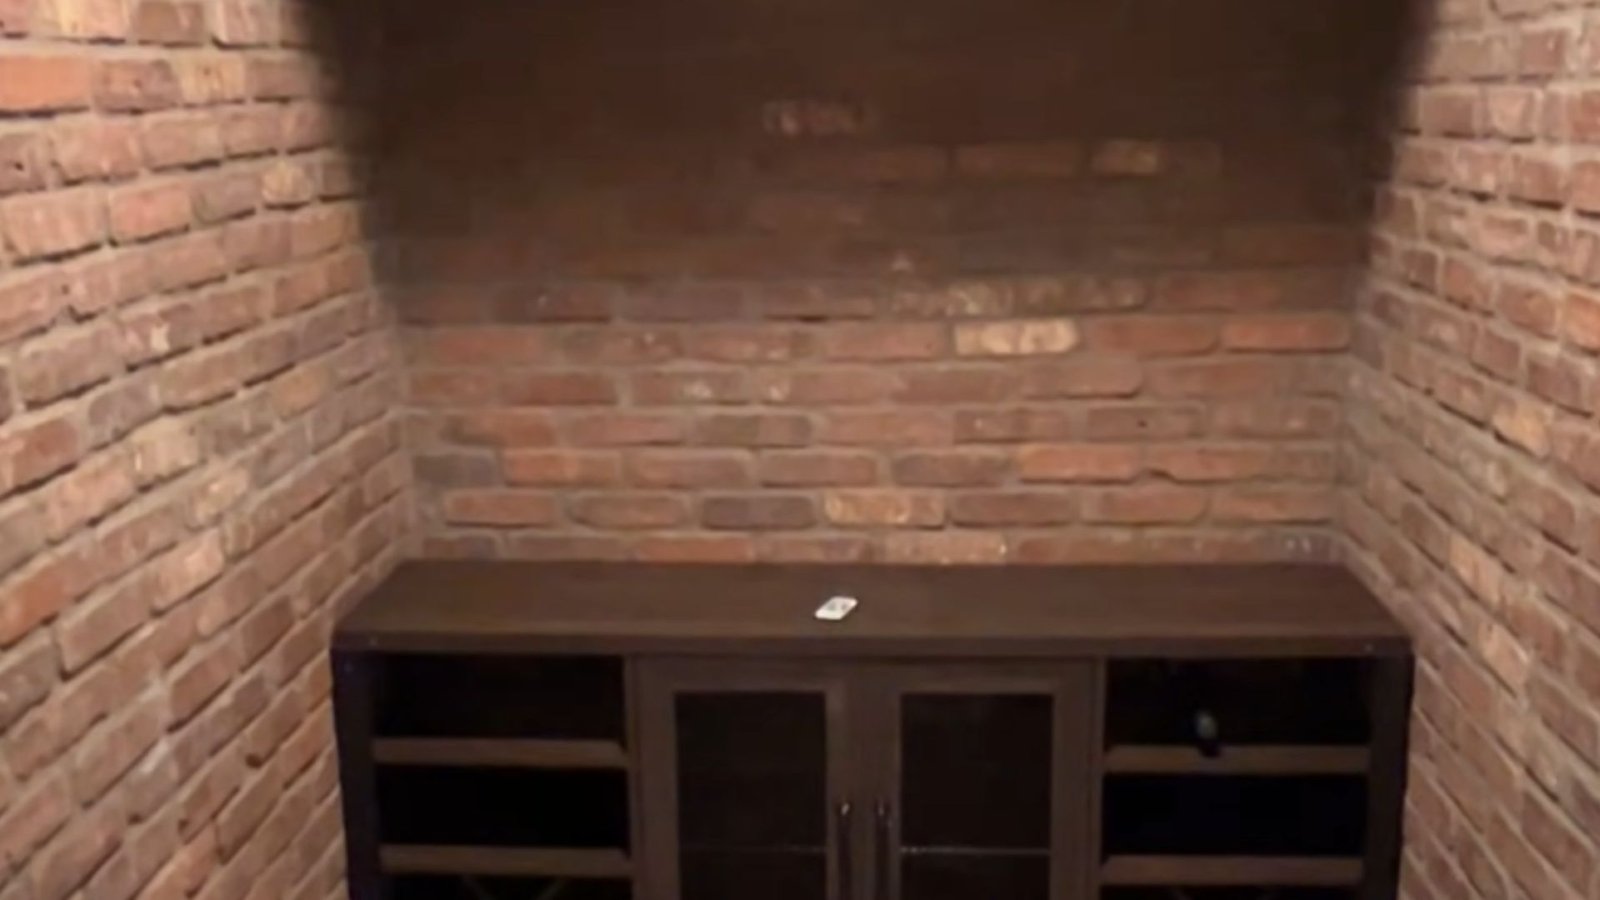
- Glass door: Lets you see your collection without opening the cellar, which keeps temperatures stable.
- Mixed materials: Brick walls with wooden diy wine cellar racks look classic. Metal racks against concrete or white walls lean modern.
- LED strip lighting: Warm-toned strips under shelves add atmosphere without heat or UV exposure.
- Labeled sections: Organize by region, grape, or vintage. Makes finding bottles faster as your collection grows.
- Chalkboard panel: A small chalkboard or wine map adds character and doubles as a useful reference wall.
A few thoughtful details go a long way. You don’t need a big budget to make the space feel intentional.
Maintenance Tips
A little routine care keeps the cellar running well for years.
- Check temperature and humidity weekly: target 55°F to 65°F and 50 to 70 percent humidity.
- Clean racks and floors every few months: damp cloth for wood, light mop for tile or stone.
- Service your cooling unit twice a year: clean the filter and listen for anything unusual.
- Inspect walls and corners for mold: at every cleaning. Early detection means an easy fix.
Once you have a routine, it takes maybe 20 minutes a month. Well worth it.
Conclusion
A diy wine cellar is one of the most practical home projects you can take on. Better storage, lower long-term costs, and a space that’s fully yours.
Start with what fits your budget, even a simple diy wine cellar under stairs with good insulation, quality diy wine cellar racks, and a solid cooling system gets the job done well.
Have questions or ready to start your build? Drop a comment below, I’d love to hear what you’re working with. Share this with a fellow wine lover who’s been thinking about doing the same.
Frequently Asked Questions
Can I build a DIY wine cellar under stairs?
Yes, it’s one of the best small-space options available. Pair it with proper insulation and a compact cooling unit and it works just as well as a larger build.
What’s the best material for DIY wine cellar racks?
Redwood is the top choice for humidity resistance. Pine works well on a tighter budget, and metal racks are great if you prefer a cleaner, modern look.
Do I really need a wine cellar cooling system?
Yes. Without one, seasonal temperature shifts will speed up aging unpredictably or damage your wine altogether.
How much does a DIY wine cellar cost on average?
Anywhere from $500 for a basic setup to $5,000 or more for a larger cellar with custom racks and a dedicated cooling system.
Can I install the wine cellar myself without professional help?
Yes, most of it is very manageable with basic tools. Bring in an electrician for the cooling unit wiring if that’s outside your skill set.