
Did you know that your roof is actually a carefully layered system working silently above your head?
The answer lies in the 11 layers of roofing that work together to protect your home.
In this guide, I’ll walk you through each layer from the structure and decking to the shingles, flashing, and ventilation, based on years of hands-on roofing experience.
Understanding these layers not only helps you maintain your roof better but also lets you make smart decisions when repairs or upgrades are needed.
By the end, you’ll know how every layer contributes to a safe, durable, and comfortable home.
What Are the Layers of Roofing?
A roof is a system made of multiple layers, each serving a specific purpose.
Together, these layers protect the home from water, wind, and temperature changes while adding strength to the structure.
Roofs have multiple layers to handle different challenges-some block moisture, others provide support, and some help with ventilation.
When combined, they work as a complete system that keeps the interior dry and the building safe.
The basic sequence starts with the roof structure, followed by decking, protective barriers, shingles or tiles, flashing, and ventilation, ensuring durability and proper water flow.
Installation Order of Roofing Layers
A roof must be installed in the correct order to perform properly and last longer.
1. Roof Framing Structure: This is the main framework that supports the entire roof system. It holds all the other layers in place and ensures the roof stays stable under weight and weather.
2. Decking Installation: Panels are attached to the roof framing to form a solid base. This layer provides a flat surface for underlayment, shingles, or other roofing materials.
3. Drip Edge Installation: Metal strips are installed along the edges of the roof. They guide rainwater into gutters and protect the decking and fascia from water damage.
4. Ice and Water Barrier: A self-adhesive, waterproof membrane is placed in vulnerable areas like eaves and valleys. It helps prevent leaks from ice dams or heavy rain.
5. Roofing Underlayment: This secondary layer is spread across the roof deck. It adds extra protection against moisture and acts as a backup barrier under shingles or tiles.
6. Starter Shingles: The first row of shingles is installed along roof edges. They create a seal that prevents wind uplift and helps align the main shingles properly.
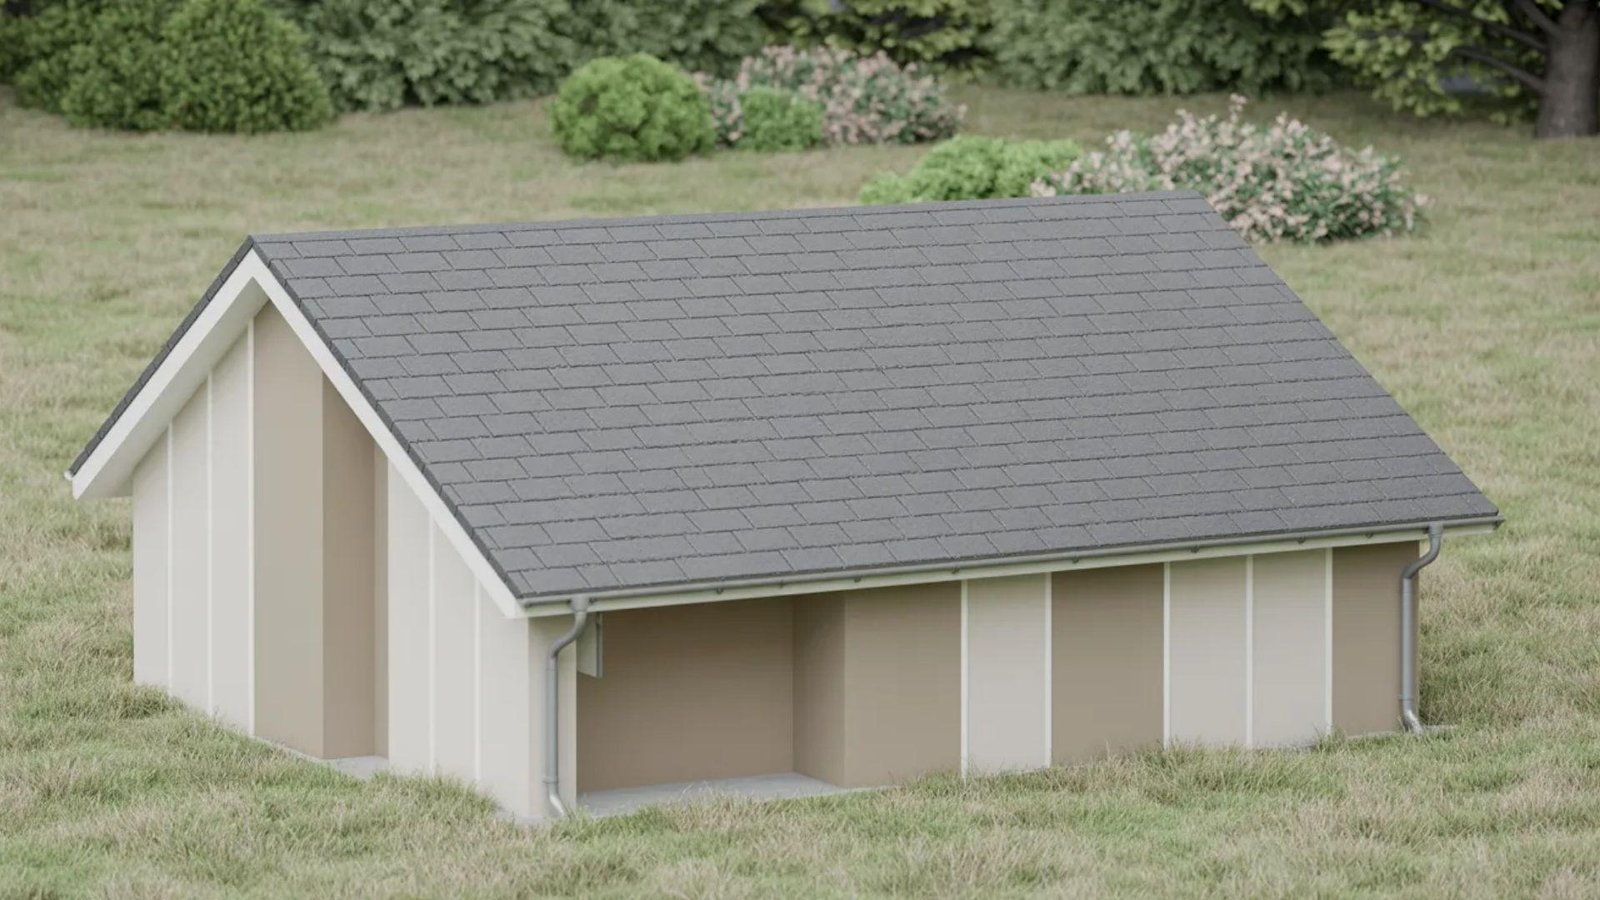
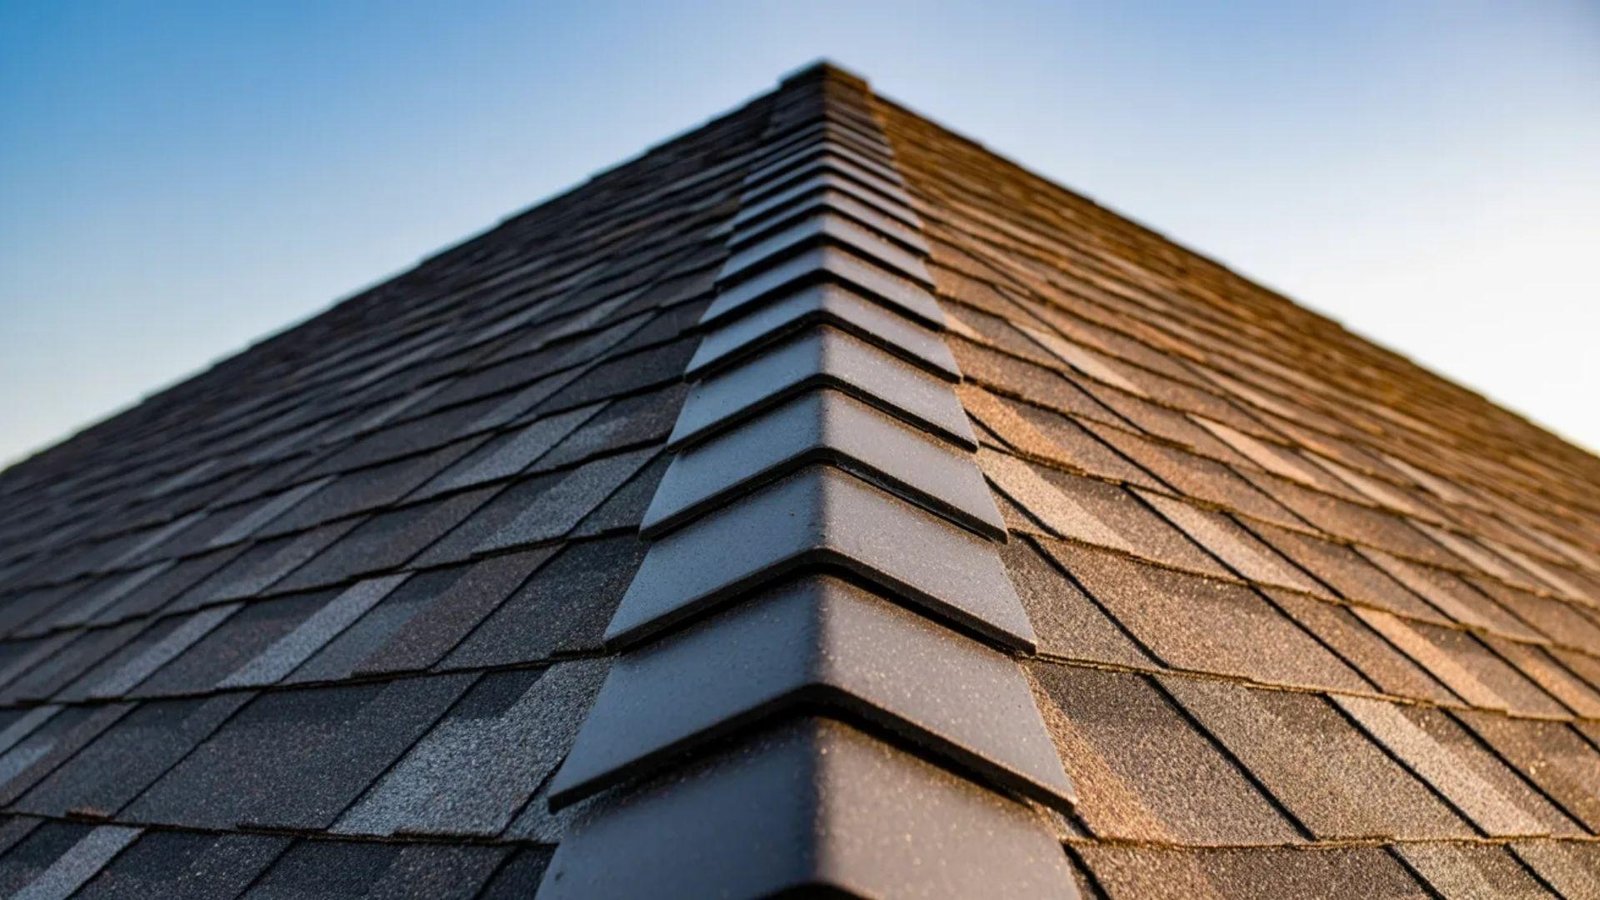
7. Main Roof Covering: Shingles, tiles, or metal panels form the visible outer layer of the roof. They protect the home from rain, wind, and sun while providing the roof’s finished appearance.
8. Flashing Installation: Thin metal pieces are installed around roof openings and joints. They direct water away from vents, chimneys, skylights, and valleys to prevent leaks.
9. Ridge Cap Shingles: Special shingles are installed along the roof peak. They cover the gap where slopes meet and provide extra protection against water entry.
10. Vent Installation: Vents are added to allow airflow through the roof and attic. Proper ventilation removes heat and moisture, reducing damage and extending the roof’s life.
Following this sequence ensures each layer works together for a strong, long-lasting roof.
11 Layers of Roofing
A roof has multiple layers that protect the home. Each layer supports the structure, blocks water, and allows airflow, keeping the roof strong and durable.
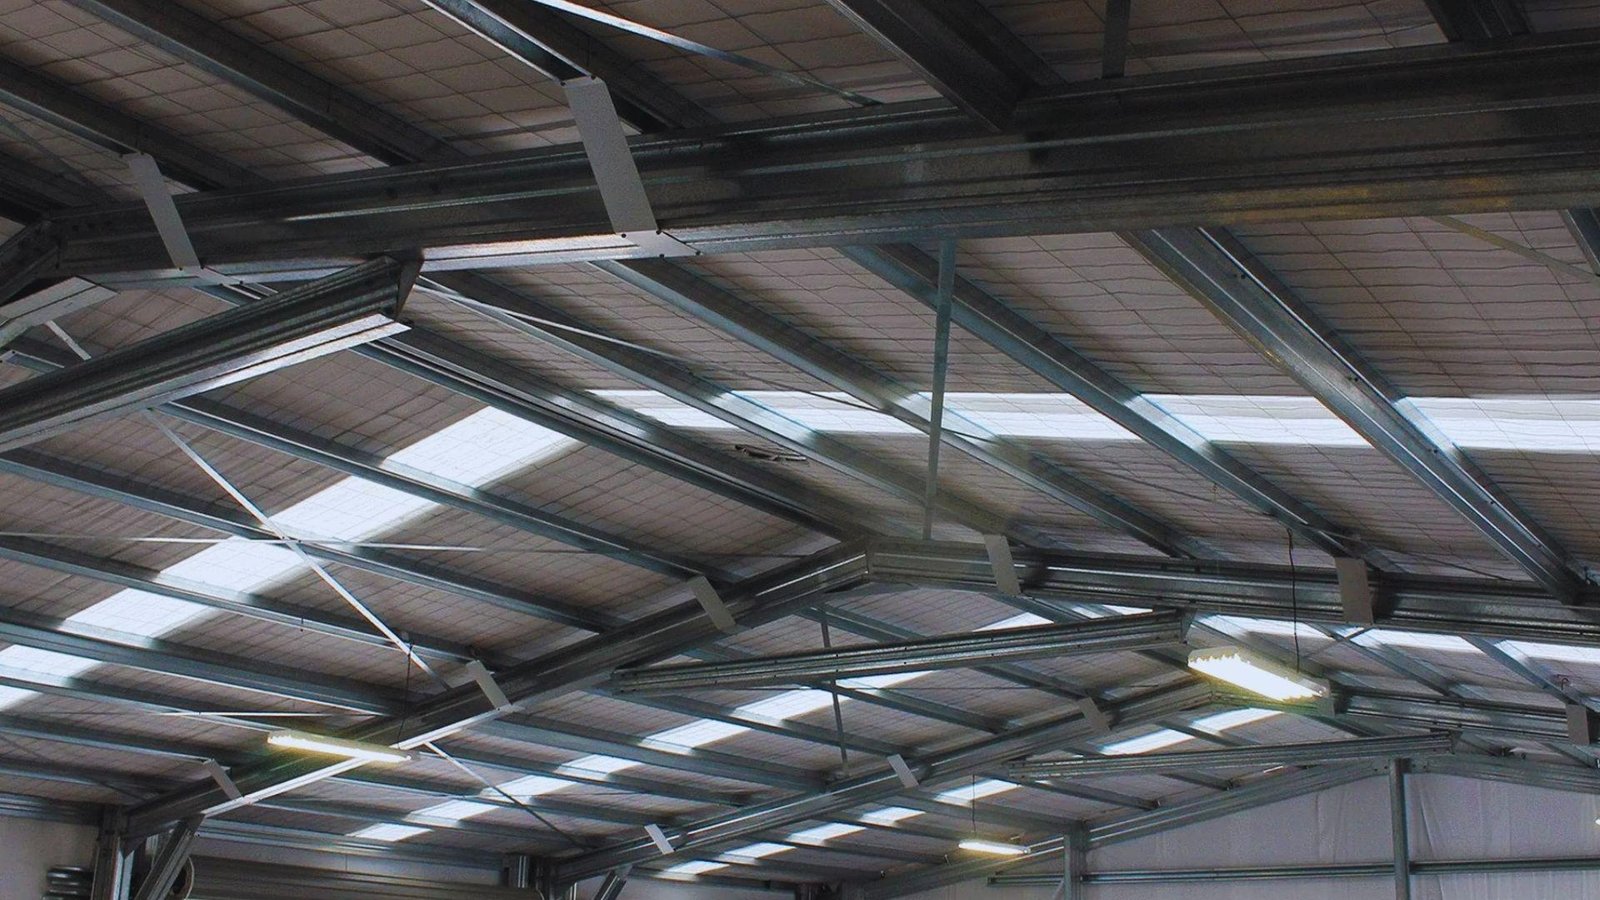
1. Roof Structure (Rafters or Trusses)
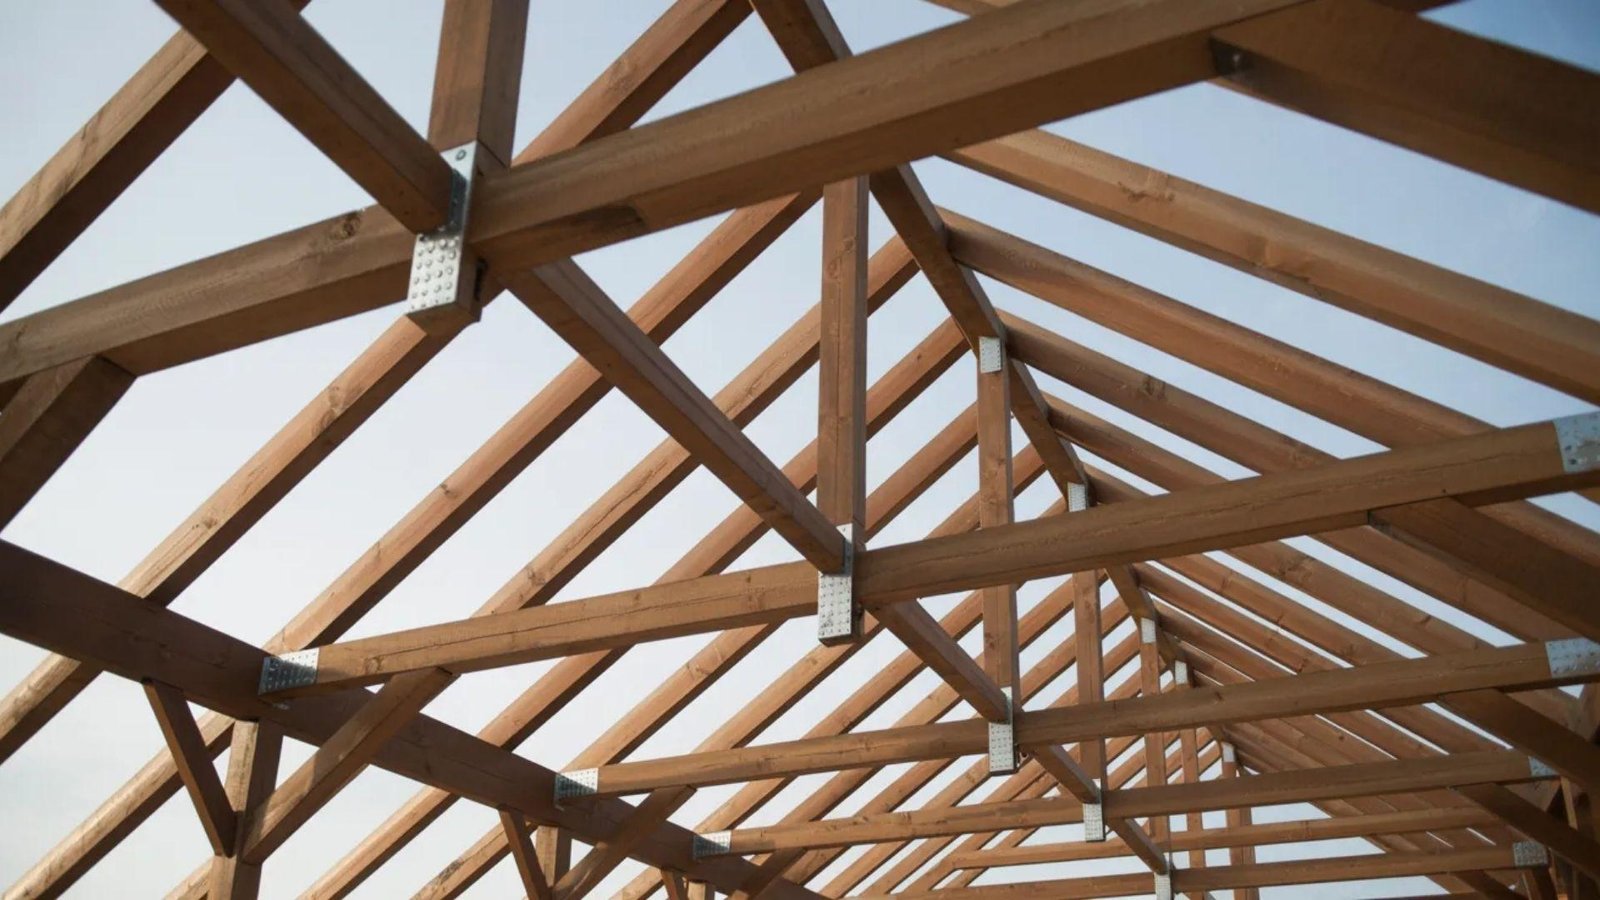
The roof structure forms the base framework of the roof. It supports all other layers and transfers weight to the house walls.
Built using wood or engineered trusses, it ensures the roof stays stable, holds materials securely, and provides the main shape of the roof system.
2. Roof Decking (Roof Sheathing)
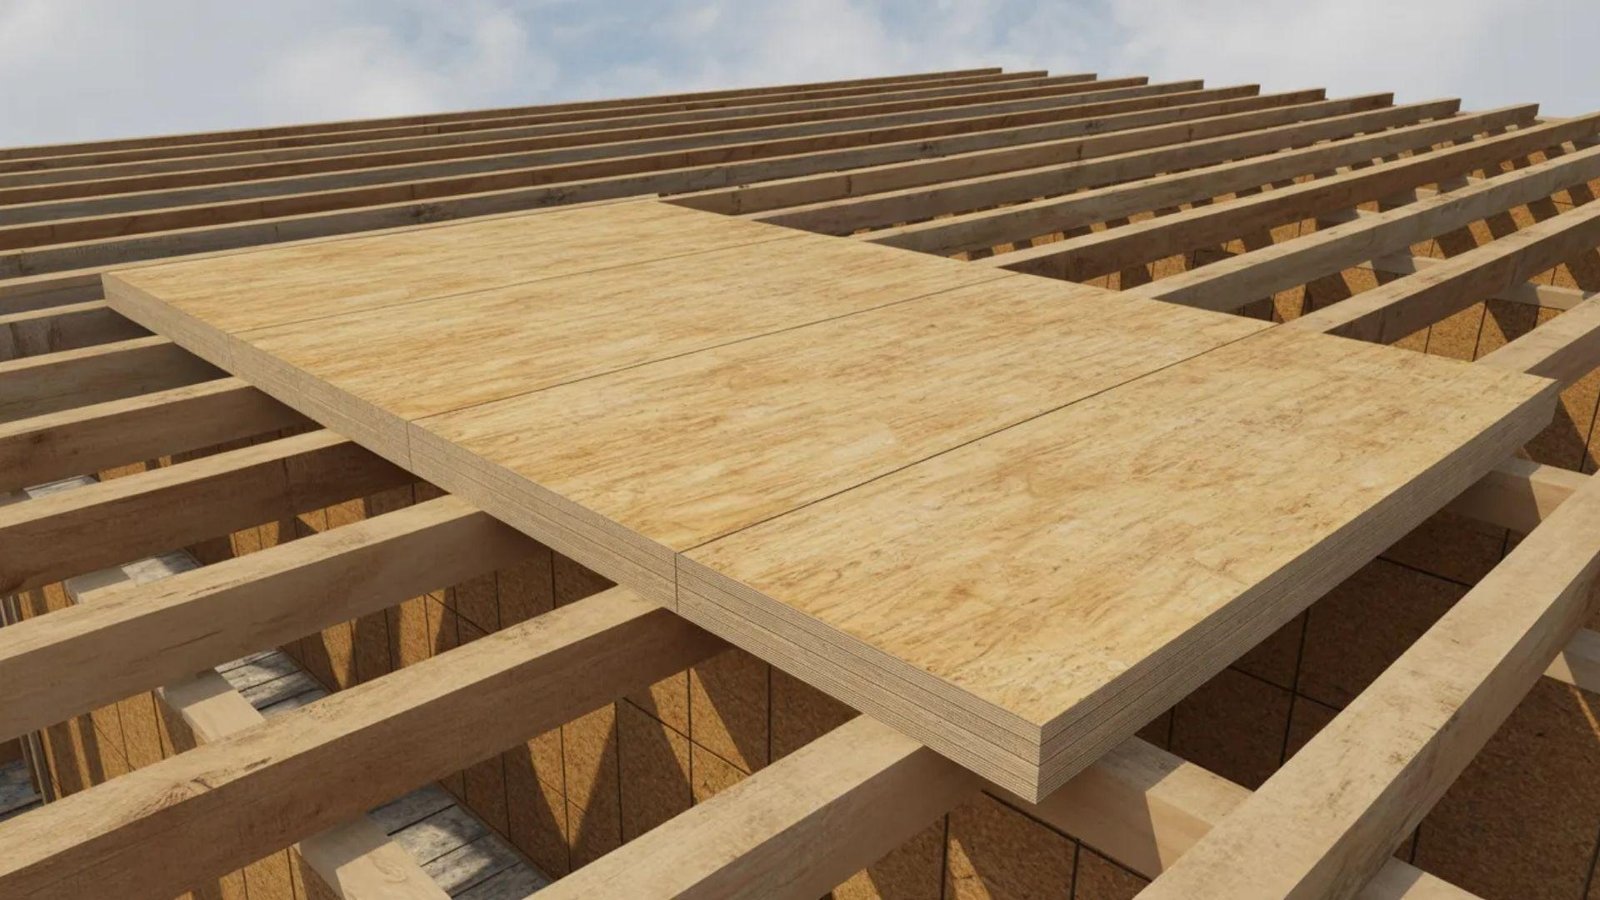
Roof decking is a flat surface attached to the rafters. Usually made from plywood or OSB panels, it acts as a base for all other layers.
This layer provides strength, stability, and a solid foundation for protective barriers and roof coverings to be installed safely.
3. Drip Edge
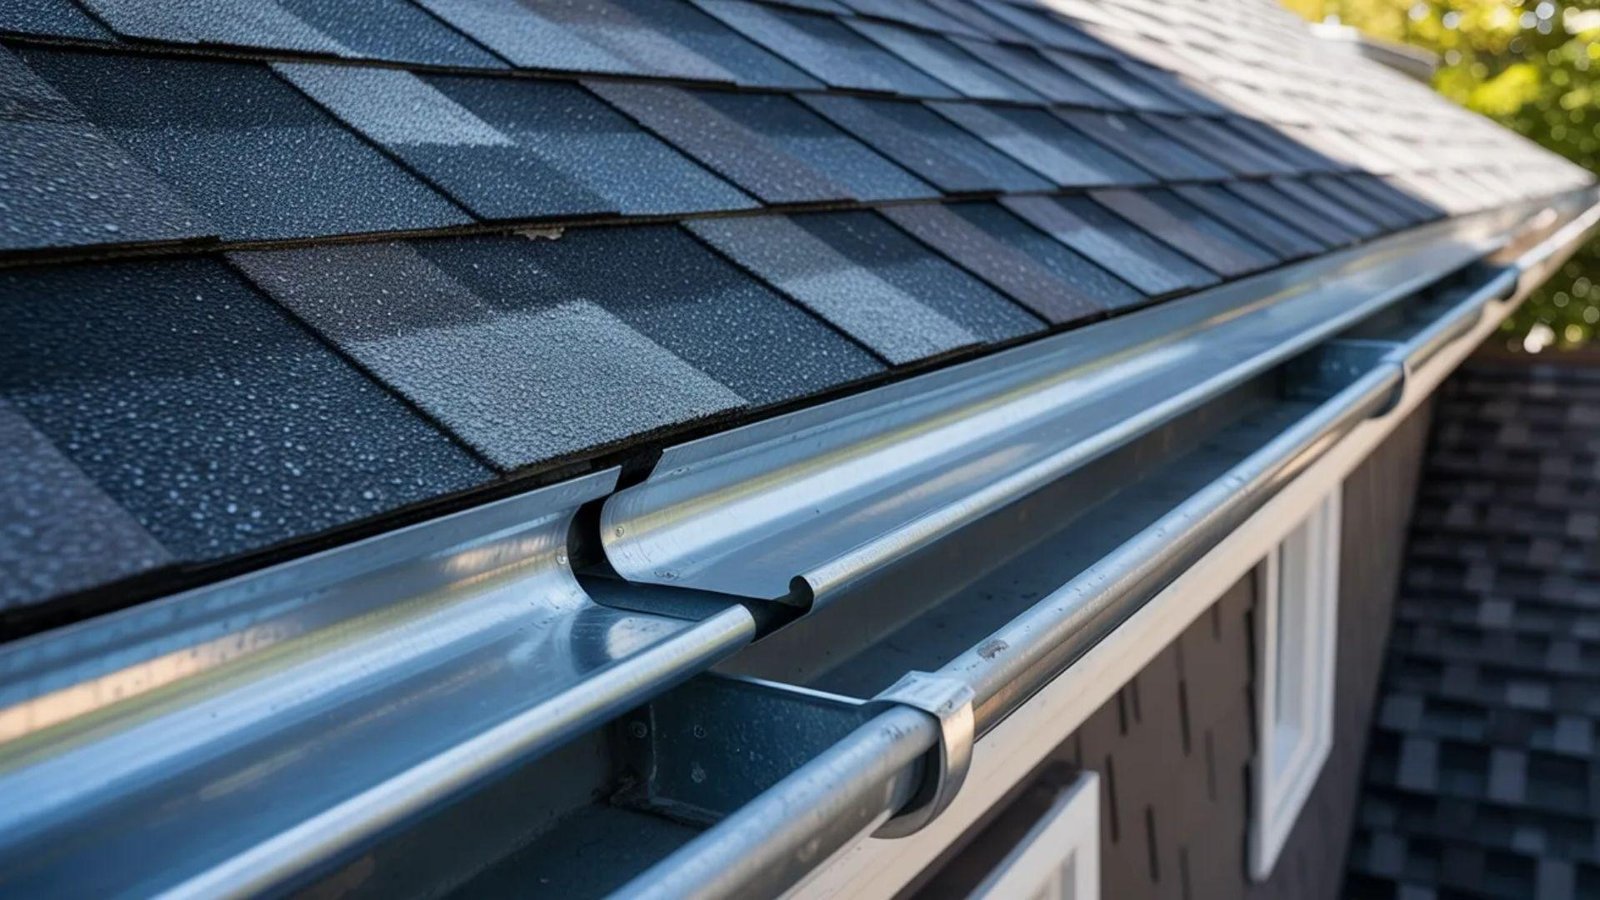
The drip edge is a metal strip placed along the edges of the roof. It directs rainwater into gutters and away from the decking.
Protecting the decking and fascia from water damage, it reduces the risk of rot, decay, and leaks along the roof edges over time.
4. Ice and Water Shield
The ice and water shield is a self-adhesive waterproof membrane. It is installed along vulnerable areas like eaves and valleys.
This layer prevents leaks from ice dams and heavy rainfall, protecting the roof structure and interior spaces from water damage during harsh weather conditions.
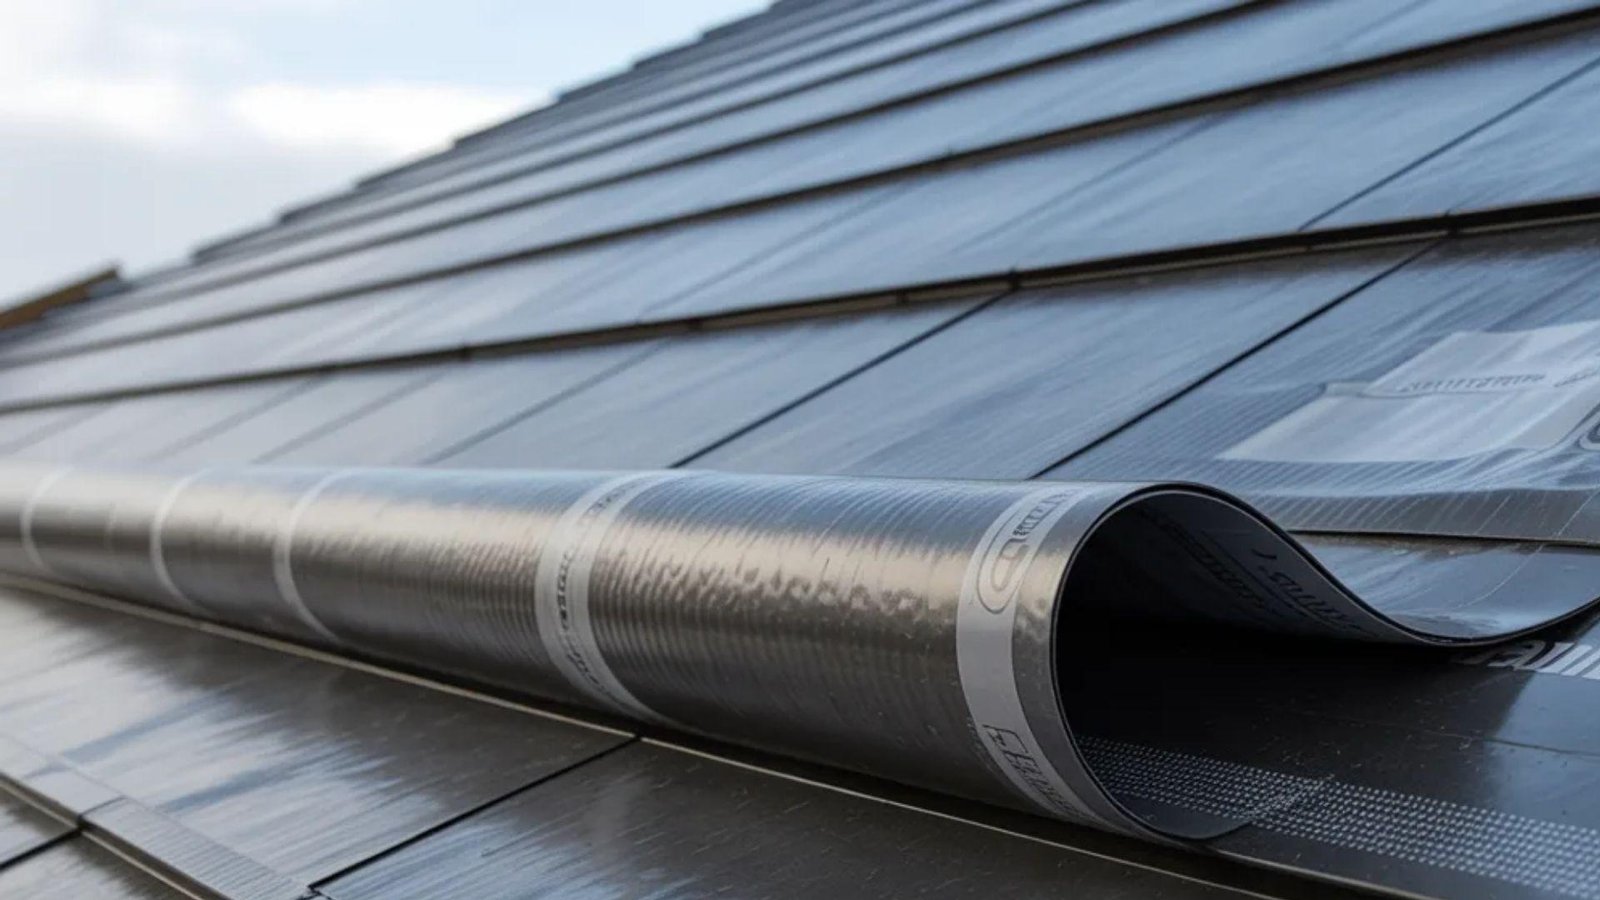
5. Roofing Underlayment
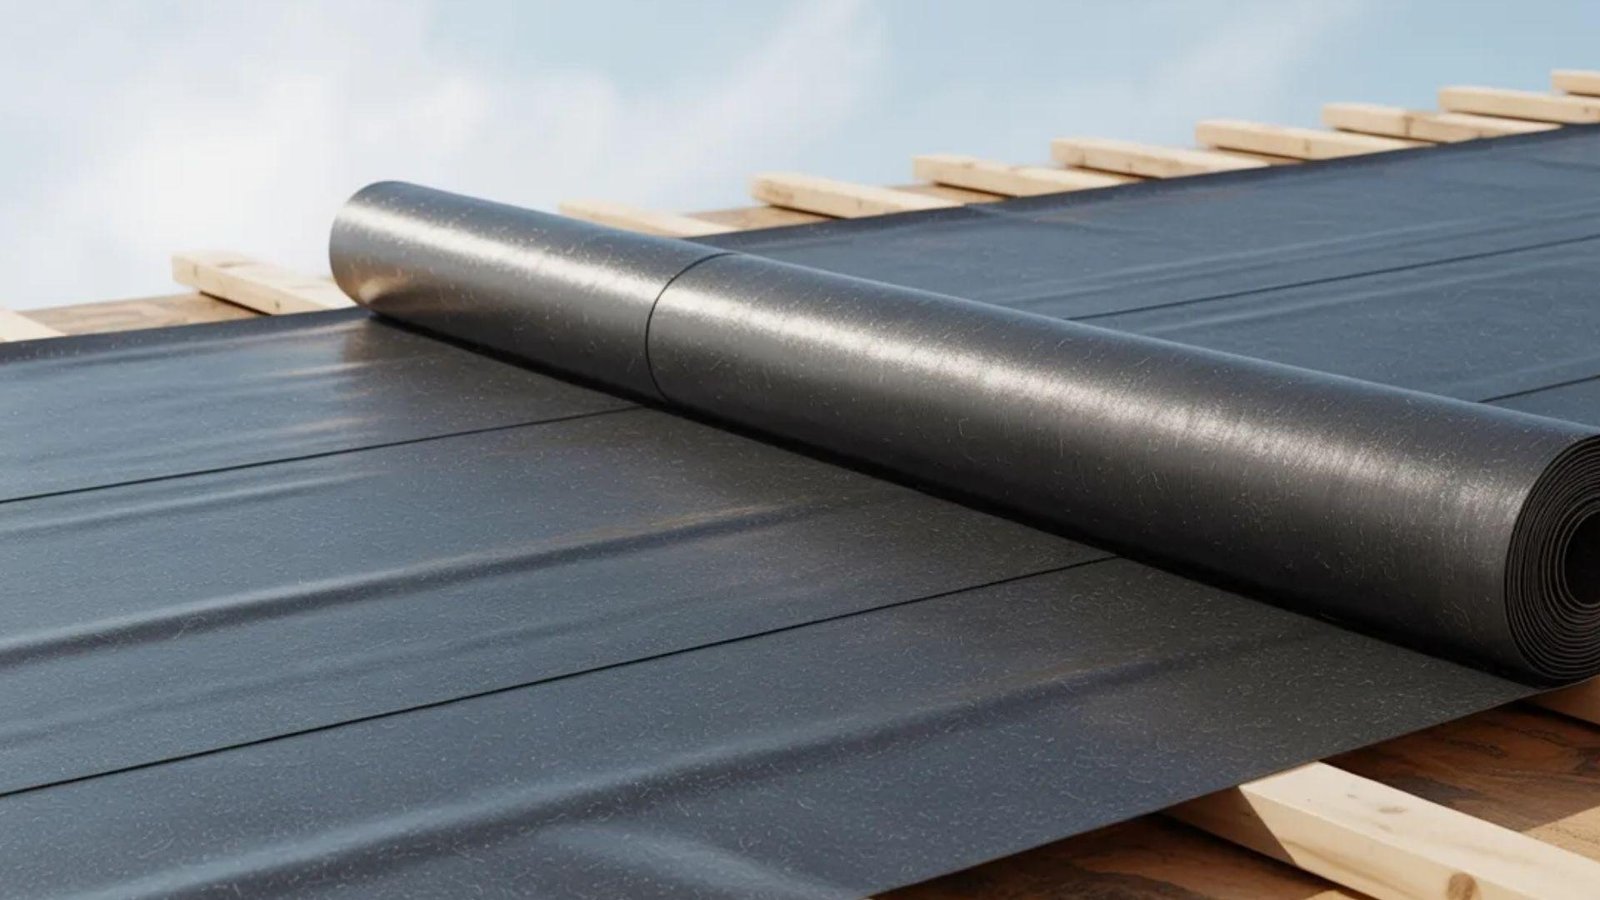
Roofing underlayment is a secondary water-resistant barrier placed over the roof deck. It adds extra protection against moisture and leaks.
Common types include felt underlayment or synthetic sheets, which provide a stable base for shingles and improve the roof’s overall resistance to water infiltration.
6. Starter Shingles

Starter shingles form the first row along the roof edges. They create an adhesive seal that prevents wind from lifting the main shingles.
This layer also ensures proper alignment for the primary roof covering, helping the roof stay secure and maintain its integrity during storms.
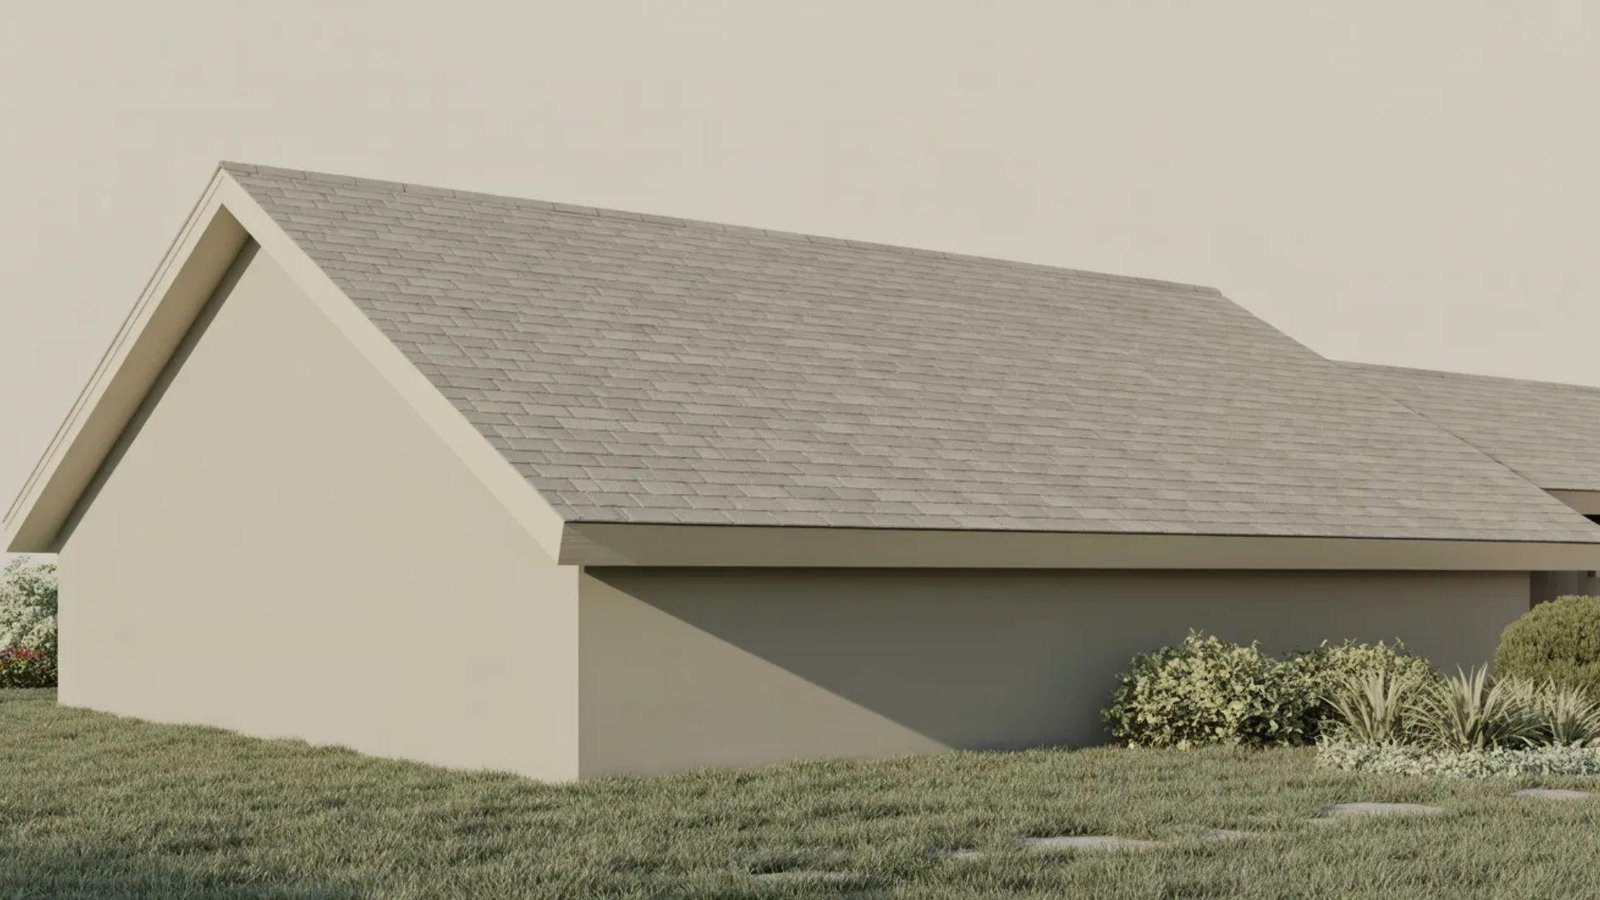
7. Main Roof Covering
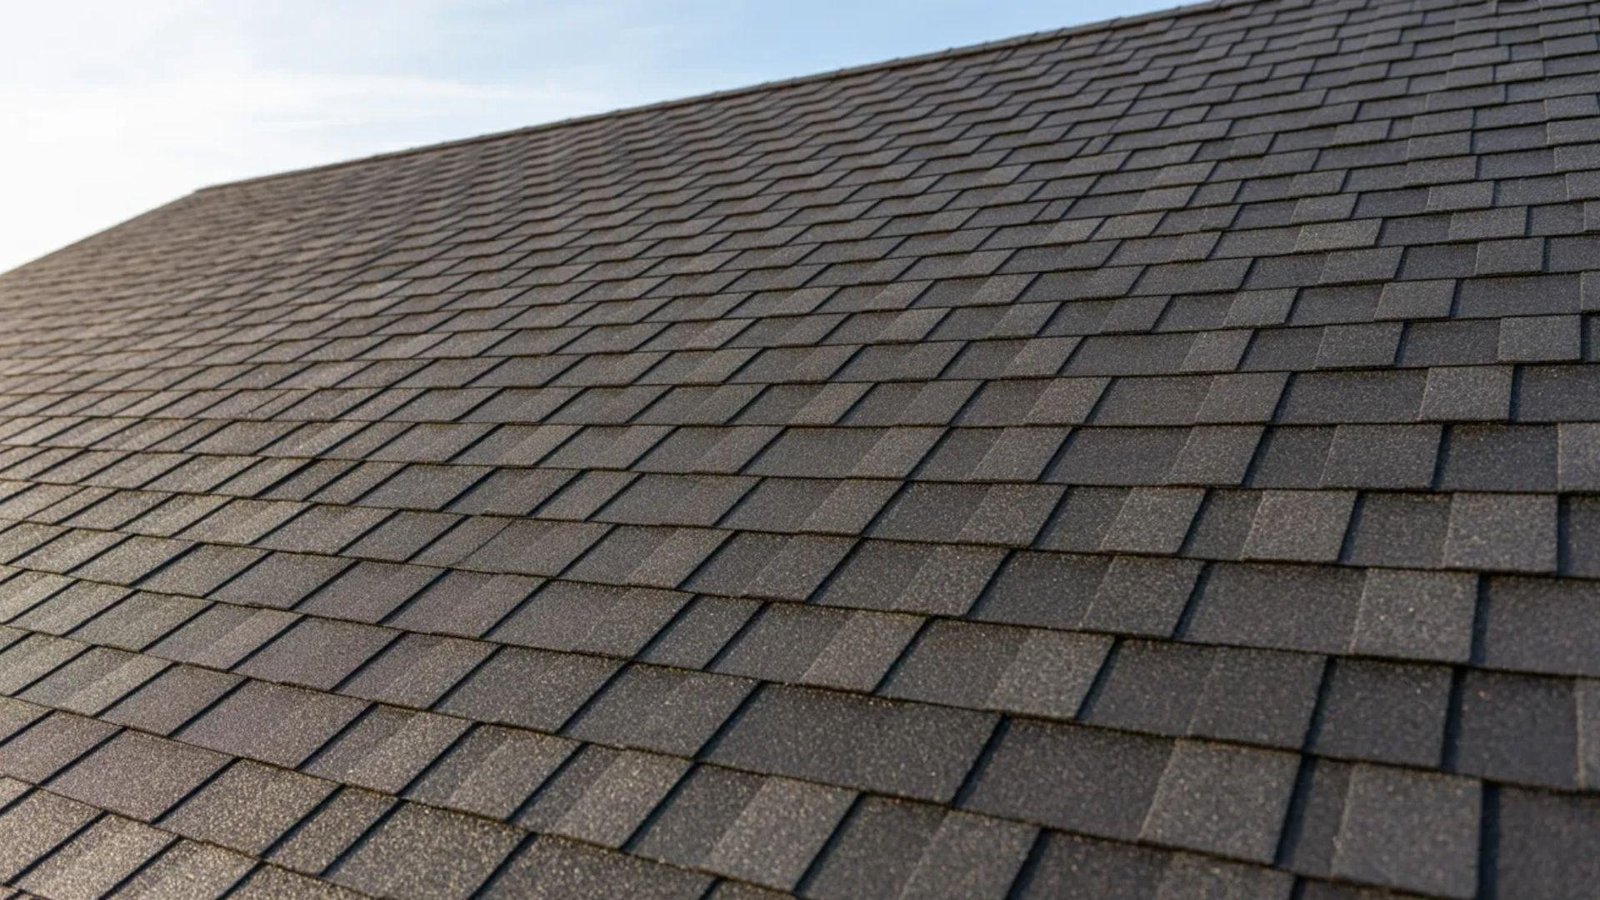
The main roof covering is the visible exterior layer of the roof. It protects the house from the weather and adds aesthetic value.
Materials include asphalt shingles, metal panels, clay or concrete tiles, and slate, all chosen for durability, appearance, and performance under local climate conditions.
8. Flashing

Flashing consists of thin metal strips installed around roof openings and joints. It directs water away from chimneys, vents, skylights, and valleys.
By preventing leaks in these vulnerable areas, flashing protects both the roof structure and the home interior from moisture damage and structural issues.
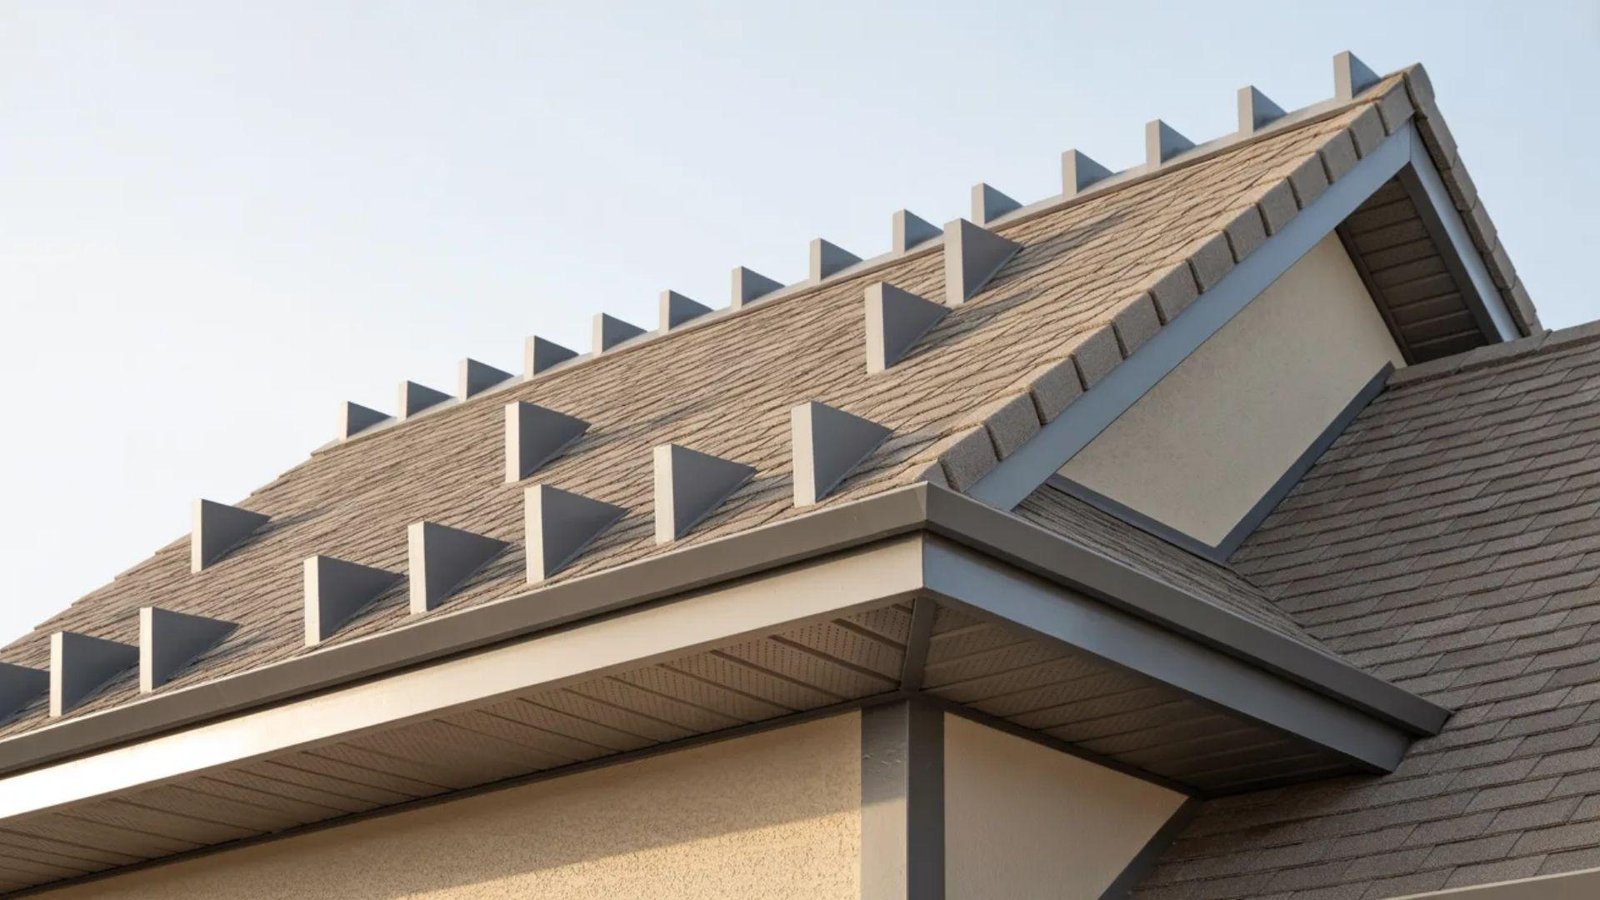
9. Ridge Cap Shingles
 Ridge cap shingles are placed along the roof’s peak. They cover the gap where two slopes meet and provide extra protection against water penetration.
These shingles also help improve ventilation along the ridge, keeping heat and moisture from building up under the roof.
10. Roof Insulation
This layer provides thermal protection by reducing heat loss in winter and heat gain in summer.
It works with ventilation to maintain comfortable indoor temperatures, prevent condensation, and improve energy efficiency, ensuring long-term comfort and durability for the home.
11. Roof Ventilation System
The roof ventilation system allows air to flow through the attic and roof layers. Ridge vents, soffit vents, and other vent types remove excess heat and moisture.
Proper ventilation prevents structural damage, reduces the risk of mold, and helps maintain consistent indoor temperatures.
Why Roofing Layers Matter for Roof Performance
Roofing layers are essential for roof performance. Each layer helps keep the home safe, dry, and supports the roof’s durability.
Structural Support for the Roof System
Roof layers provide the strength needed to hold the weight of the roof covering, snow, and other loads. They work together with the framing to prevent sagging or collapse, ensuring the roof remains stable and secure over time.
Moisture and Leak Protection
Each layer helps keep water out of the home. From underlayment to flashing, the layers form a barrier that prevents leaks, ice dam damage, and water infiltration, protecting walls, ceilings, and the interior from moisture problems.
Insulation and Temperature Control
Certain layers in the roof help regulate temperature inside the home. Insulation and proper ventilation reduce heat buildup, maintain comfortable indoor temperatures, and lower the stress on heating and cooling systems.
Longevity of Roofing Materials
Properly layered roofs last longer. Each layer supports the others, prevents water damage, and reduces wear from wind or temperature changes. This protection helps shingles, tiles, or metal panels remain effective for many years.
Compliance with Building Codes
Building codes require specific roofing layers for safety and performance. Using all necessary layers ensures the roof meets local regulations, protects homeowners from damage, and avoids problems when selling or inspecting the property.
How Many Layers of Roofing Are Allowed?
A roof can only support a limited number of layers before performance and safety are affected.
Building Code Rules: Most building codes allow a maximum of two layers of shingles. Adding more can violate regulations and create risks.
Why Too Many Layers Are a Problem: Extra layers increase weight, reduce ventilation, and shorten the roof’s lifespan. Repairs also become harder, and structural problems may develop.
When Roof Tear-Off Is Required: A full tear-off is needed for structural damage, moisture issues, or installing heavy roofing materials. This ensures the new roof functions properly.
Exceeding recommended layers can reduce roof life and cause safety concerns.
Cost Factors Related to Roofing Layers
Several factors affect the overall cost of installing roofing layers, from materials to labor.
| Cost Factor | Description |
|---|---|
| Material Quality | Higher-quality materials cost more but last longer and provide better protection. |
| Roof Size | Larger roofs require more materials and labor, increasing overall cost. |
| Roof Slope | Steeper roofs are harder to work on, which can raise labor and safety costs. |
| Labor Costs | Skilled installation is essential and varies depending on the region and roof complexity. |
| Additional Protection Layers | Extra layers like ice/water barriers or underlayment add material and labor costs. |
Considering these factors helps plan a roofing project accurately and avoid unexpected expenses.
Maintenance Tips to Protect Roofing Layers
Regular maintenance helps extend the life of your roof and prevent costly repairs.
- Perform annual roof inspections to spot damage or leaks early.
- Clear debris from the roof and gutters to avoid water buildup.
- Check flashing and vents to ensure they remain sealed.
- Monitor attic moisture for signs of dampness or mold.
- Make repairs promptly to prevent minor issues from worsening.
Keeping up with these steps helps your roof stay strong and durable over time.
Final Thoughts
A well-layered roof is key to a safe and comfortable home. Understanding how each layer works together helps protect your house from water, weather, and temperature changes.
Regular inspections and timely repairs can save money and prevent damage.
Knowing the layers of roofing allows you to make informed decisions about maintenance or replacements, keeping your home secure for years.
Take a few minutes today to check your roof and address any worn areas for lasting protection and peace of mind!
Frequently Asked Questions
Can A New Roof Be Installed Over Old Shingles?
Yes, usually up to two layers. More layers require a full tear-off.
What Is The 25% Rule In Roofing?
If over 25% of shingles are damaged, the entire roof should be replaced.
How Long Do Roofing Layers Last?
Typically 20-30 years, depending on materials, installation, and maintenance.
Do All Roofs Require Underlayment?
Yes, it acts as a secondary moisture barrier under shingles or tiles.
What Happens If Roofing Layers Are Installed Incorrectly?
Leaks, water damage, and reduced lifespan can occur if layers are installed incorrectly.


