Building a sandbox at home offers numerous benefits for children’s development, providing endless hours of creative play while encouraging outdoor activity and imaginative exploration.
Sandboxes promote sensory development, social skills, and physical coordination as kids dig, build, and create in their own backyard paradise.
Rather than purchasing expensive pre-made options, building one yourself proves both affordable and rewarding, allowing you to customize the size, design, and features to perfectly suit your space and family’s needs.
The project becomes even more budget-friendly when you utilize reclaimed or free materials, which can significantly reduce overall costs while adding character to your creation.
Many homeowners find satisfaction in repurposing old lumber, bricks, or other materials for this practical family project.
With basic tools and weekend effort, you can create a safe, fun play space that provides years of entertainment value.
Planning Your DIY Sandbox
Key considerations for sandbox placement and sizing: location selection, sun exposure, drainage, dimensions, and space requirements for construction.
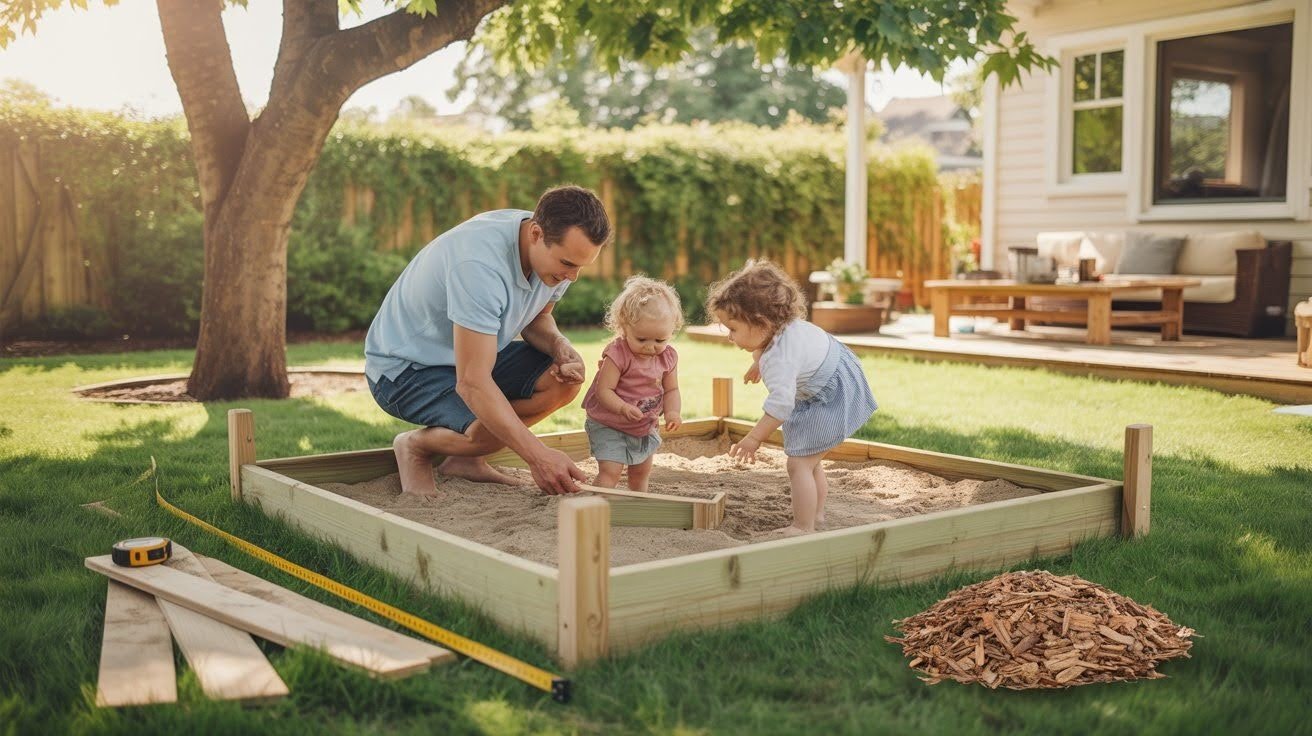
Choosing the Right Location
Selecting the perfect spot for your sandbox requires careful consideration of several factors that affect both safety and usability.
Look for a location with partial shade and clear visibility from the house, allowing you to supervise children while they play.
This positioning ensures kids stay protected from harsh sun exposure while remaining within your sight lines for safety monitoring.
Consider the sun and shade balance throughout different seasons, as what works in spring may become too hot or too shaded in summer or fall.
Avoid areas with high grass that might make maintenance difficult or overly wet locations that could create drainage problems and muddy conditions.
Choose level ground whenever possible to simplify construction and ensure proper water drainage away from the sandbox area.
Deciding on Size and Shape
Planning your sandbox dimensions depends on available space, intended users, and material constraints.
A standard 7 ft x 7 ft size provides ample play space for multiple children while remaining manageable for most backyards.
However, you should allow flexibility based on your available space and the materials you have on hand or can source affordably.
When calculating dimensions, remember to account for the extra width created when boards are joined together at corners.
This additional space can affect your final measurements, so plan accordingly to ensure your sandbox fits properly in your chosen location while providing an adequate play area for your children’s activities.
Gathering Materials and Tools
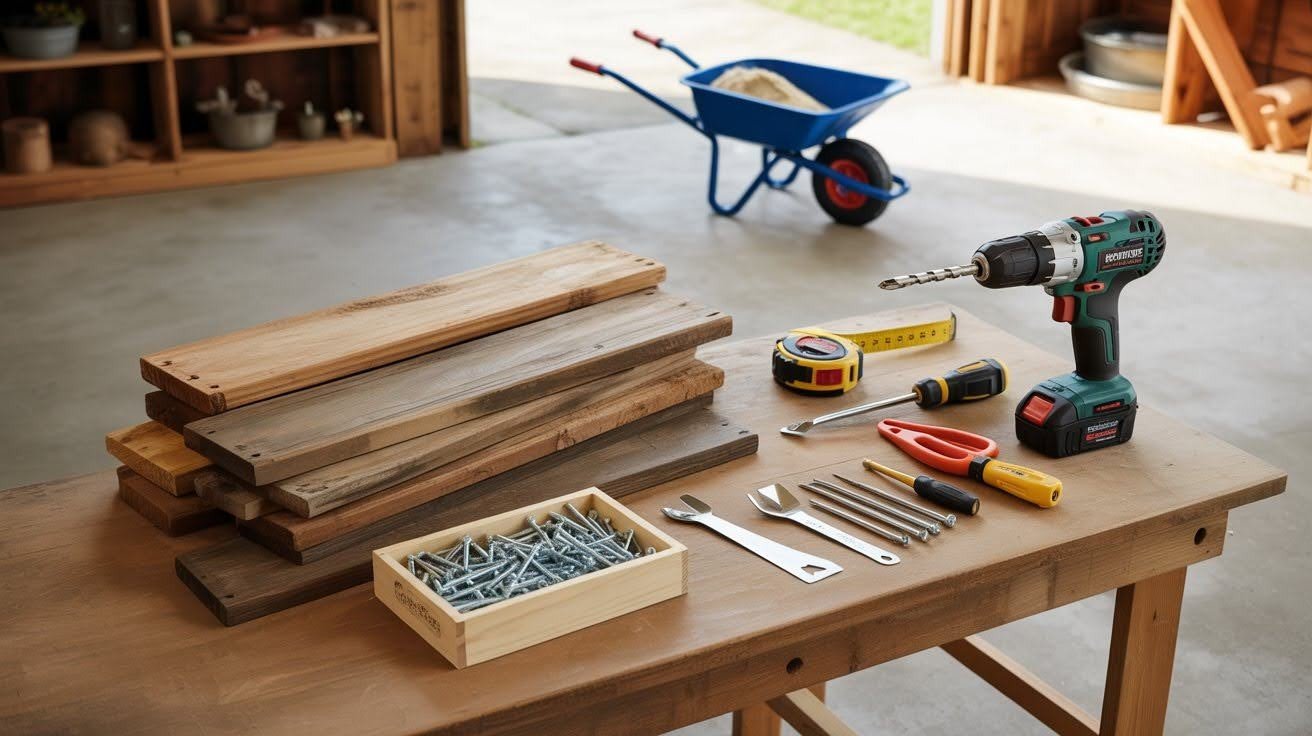
Recommended Materials
- Scrap or reclaimed lumber: Use 7″ x 1.5″ boards for ideal dimensions that balance cost and durability while providing structural integrity for long-lasting play areas
- Quality screws: Choose 1.5″ to 3″ deck screws for weather resistance and strong holding power during assembly and long-term use
- Safe sand: Select play sand or natural sand from certified sources to ensure children’s safety during play activities
- Optional additions: Consider stain or sealant to extend lifespan, plus extra boards for comfortable seating areas around the sandbox perimeter
Essential Tools
- Cutting tools: Reciprocating saw or circular saw for precise cuts and custom angles needed for proper board sizing
- Assembly tools: Drill and screwdriver combination for efficient assembly tasks and secure fastening of all components
- Measuring equipment: Measuring tape to ensure accurate dimensions throughout the entire building process
- Site preparation tools: Shovel or hoe for ground leveling and proper drainage preparation before construction begins
- Sand transport: Wheelbarrow for easier sand hauling if moving materials manually, reducing physical strain during installation
Step-by-Step Sandbox Building Instructions
Complete sandbox construction process from measuring materials through final installation, covering preparation, assembly, and finishing steps for success.
Step 1: Measure and Cut the Wood
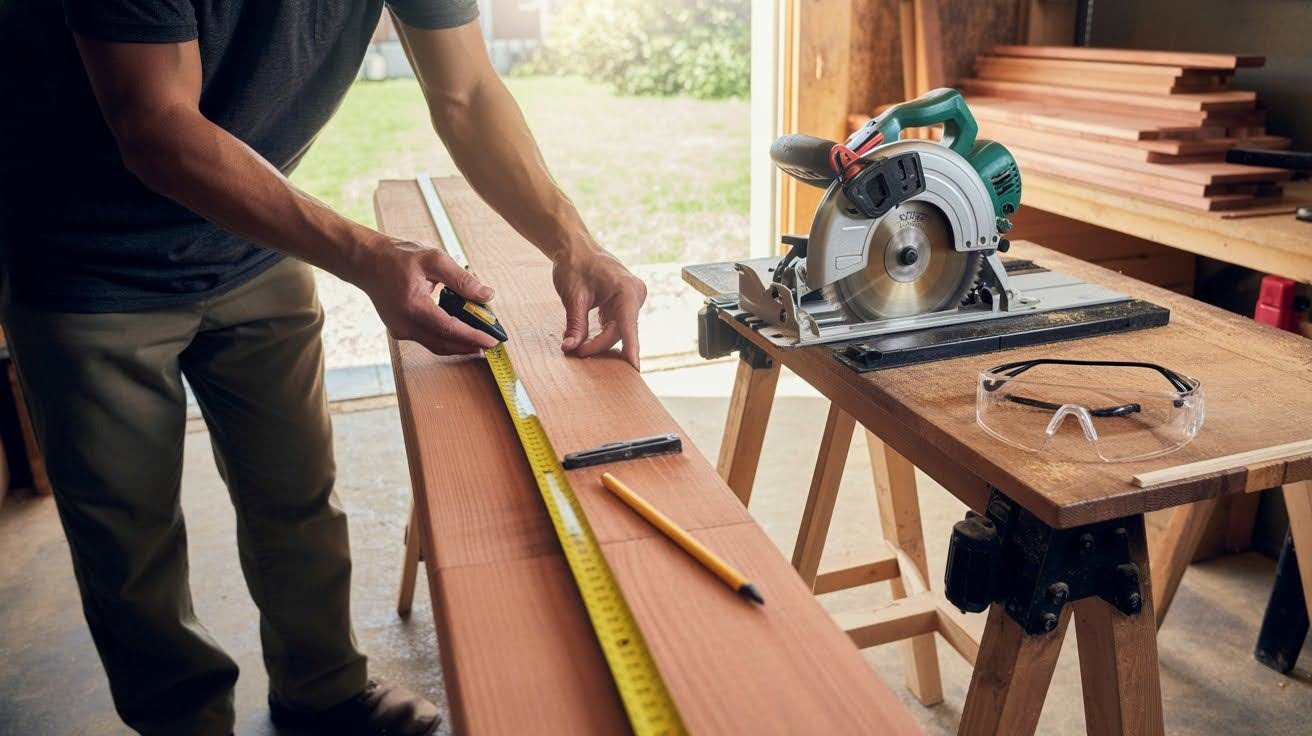
Begin your sandbox project by carefully marking the desired board lengths according to your planned dimensions, double-checking measurements to ensure accuracy before cutting.
Use your reciprocating saw or circular saw to make clean, straight cuts, always prioritizing safety by wearing appropriate protective equipment and following proper cutting techniques.
Take your time with this step, as precise cuts will make assembly much easier and result in a more professional-looking finished product.
Step 2: Clear and Prep the Ground
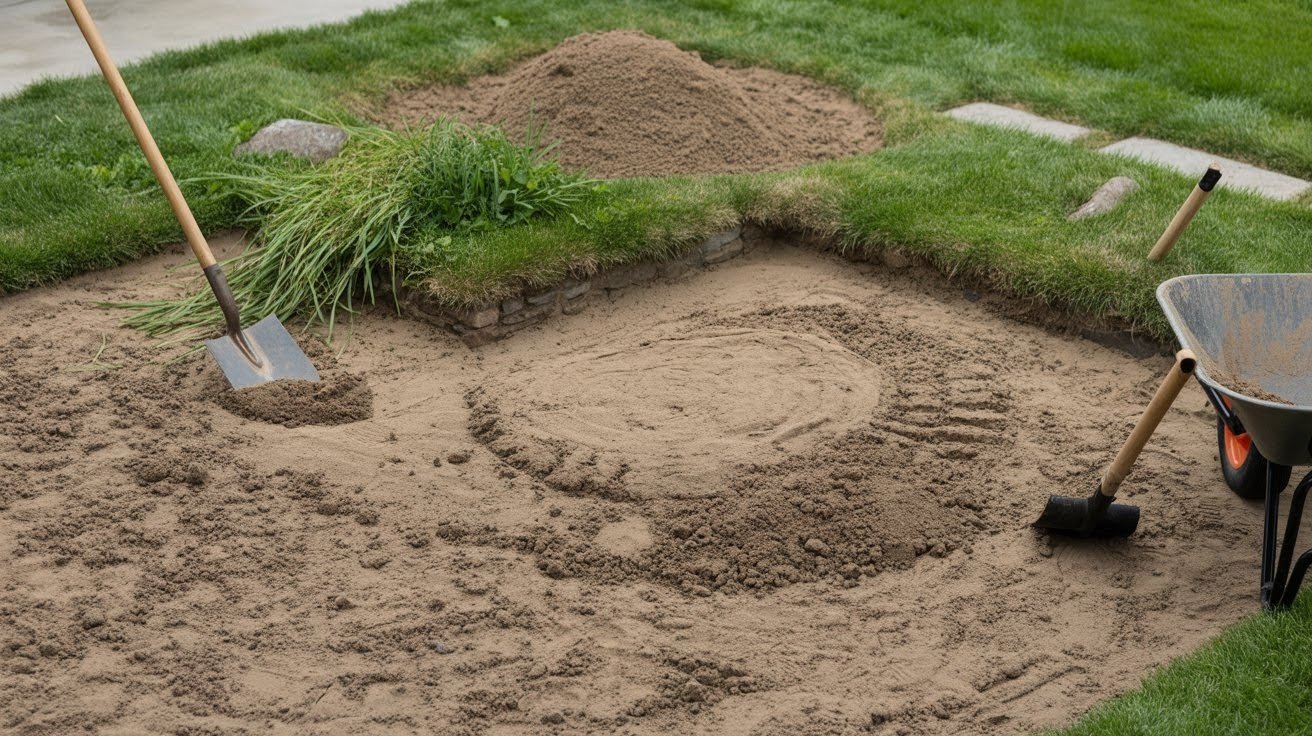
Prepare your chosen location by thoroughly digging out grass, weeds, and any debris from the area where your sandbox will sit.
Level the ground if it’s uneven, removing high spots and filling low areas to create a stable, flat surface that will support your sandbox frame properly.
This preparation work ensures your sandbox sits securely and drains properly, preventing future settling or structural issues.
Step 3: Assemble the Sandbox Frame
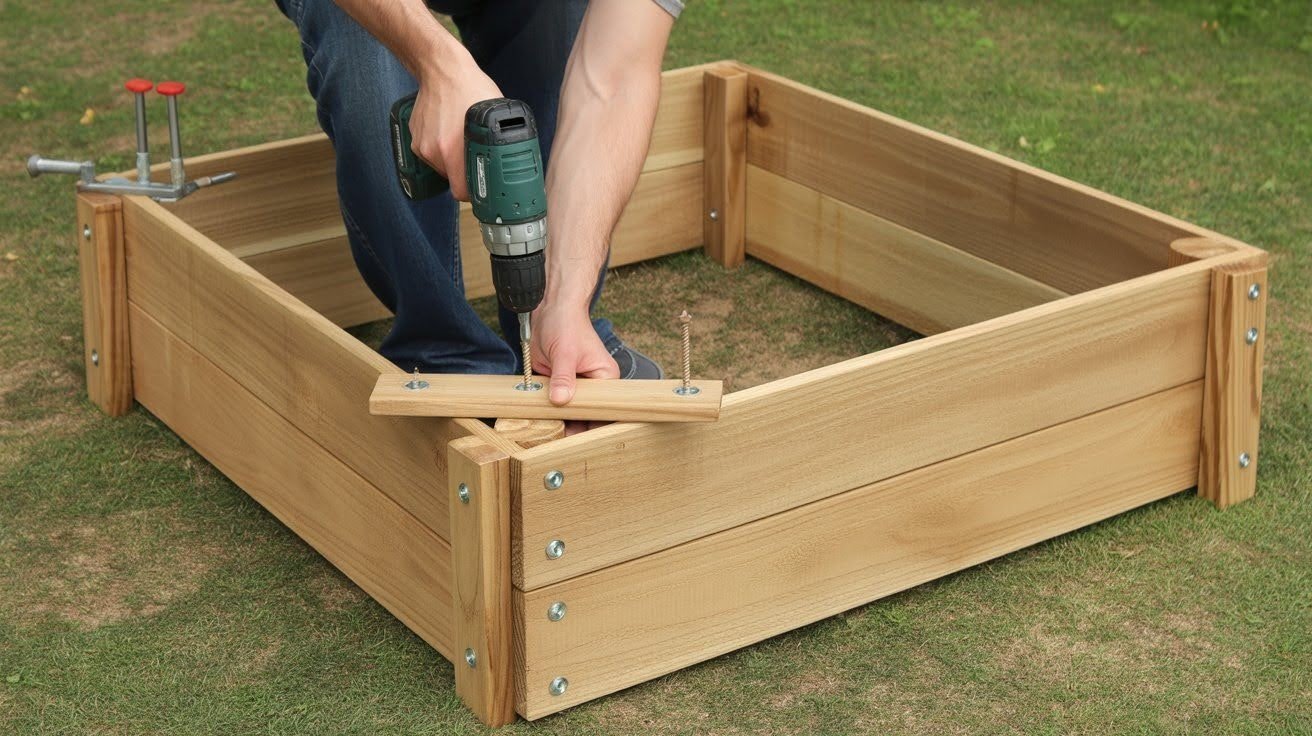
Construct your sandbox frame by screwing the boards together securely, creating strong corner joints that will withstand years of play and weather exposure.
Use two screws per joint for maximum stability, ensuring each connection is tight and properly aligned.
This assembly step can be completed in your work area before moving the frame to its final location.
Step 4: Position the Frame
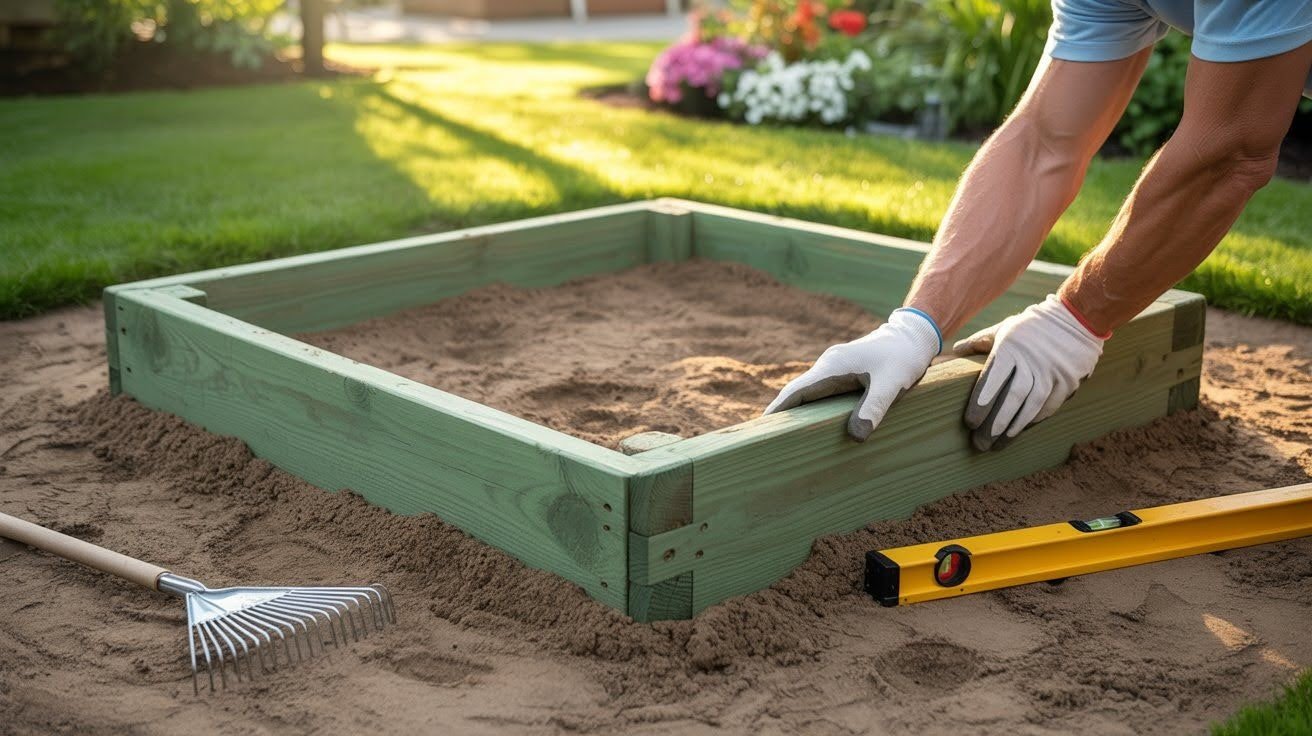
Carefully set your assembled frame in the cleared and prepared spot, checking that it sits level and fits properly within the designated area.
Continue digging and adjusting the ground as needed to achieve a perfect fit, ensuring the frame doesn’t rock or have gaps underneath that could compromise stability or allow sand to escape.
Step 5: Add a Base Layer (Optional)
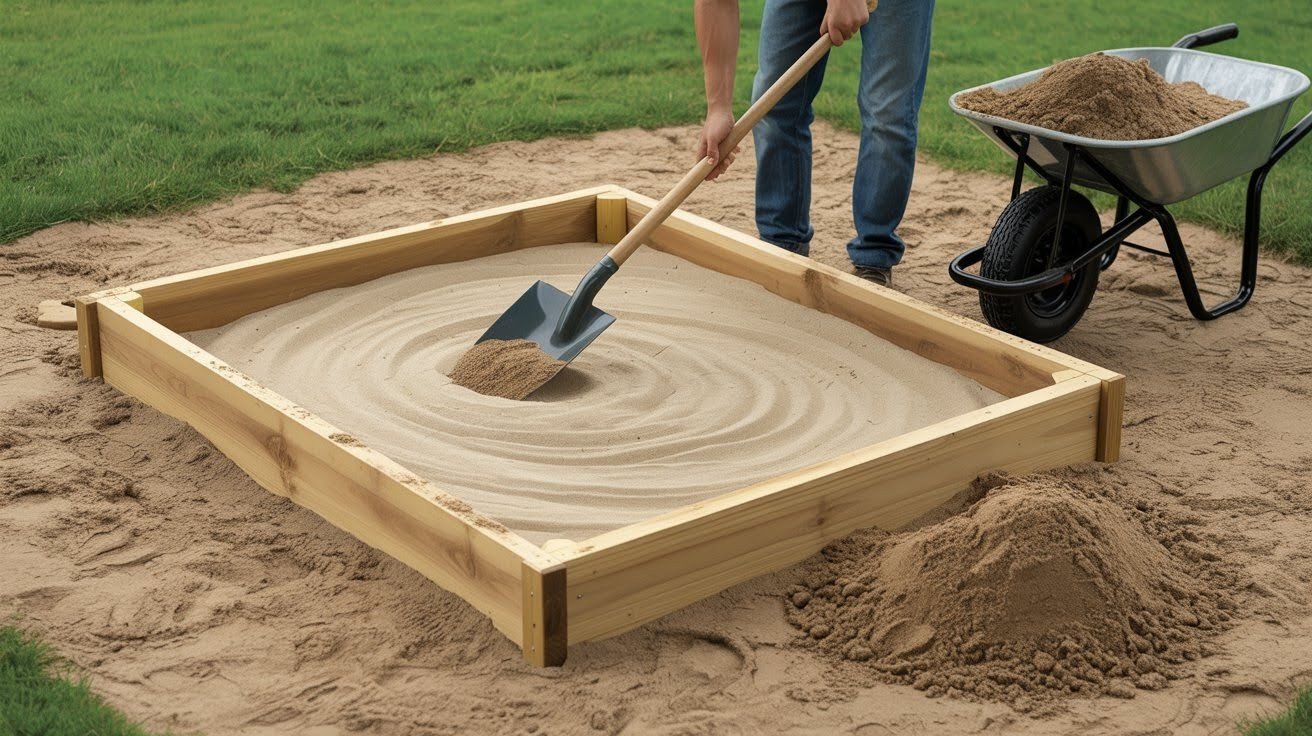
Consider adding a thin base layer of creek sand or clean dirt to even out the ground surface and create a stable foundation for your play sand.
This base layer prevents sand from spilling underneath the frame and helps maintain proper drainage while creating a more comfortable play surface for children.
Benefits of a DIY Sandbox
Building a DIY sandbox offers numerous advantages that extend far beyond simple entertainment value for children.
This project encourages outdoor play and creativity by providing a dedicated space where kids can engage with nature, develop their imagination, and participate in hands-on activities that promote physical development and sensory exploration.
The sandbox becomes a focal point for outdoor time, drawing children away from screens and into fresh air where they can build, dig, and create to their heart’s content.
The financial benefits make this project particularly attractive to budget-conscious families.
As a low-cost project with long-term value, a DIY sandbox provides years of entertainment at a fraction of the cost of commercial playground equipment or organized activities.
The initial investment in materials pays dividends through countless hours of engagement, making it one of the most cost-effective additions you can make to your backyard.
Beyond the immediate benefits for children, this project builds family teamwork and DIY skills as parents and kids work together on construction.
The collaborative nature of building something from scratch teaches valuable lessons about planning, problem-solving, and following through on projects.
Additionally, a well-designed sandbox can double as a budget-friendly babysitter, providing safe, supervised entertainment that keeps children occupied while parents handle other tasks nearby.
Conclusion
Building a DIY sandbox creates lasting memories while providing countless hours of joy for children and genuine peace of mind for parents who can supervise safely from nearby.
This simple project transforms ordinary backyard space into a creative playground where kids develop imagination, social skills, and physical coordination through natural play experiences.
Remember that the best sandbox projects often come from using materials you already have on hand, so don’t hesitate to get creative with your approach and enjoy the entire building process.
The satisfaction of creating something meaningful with your own hands makes this project rewarding for the whole family.
We’d love to hear about your own DIY sandbox experiences! Please share your comments, tips, or photos of completed projects to inspire other families considering this fun, affordable addition to their outdoor spaces.
Frequently Asked Questions
What type of sand is safest for children to play in?
Use only play sand or sandbox sand that’s specifically labeled as safe for children, as it’s been washed and screened to remove harmful materials. Avoid construction sand, which may contain silica dust or other particles that could be dangerous if inhaled.
How much sand do I need for a 7×7 foot sandbox?
A 7×7 foot sandbox typically requires 12-15 bags of play sand for a 6-inch depth, which provides adequate play space. Calculate roughly 1 cubic foot of sand per square foot of sandbox area for proper depth and play comfort.
Should I put anything under the sandbox to prevent weeds?
Yes, laying landscape fabric or cardboard under the sandbox helps prevent weeds from growing through while still allowing proper drainage. This barrier also keeps the sand cleaner and reduces maintenance over time.
How do I keep cats and other animals out of the sandbox?
Install a removable cover or tarp when the sandbox isn’t in use to keep animals from treating it as a litter box. You can also sprinkle cinnamon or use motion-activated sprinklers as natural deterrents around the play area.
How often should I replace the sand in the sandbox?
Replace sandbox sand every 1-2 years or when it becomes discolored, clumpy, or contaminated with debris. Regular raking and occasional hosing down can extend sand life, but complete replacement ensures optimal cleanliness and safety.