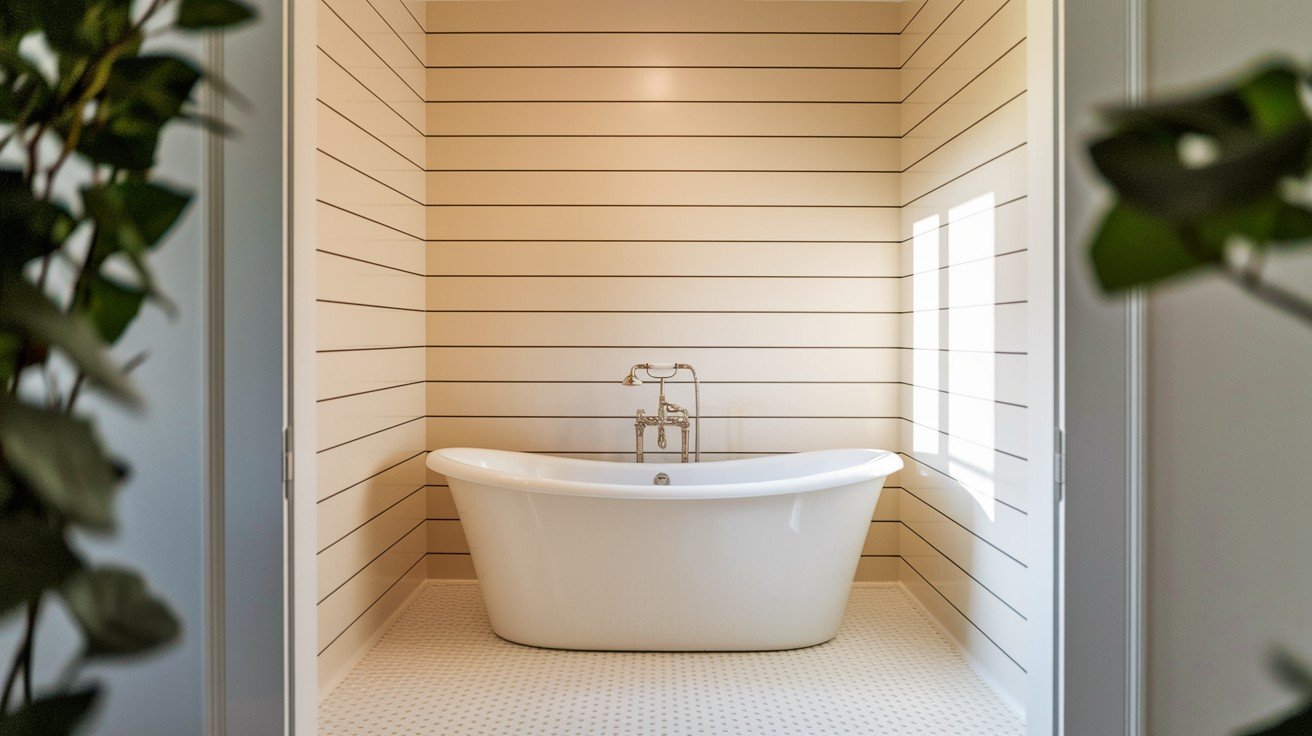
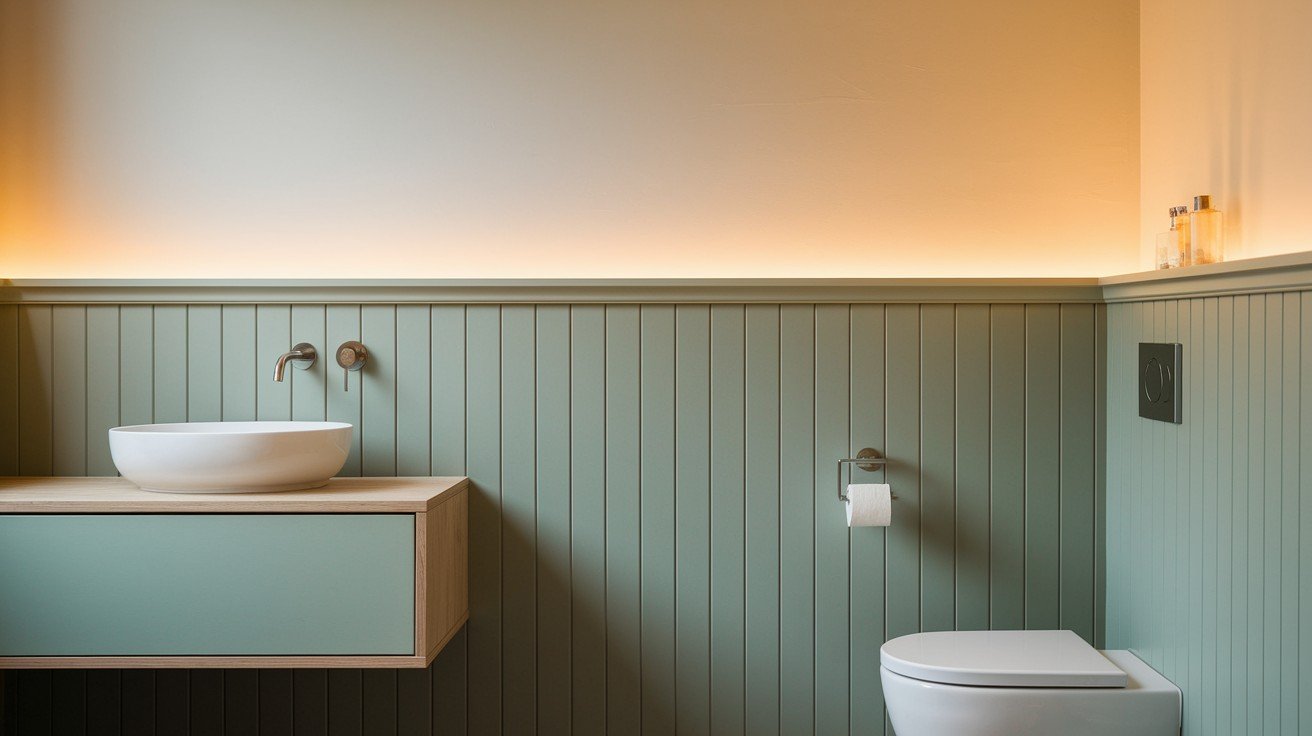
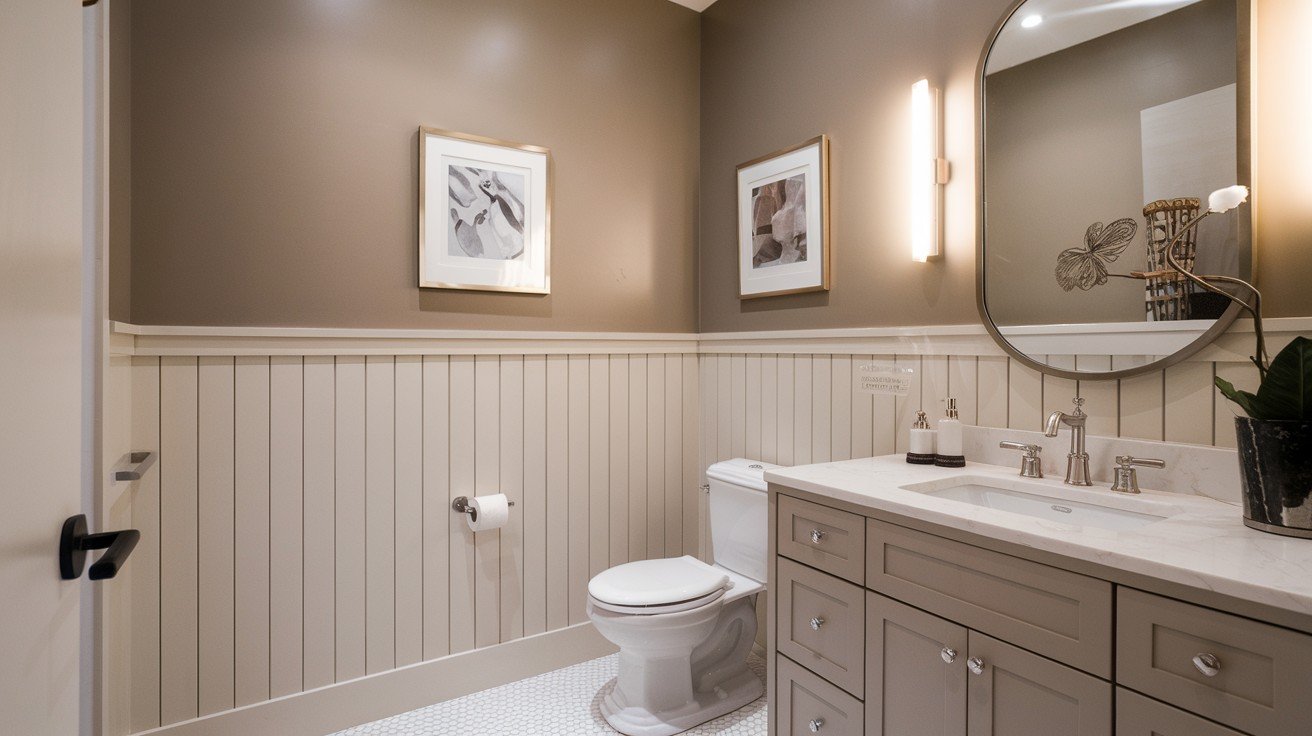
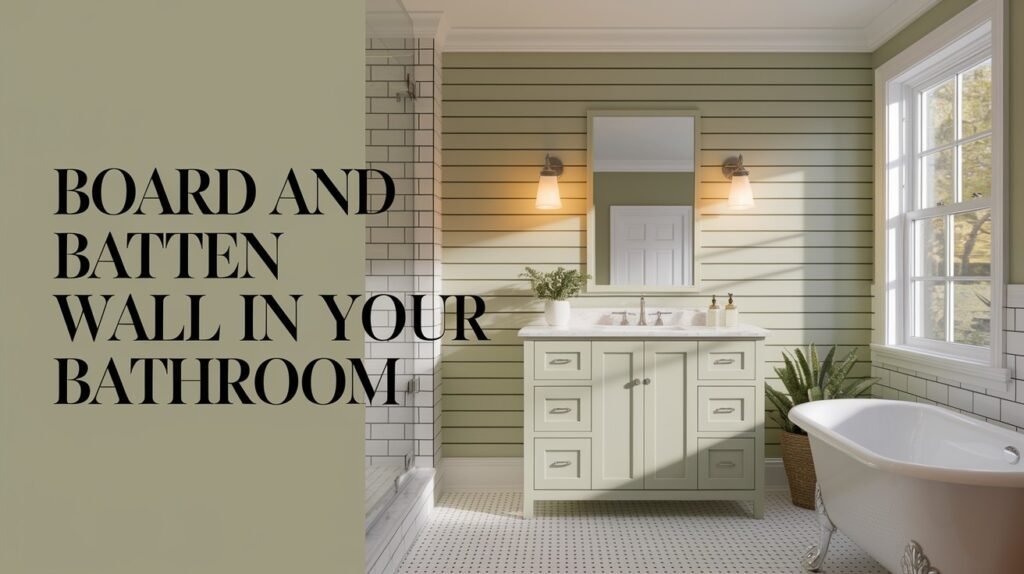
Your bathroom walls don’t have to be boring. Board and batten is the simple upgrade that transforms any space from bland to beautiful.
I’ve walked countless homeowners through this exact project over my years as a contractor. The results always amaze them. Vertical lines make rooms feel taller.
Rich texture adds instant character. Your bathroom goes from basic to custom-designed.
Here’s the best part: you don’t need expert carpentry skills.
Most people think board and batten is complicated. It’s not. With basic tools and weekend time, you’ll create professional results. This complete guide covers step-by-step instructions, best materials for humid spaces, and common mistakes that cost time and money.
I’ve seen this project done wrong on hundreds of job sites. That’s why I’m sharing proven techniques that actually work. You can finish this in one weekend and save $400-$500 versus hiring professionals.
What Is a Board and Batten Bathroom Wall?

Board and batten is a wall treatment that uses vertical wooden strips called battens. These strips attach over a smooth surface like drywall or existing paint.
The design dates back to early American architecture. Farmhouses and cottages used this style for both interior and exterior walls. It provided extra insulation and a finished appearance.
Benefits of Board and Batten:
- Adds dimension and architectural interest, flat walls become visually interesting. The vertical lines create depth and shadow.
- Affordable and customizable Materials cost much less than tile or stone. You choose the height, spacing, and color.
- Works well in small or large bathrooms Small spaces feel taller. Large rooms gain cozy character.
Ideal Styles:
- Modern Farmhouse
- Coastal
- Classic
- Transitional
- Rustic
The treatment works with almost any décor style. Paint color and finish make all the difference.
Tools and Materials Needed for Installation

This project requires basic carpentry tools and common building materials. Most items are available at home improvement stores. The total cost runs $100-300 for an average bathroom wall.
Essential Materials:
- 1×4 boards for battens
- 1×6 board for baseboard
- 1×3 board for top rail
- 2-inch finishing nails
- Construction adhesive
- Wood filler
- Paintable caulk
- Primer and paint
Essential Tools:
- Tape measure
- Level
- Miter saw or circular saw
- Nail gun or hammer
- Drill
- Putty knife
- Caulk gun
- Sandpaper (220-grit)
Buy materials after measuring your space. Most stores cut boards to length if needed.
Step-by-Step Guide to Installing a Board and Batten Wall

Step 1: Plan and Measure Your Wall
Start by measuring your bathroom wall’s height and width. Write these numbers down.
Decide how high you want the board and batten to go:
- Half-wall: 36-42 inches high
- 3/4 wall: 54-60 inches high
- Full-height: Floor-to-ceiling
Determine Batten Spacing
Most installations use 12-18 inches between battens. Wider spacing works in larger rooms. Closer spacing fits smaller spaces.
Here’s a simple calculation:
- Measure your wall width
- Divide by your desired spacing
- Adjust slightly to make spacing even
Visualize Your Layout
Use painter’s tape to mark where battens will go. Step back and look at the spacing. Make adjustments now, not later.
Sketch your plan on paper. Include measurements and batten locations.
Step 2: Prepare the Wall
Remove everything from the wall first:
- Wall décor and artwork
- Outlet covers and switch plates
- Towel bars and hooks
- Any existing trim
Clean and Repair
Patch any holes with the spackling compound. Let dry completely.
Clean the wall with a damp cloth. Remove dust, soap residue, and grime.
Sand rough spots smooth with 220-grit sandpaper.
Baseboard Decision
You can install them over existing baseboards or remove them. Removing creates a more professional look. The board and batten sit flush against the floor.
If keeping baseboards, measure from the top of the baseboard up.
Step 3: Cut and Install the Baseboard and Top Rail
Cut your baseboard piece to match the wall width exactly. Use a miter saw for clean cuts.
Do the same for the top horizontal rail.
Installation Tips:
- Use a level to ensure straight lines. Mark your level line with a pencil.
- Apply construction adhesive to the back of each piece. This prevents gaps over time.
- Secure with 2-inch finishing nails. Space nails every 16 inches.
The top rail height depends on your earlier decision. Common heights are 36, 42, or 48 inches from the floor.
Step 4: Measure, Cut, and Attach Vertical Battens
Measure the distance between your top rail and baseboard. All battens need to be this exact length.
Cut all battens at once. This ensures consistent sizing.
Dry-Fit First
Place all battens in position before attaching. Check your spacing one more time.
Mark each batten’s position with light pencil marks.
Attach the Battens
Start at one end and work across. Use construction adhesive and 1.5-inch finishing nails.
Check that each batten is plumb (perfectly vertical) with a level.
Nail through the center of each batten. This prevents wood movement.
Step 5: Fill, Caulk, and Sand
Use wood filler to cover all nail holes. Apply slightly more than needed.
Caulk along all edges and seams:
- Where battens meet the baseboard
- Where battens meet the top rail
- Along the top rail edge
Use paintable caulk designed for bathrooms. It resists moisture and mildew.
Let everything dry according to manufacturer instructions.
Sand-filled nail holes smooth with 220-grit sandpaper. Wipe away dust.
Step 6: Prime and Paint
Primer is essential, especially on MDF or raw wood. It seals the material and helps the paint adhere.
Apply primer with a brush in corners and detailed areas. Use a roller for flat surfaces.
Let the primer dry completely. This usually takes 2-4 hours.
Paint Application
Use high-quality paint designed for bathrooms. Semi-gloss or satin finishes work best.
Apply the first coat with a brush and roller. Work in sections.
Let dry completely between coats. Apply a second coat for even coverage.
Bonus Tips
- Use moisture-resistant materials – Choose MDF with moisture coating or solid wood.
- Paint boards before installation – Pre-painting saves time and creates smoother coverage.
- Add functional elements – Install hooks, towel bars, or shelves on the wall.
- Consider wall lighting – Mount sconces between battens for function and appeal.
- Don’t rush the caulking – Quality caulk lines separate amateur from professional work.
- Buy extra materials – Purchase 10% more battens for mistakes and repairs.
- Use a nail gun – Brad nailers speed installation and create cleaner holes.
- Test your layout twice – Mark positions with tape and review overnight before cutting.
Conclusion
Board and batten walls transform ordinary bathrooms into spaces with character and charm. This project costs a fraction of major renovations while delivering impressive results.
The steps are straightforward. Basic tools and materials are all you need. Take your time with measuring and planning. The installation moves quickly once you start.
Most homeowners complete this project in a weekend. The results last for years with minimal maintenance.
Your bathroom will feel custom and intentional. Guests always notice and comment on the upgraded look.
Gather your materials and tools. Take it one step at a time. You’ll be amazed by what you can accomplish.
Drop questions in the comments below. I’m here to help you succeed.
Frequently Asked Questions
What materials work best in bathroom environments?
Use moisture-resistant MDF, solid wood, or PVC boards. These handle humidity better than regular MDF. Always seal with quality primer and bathroom-specific paint. PVC boards never rot or warp, making them ideal for high-moisture areas like shower surrounds.
How much does a board and batten wall cost?
Materials typically cost $3-8 per square foot. A standard bathroom wall runs $75-200 in materials. Labor costs more than materials if hiring professionals. Shopping sales at big box stores can cut material costs by 20-30%.
Can I install board and batten over existing tile?
Yes, but the tile must be securely attached. Clean thoroughly and use construction adhesive rated for tile surfaces. Consider tile thickness when measuring. Remove any loose or cracked tiles first to ensure a solid foundation for your installation.
What’s the best height for board and batten in a bathroom?
36-42 inches works well in most bathrooms. This height protects walls from splashes while maintaining good proportions. Adjust based on your ceiling height. In powder rooms, full-height board and batten create maximum impact in the small space.
How do I handle outlets and switches?
Remove cover plates before installation. Cut battens to fit around outlet boxes. Reinstall cover plates after painting. Use outlet extenders if needed for proper fit. Always turn off the power at the breaker before working around electrical fixtures for safety.

