
Yes, you can paint manufactured wood. It takes a little more prep than solid wood, but the results hold up well when done right.
Manufactured wood includes MDF, plywood, particleboard, and laminate. These materials have smooth or sealed surfaces that don’t grip paint easily. That’s why the right primer and prep work matter so much.
I’ve painted MDF cabinets and particleboard shelves myself. The finish looked clean and lasted for years with proper prep.
This guide walks you through everything, from tools to steps to common mistakes, so you get it right the first time.
What You Need to Know Before Painting Manufactured Wood
Manufactured wood like MDF, plywood, particleboard, and laminate has smooth or sealed surfaces that do not grip paint easily.
That is why prep and the right primer matter more than anything else. With the correct steps, the finish holds up well and can last for years.
I painted MDF cabinets and particleboard shelves myself. The results looked clean and professional once I stopped cutting corners on prep.
Get the foundation right and the rest of the process is straightforward.
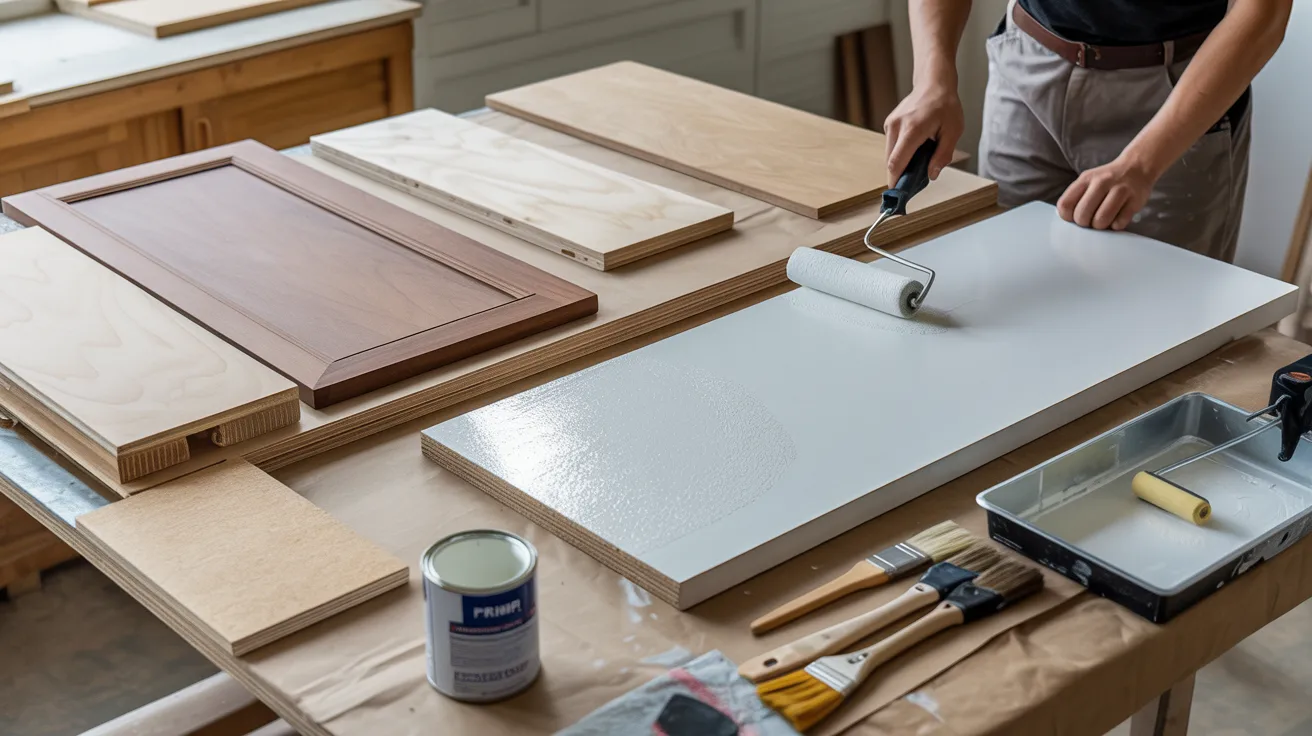
Tools and Materials Needed to Paint Manufactured Wood

Getting the right tools ready before you start saves time and prevents problems halfway through the job.
Sandpaper (120 to 220 grit): For scuffing the surface so primer sticks properly.
Tack cloth or damp rag: To wipe away dust after sanding.
Bonding primer: This is the most important item. It grips sealed surfaces that regular primers can’t hold.
Paint (latex or oil-based): Latex dries faster. Oil-based gives a harder finish.
Paintbrush and roller: A brush for edges and corners. A foam roller for flat surfaces.
Painter’s tape: To protect areas you don’t want painted.
Drop cloth: To keep your floor or table clean.
Having everything in one place before you start makes the whole process smoother.
How to Paint Manufactured Wood (Step-by-Step)
Follow these steps in order and your paint job will look clean, stick well, and last a long time.
Step 1: Clean the Surface Thoroughly
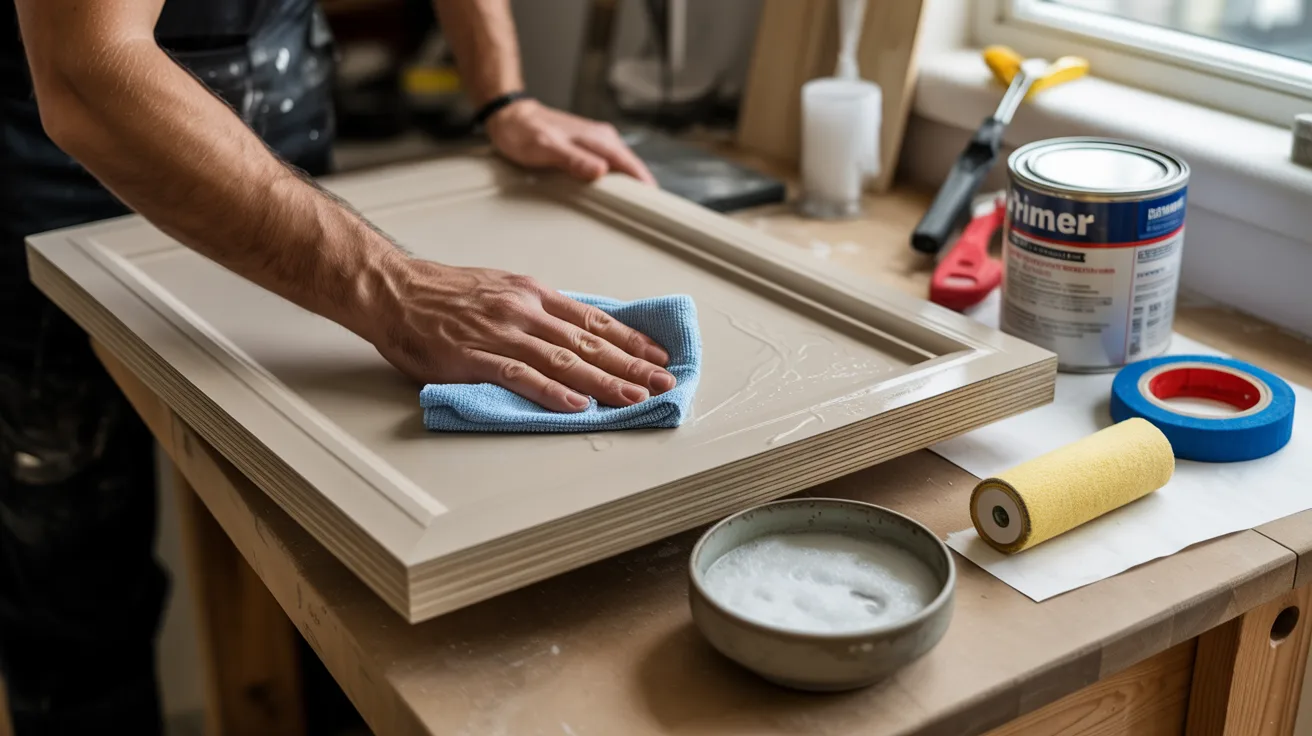
Wipe down the surface with a damp cloth to remove dust, grease, and dirt. Let it dry fully before moving on.
Paint won’t stick to a dirty surface, no matter how good your primer is.Use a mild dish soap mixed with water for greasy or oily surfaces.
Pay extra attention to corners and edges where dust tends to collect. Avoid soaking the surface, especially MDF, as too much water causes swelling.
Give the surface at least 30 minutes to dry fully before moving to the next step.
Step 2: Lightly Sand the Surface
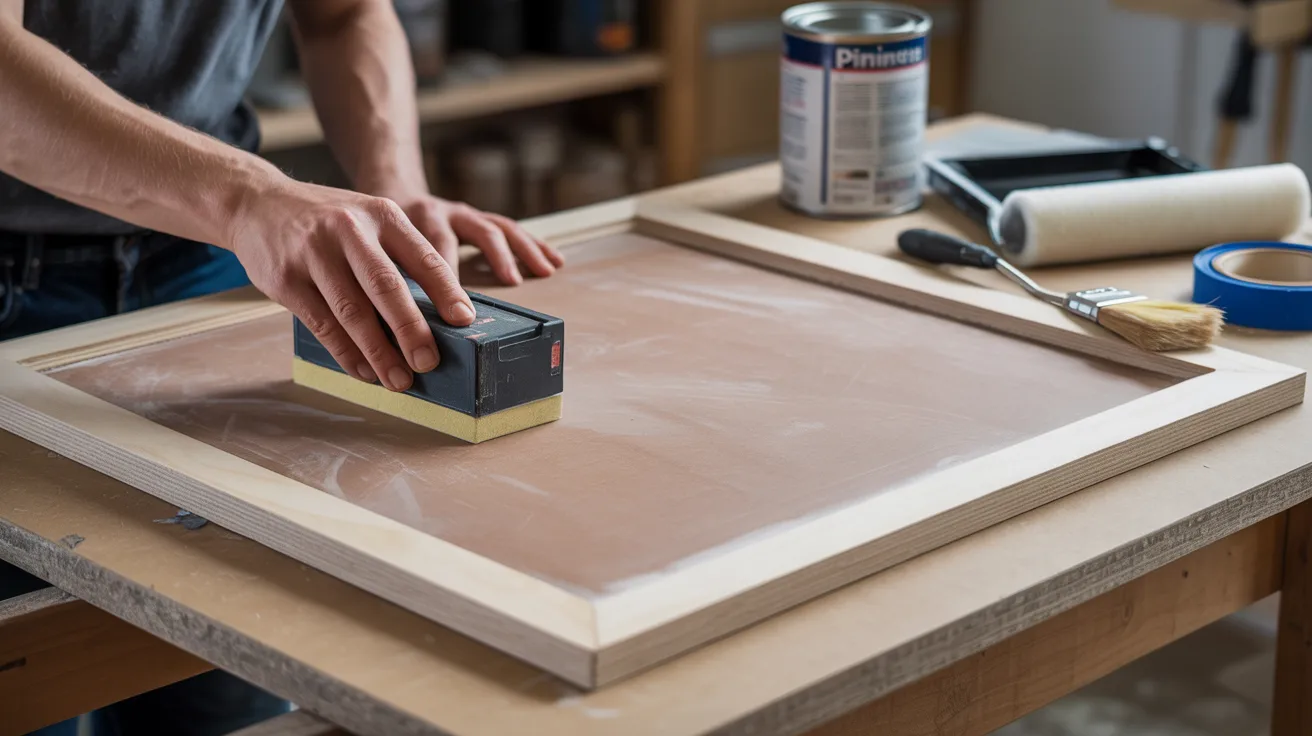
Use 120 to 150 grit sandpaper and sand the entire surface. This gives the primer something to grip.
Don’t skip this step on laminate or sealed MDF. A light scuff makes a big difference.Sand in the direction of the grain or surface pattern, not against it.
Use a sanding block to keep pressure even across flat areas. On laminate surfaces, focus on breaking the sheen rather than removing material.
Check the surface with your hand after sanding. It should feel slightly rough and dull.
Step 3: Remove Sanding Dust
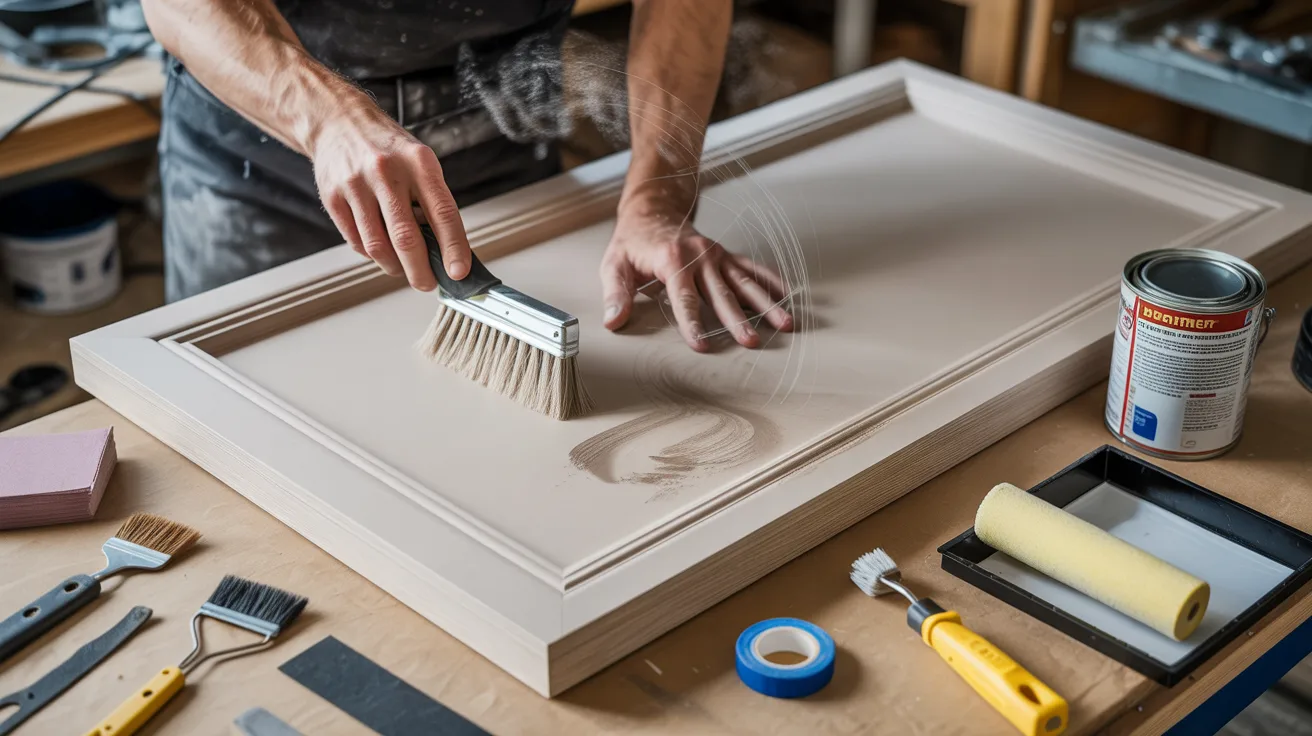
Wipe away all sanding dust with a tack cloth or a slightly damp rag. Let the surface dry completely.
Any dust left behind will show up under your primer and ruin a smooth finish.Work from the top of the surface downward so dust doesn’t fall onto already cleaned areas.
Use a dry paintbrush to sweep dust out of corners and grooves first.
Go over the surface twice, once with a dry cloth and once with a lightly damp one. Wait at least 15 to 20 minutes after wiping before applying primer.
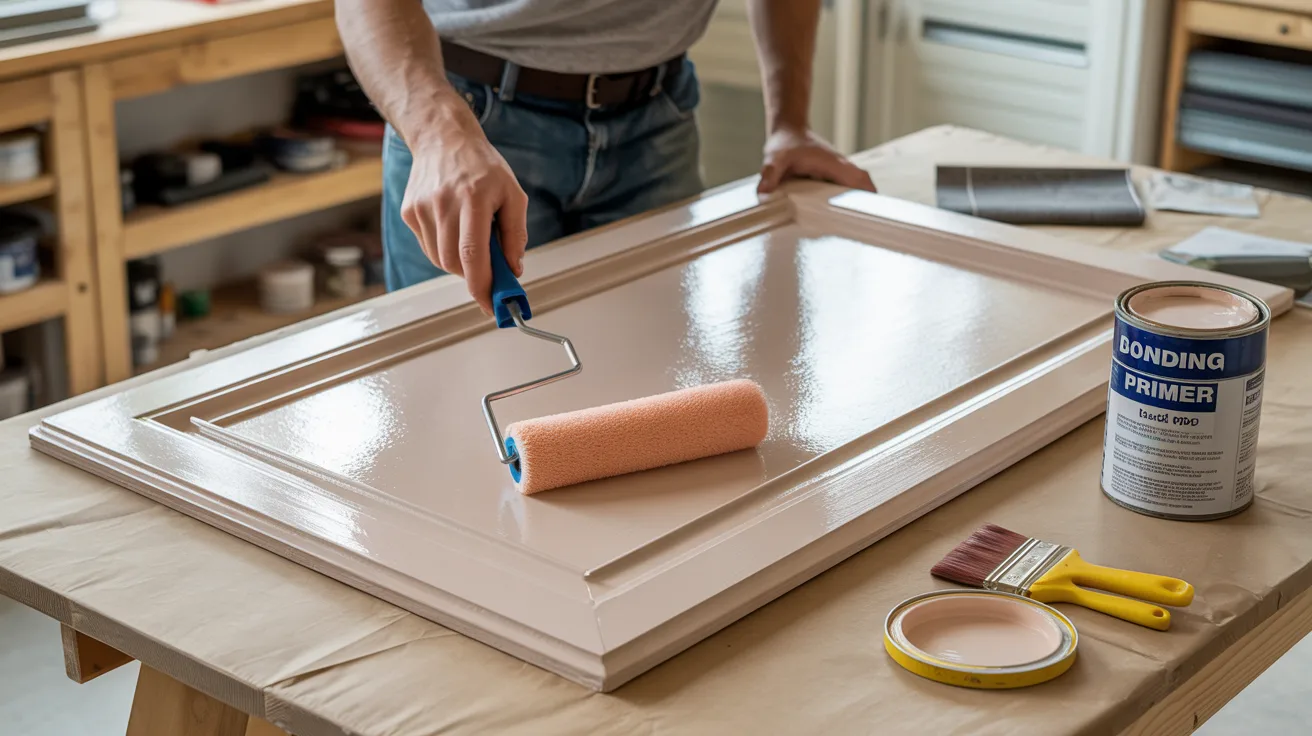
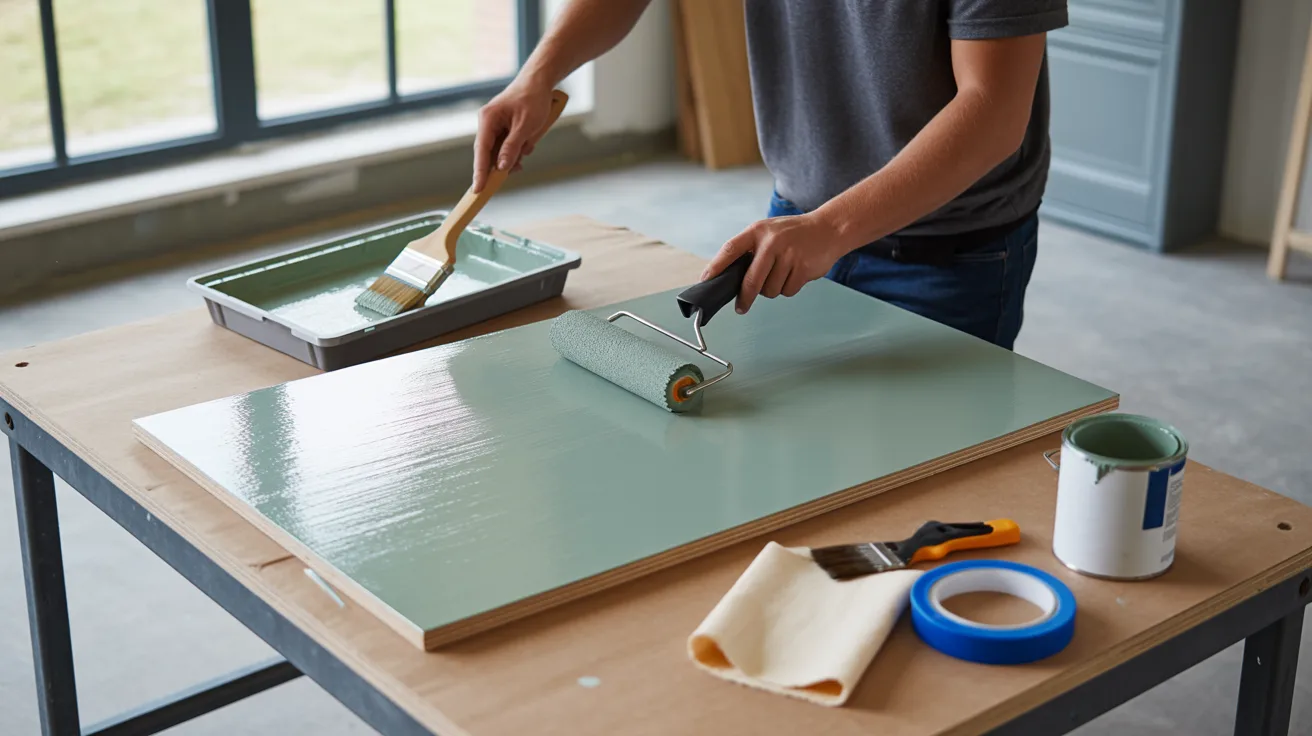
Step 4: Apply a Bonding Primer
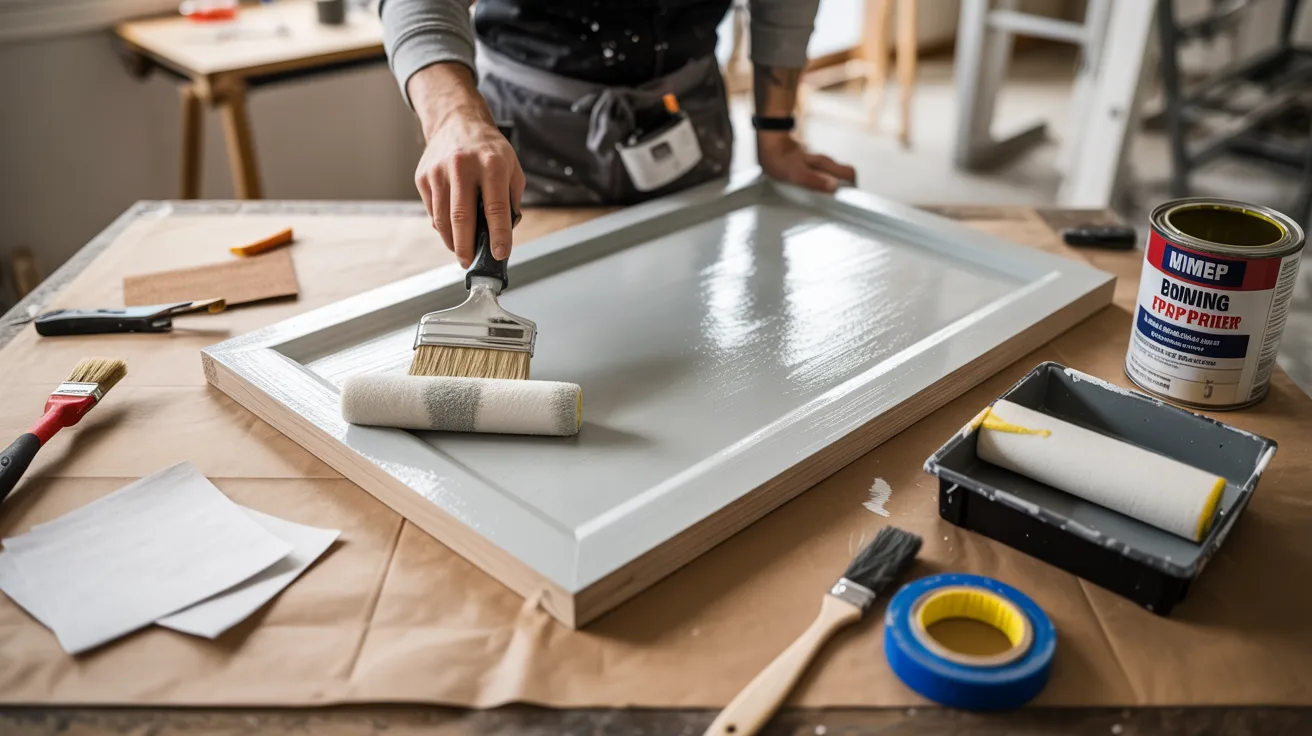
Apply a thin, even coat of bonding primer across the whole surface. This step is non-negotiable for manufactured wood. Let it dry fully according to the label before moving to paint.
Shake or stir the primer well before opening to make sure it is fully mixed. Use a foam roller for flat areas and a small brush for edges and corners.
Apply the primer in long, even strokes going in one direction only.
Most bonding primers need at least one hour before painting, so check the label drying time carefully.
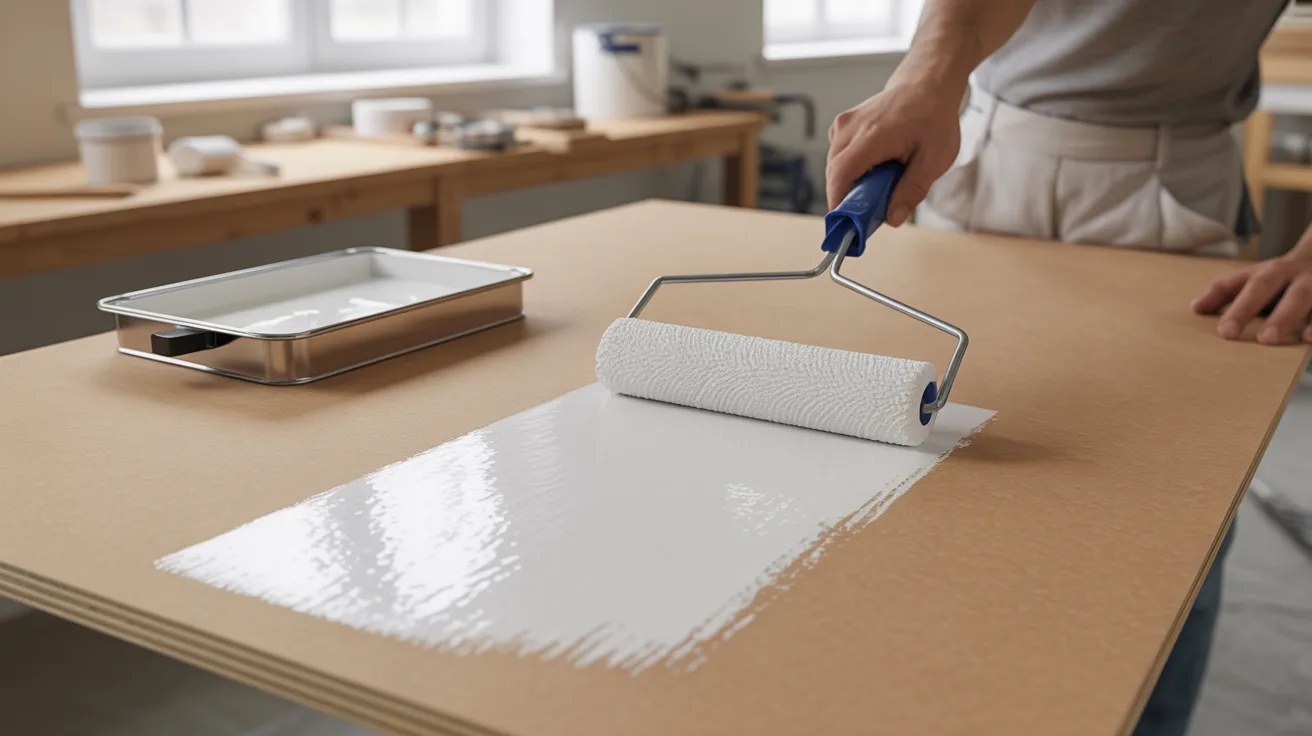
Step 5: Apply the First Coat of Paint
Apply your first coat of paint using a foam roller for flat areas and a brush for edges. Keep the coat thin and even.
Thick coats drip and take much longer to dry properly.Pour a small amount of paint into a tray rather than dipping directly from the can.
Roll off the excess paint on the tray ridge before applying it to the surface.
Start at one edge and work across in one steady, consistent direction. Don’t go back over areas that have already started to dry as this causes visible marks.
Step 6: Lightly Sand Between Coats
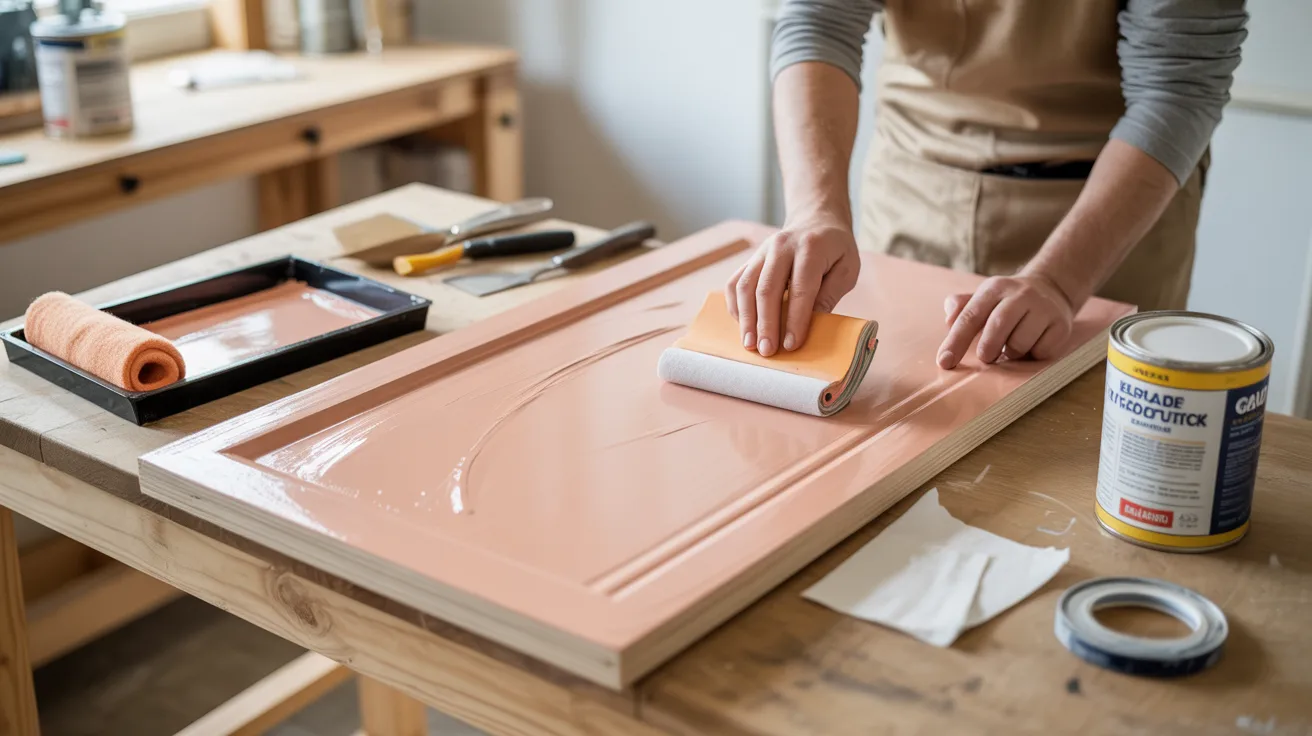
Once the first coat is dry, lightly sand with 220 grit sandpaper. This smooths out any bumps or brush marks.
Wipe the dust off before applying the next coat.Use very light pressure. You are smoothing the surface, not removing the paint.
Focus on visible brush marks, roller texture, and any small drips that dried on the surface.
Fold the sandpaper into a small square for better control on flat areas. Wipe away all dust with a tack cloth before picking up the brush or roller again.
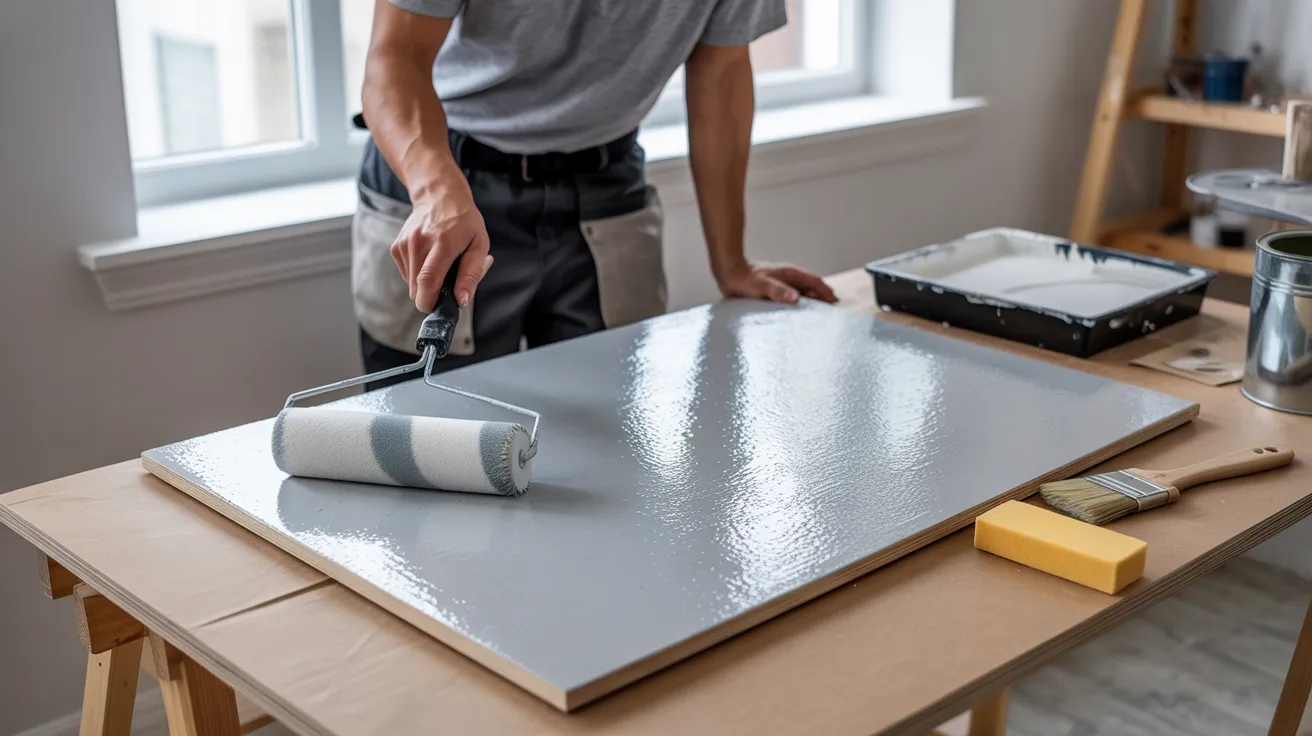
Step 7: Apply Additional Paint Coats
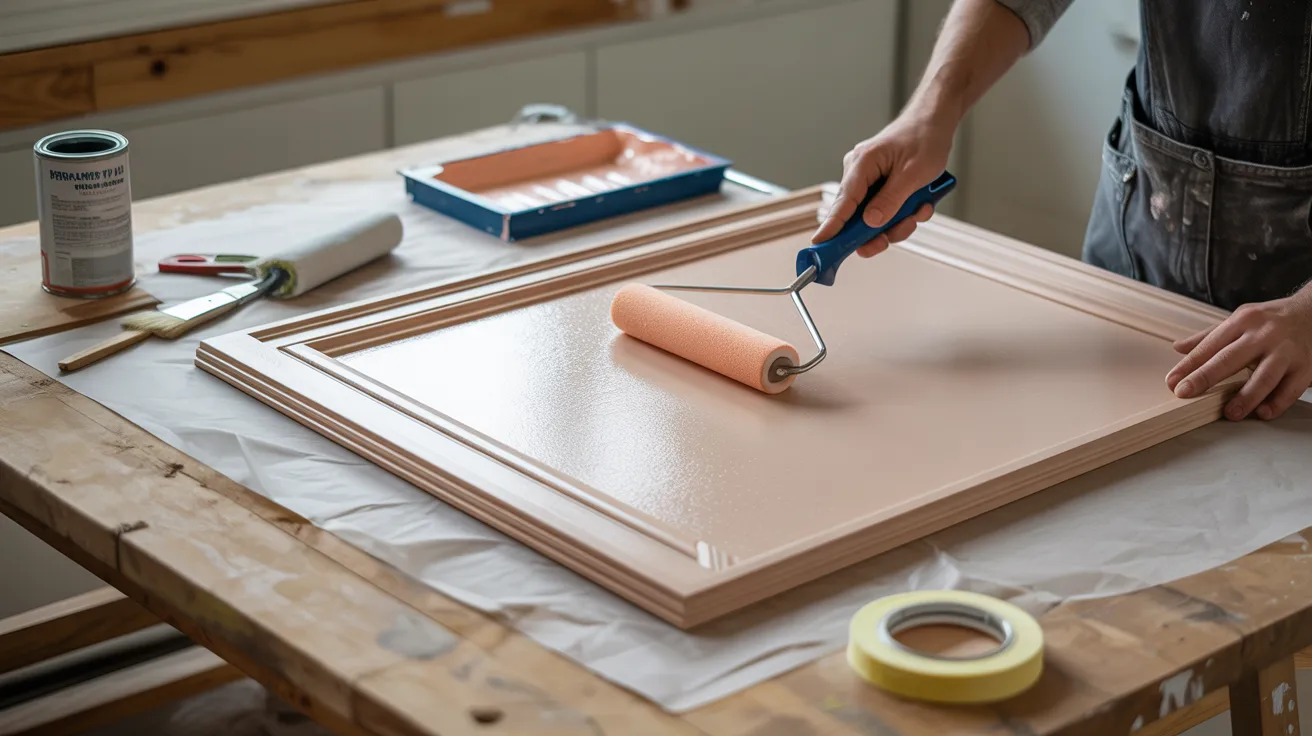
Apply a second coat once the surface is clean and dry. Most manufactured wood needs two to three coats for full, even coverage.
Thin coats always give better results than one thick one.Repeat the light sand and dust wipe between every coat, not just the first two.
Hold a light at a low angle to the surface to spot any thin or uneven areas before the coat dries.
Let the final coat dry for at least 24 hours before placing anything on the surface. A third coat is worth it on high-use surfaces like shelves, cabinets, or tabletops.
Techniques for Painting Manufactured Wood
Small habits make a big difference. These techniques help you get a cleaner, longer-lasting finish every time.
Apply Thin, Even Paint Coats
Thick coats are the number one cause of drips and uneven finishes. Always load your brush or roller lightly.
You can always add another coat. You can’t undo a drip once it dries. Two thin coats will always look better than one heavy one.
Think of each coat as building up coverage gradually, not finishing the job in one go.
Work in One Direction for a Smooth Finish
Always stroke in the same direction, either all horizontal or all vertical. Changing direction mid-coat leaves visible marks in the dried paint.
Pick a direction at the start and stick with it. This is especially important on MDF and laminate where the surface shows every stroke.
A consistent direction gives the finish a clean, even look once it dries.
Allow Proper Drying Time Between Coats
Rushing between coats causes the paint to peel or wrinkle. Read the label and wait for the full drying time.
In humid weather, add extra drying time before sanding or recoating. Touch drying and full drying are not the same thing.
A coat may feel dry to the touch but still be too soft underneath to sand or recoat properly.
Avoid Oversanding the Surface

Light sanding is all you need. Pressing too hard or using coarse grit can damage the surface of MDF or particleboard.
Gentle, even pressure with fine grit gives the best result without causing harm. If you sand through the primer coat, you will need to re-prime that area before painting again.
Always check the surface after sanding to make sure the primer layer is still intact.
Common Mistakes to Avoid
Most paint jobs go wrong for the same few reasons. Knowing them ahead of time saves you a redo.
- Skipping the bonding primer. Paint will chip and peel within weeks without it.
- Painting over dust. Always wipe clean after sanding before you prime or paint.
- The coats are too thick. Thin coats dry faster and look far smoother.
- Skipping sanding between coats. Two minutes of light sanding makes a big difference.
- Rushing drying time. Wait fully between coats or the paint will bubble and wrinkle.
Take your time with each step and most of these mistakes are easy to avoid.
Conclusion
I painted my first MDF shelf without a primer and it looked terrible within a month. Prep is everything with manufactured wood.
Can you paint manufactured wood? Yes. You just need the right primer, thin coats, and patience between steps.
Pick one surface and try it this weekend. Drop a comment below and tell me what you’re working on.
Found this helpful? Share it with someone who needs it.
Frequently Asked Questions
Do I need a special primer for manufactured wood?
Yes, a bonding primer is the best choice as standard primers don’t grip sealed surfaces well enough.
How many coats of paint does manufactured wood need?
Most surfaces need two to three thin coats with a light sand between each one.
Can I paint laminate-covered manufactured wood?
Yes, but you must sand and apply bonding primer first or the paint won’t stick.
What type of paint works best on manufactured wood?
Latex dries faster while oil-based gives a harder finish, but both work well with bonding primer underneath.
Will painted manufactured wood hold up over time?
Yes, with proper prep, bonding primer, and thin coats it will last for years.


