
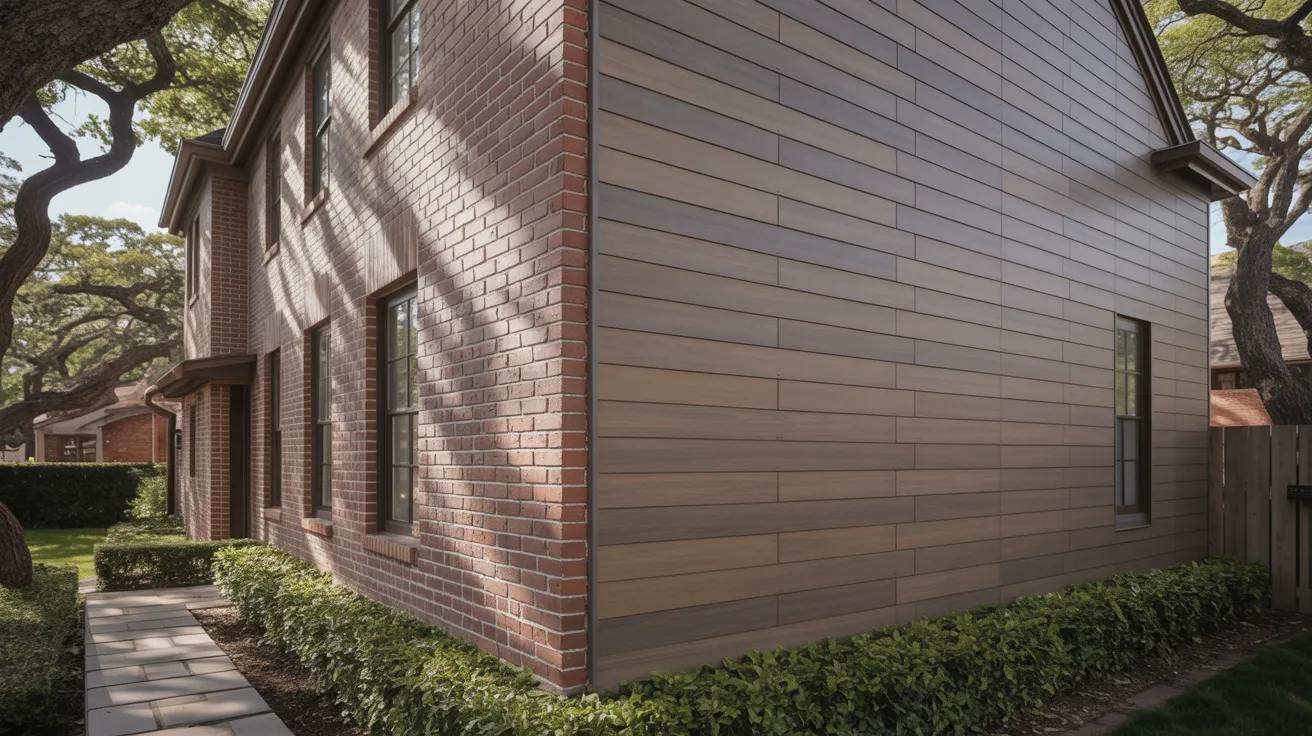
I used to wonder the same thing standing in front of my own brick wall, and what I found surprised me.
Can you put siding over brick? Yes, you can. But how you do it matters a lot.
This article covers real homeowner experiences, material options, common mistakes, and practical tips to help you make the right call.
I will walk you through what works, what goes wrong, and how to avoid costly errors. Everything here is grounded in real experience, not guesswork.
Why Homeowners Choose Siding Over Brick
Brick is solid, but it is not always the look or finish people want to keep. Some homeowners go for siding to cut down on heating and cooling costs.
Others want a cleaner, more modern appearance without a full exterior overhaul. A few simply have aging bricks that are hard to repair and easier to cover.
Whatever the reason, siding over brick is a practical option when done with the right materials and a solid plan.
The goal is always the same: a result that holds up and looks good for years.
Real Homeowner Experiences

Homeowners share valuable lessons from installing siding over brick. One said, “Using furring strips on my 40-year-old brick was a game-changer; don’t skip them!”
Another admitted, “Skipping the moisture barrier caused mold behind the panels. Lesson learned the hard way!”
These real experiences highlight the importance of careful preparation, planning, and following proper steps to avoid common mistakes and costly problems.
Tools and Materials Required
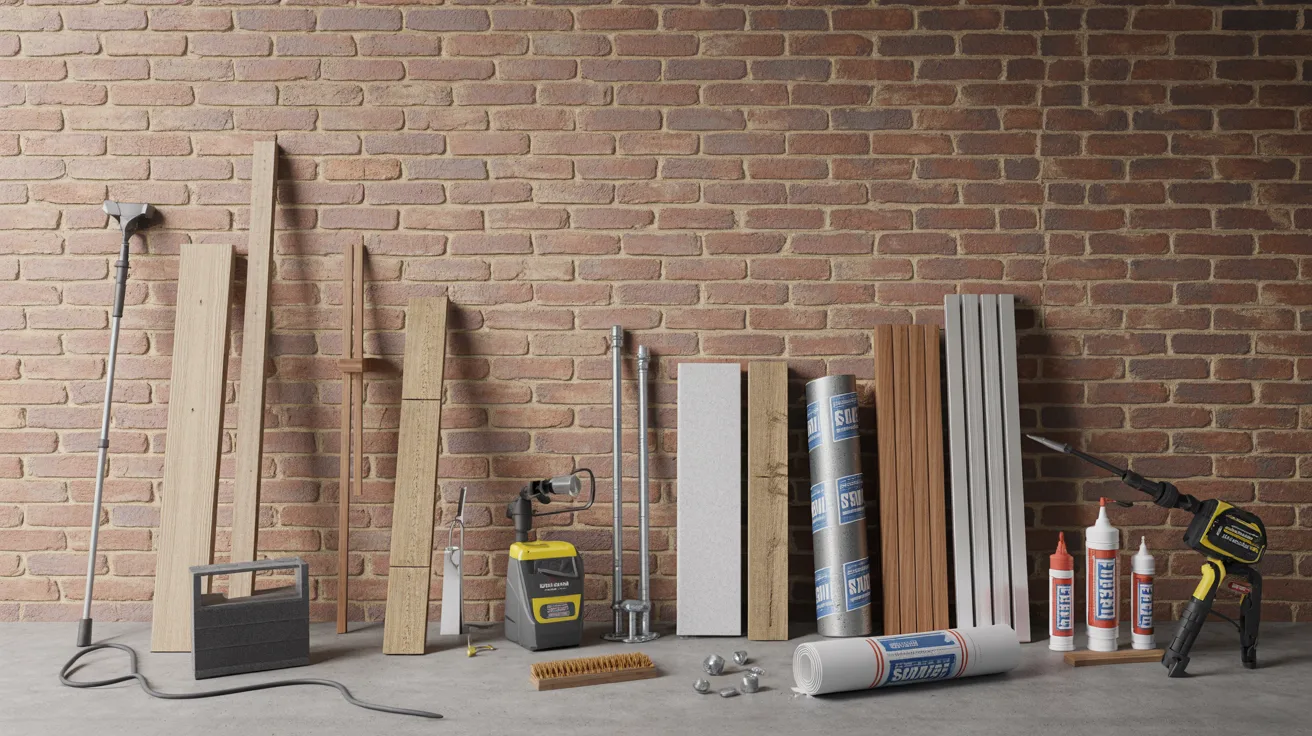
Gather everything before you start so the job runs without interruption.
Inspection tools: Flashlight, camera, and a basic masonry repair kit
Cleaning supplies: Pressure washer and stiff-bristle brush
Furring strips: With masonry screws or brick anchors, With seam tape
Siding panels: With corner caps and trim pieces
Finishing supplies: Caulk gun and exterior-grade caulking
The right materials on hand make every step faster and cleaner.
Step-by-Step Prep for Installing Siding Over Brick
Proper prep work is what separates a siding job that lasts from one that fails before its time.
Step1: Inspect the brick surface
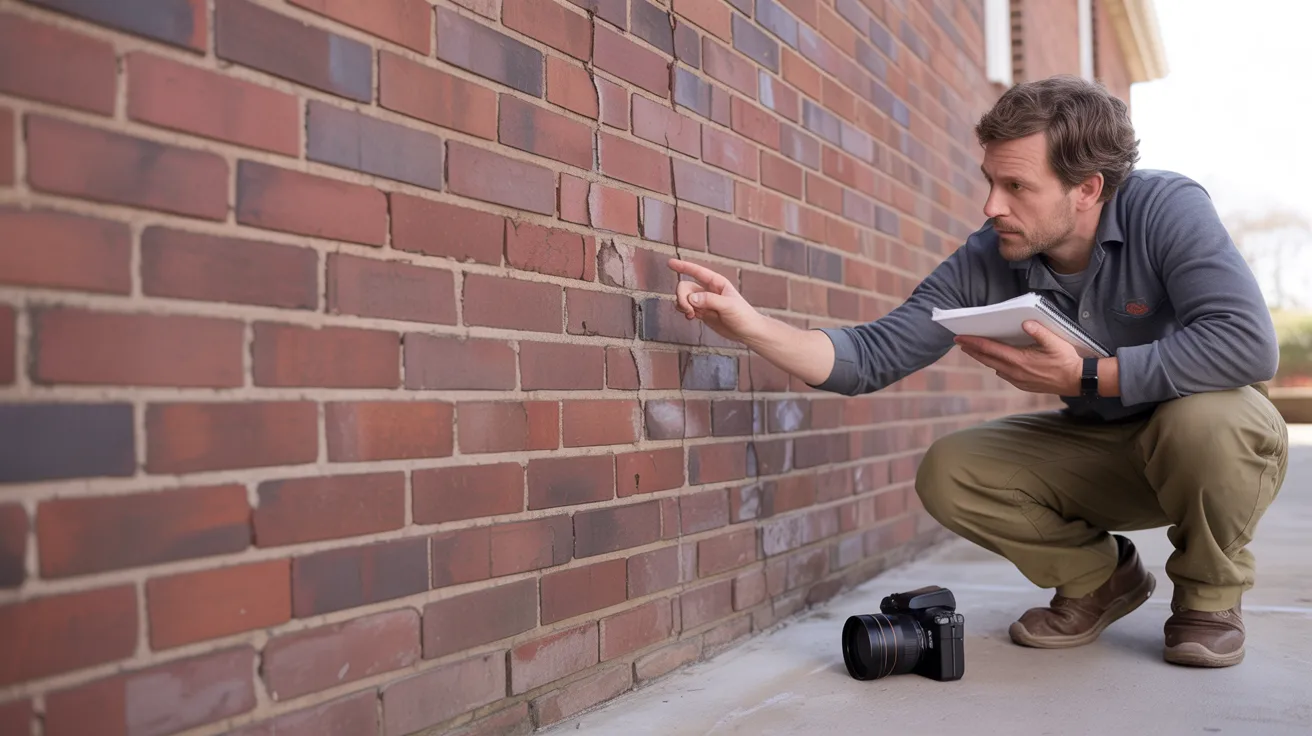
Check the entire surface for cracks, loose mortar, and uneven spots. These issues affect how well the siding holds over time, so fix them before you start.
Take photos for a clear before and after reference.
Homeowner Tip: Even small cracks can worsen over time. Treat minor issues before you start to avoid expensive repairs later.
Step 2: Clean the wall

Remove all dirt, debris, and flaking paint before moving forward. A pressure washer works well, but gives the wall enough time to dry completely before moving on.
Any residue left behind can compromise how well the siding bonds to the surface over time.
Homeowner Tip: Don’t skip drying time. installing siding on a damp wall can trap moisture and lead to mold.
Step 3: Install furring strips
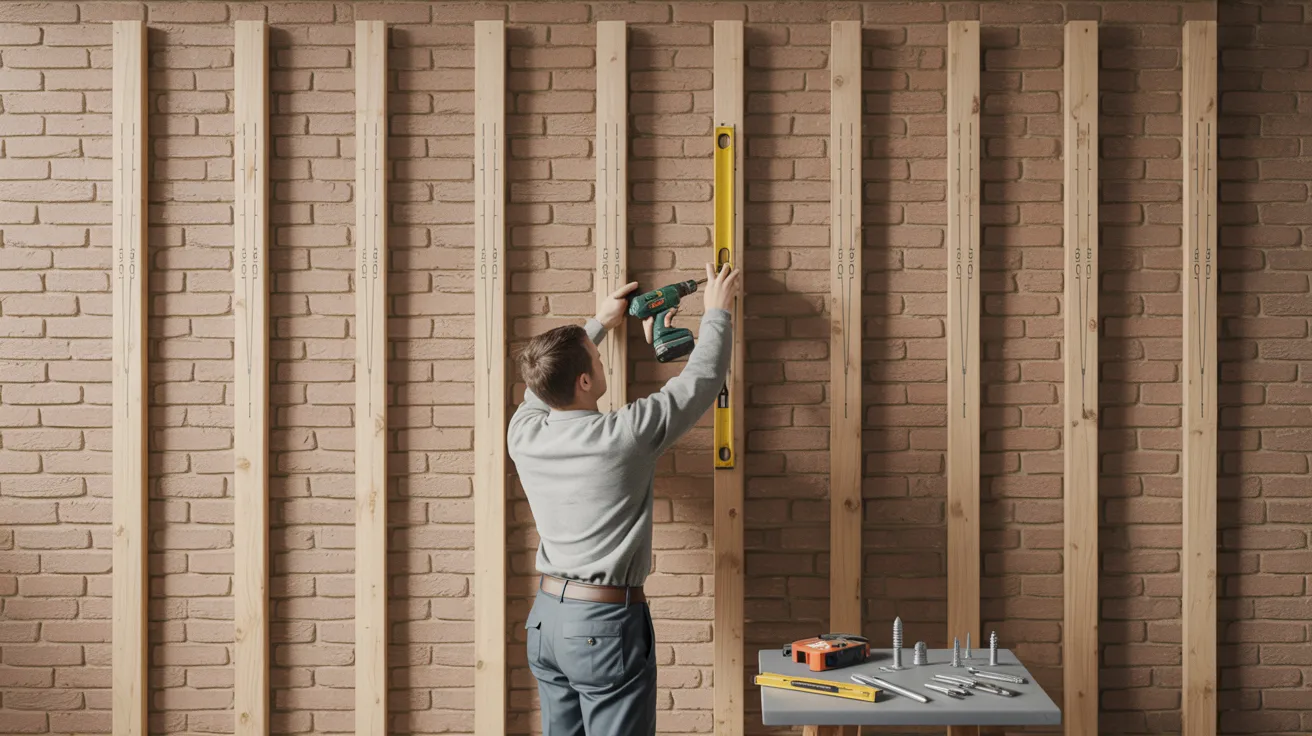
Attach strips vertically across the wall to create a flat, level base. Space them evenly and use masonry screws or anchors rated for brick to keep everything firmly in place.
Check alignment across the full wall before committing, since small errors here affect every panel that goes on top.
Homeowner Tip: Mark a few strips first and check alignment across the wall. Small mistakes early can cause big gaps later.
Step 4: Add a moisture barrier

Wrap the wall completely, overlap each seam, and tape all edges per the manufacturer’s instructions.
Choose a barrier compatible with your siding material for the best results. A properly installed barrier adds years to the life of both the siding and the wall behind it.
Homeowner Tip: Think of the barrier as insurance. Skipping it is one of the most common DIY regrets.
Step 5: Plan your panel layout

Measure carefully and mark placement lines before touching a single panel. Start from the bottom and work upward to keep everything aligned throughout the job.
A few extra minutes of planning here can save hours of correction work down the line.
Homeowner Tip: Use a laser level if possible. This saves time and ensures perfectly straight panels.
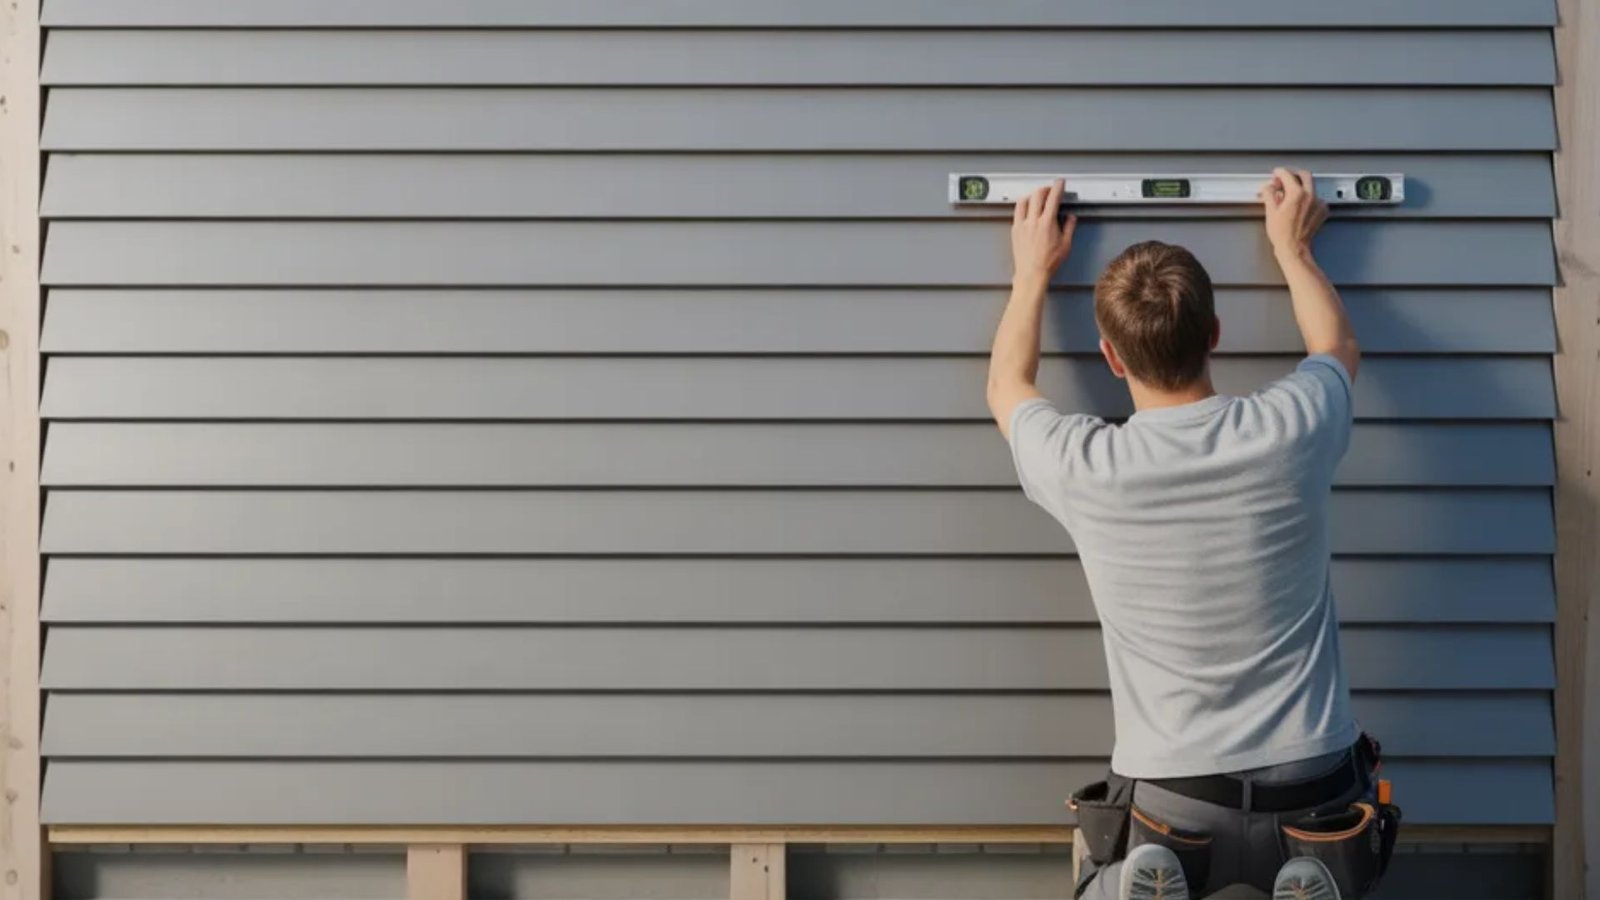
Step 6: Install siding panels

Follow manufacturer instructions and make sure each panel sits flush against the strips and the panels beside it.
Check each row for level before moving up to the next one. Loose or misaligned panels are far easier to fix during installation than after the job is done.
Homeowner Tip: Work slowly and double-check each panel;rushing can cause uneven rows that are hard to fix later.
Step 7: Finish edges and trim
Apply corner caps, trim pieces, and caulking along every seam and gap. Do a full walk-around inspection before calling the job complete.
The trim and caulking are the last line of defense against moisture, so take your time and do not cut corners here.
Homeowner Tip: Walk around the house from different angles to spot any uneven panels or gaps before finishing.
Top Siding Options for Brick
Each material has its place. Your choice depends on your budget, your home, and how much maintenance you want to deal with.
Vinyl Siding
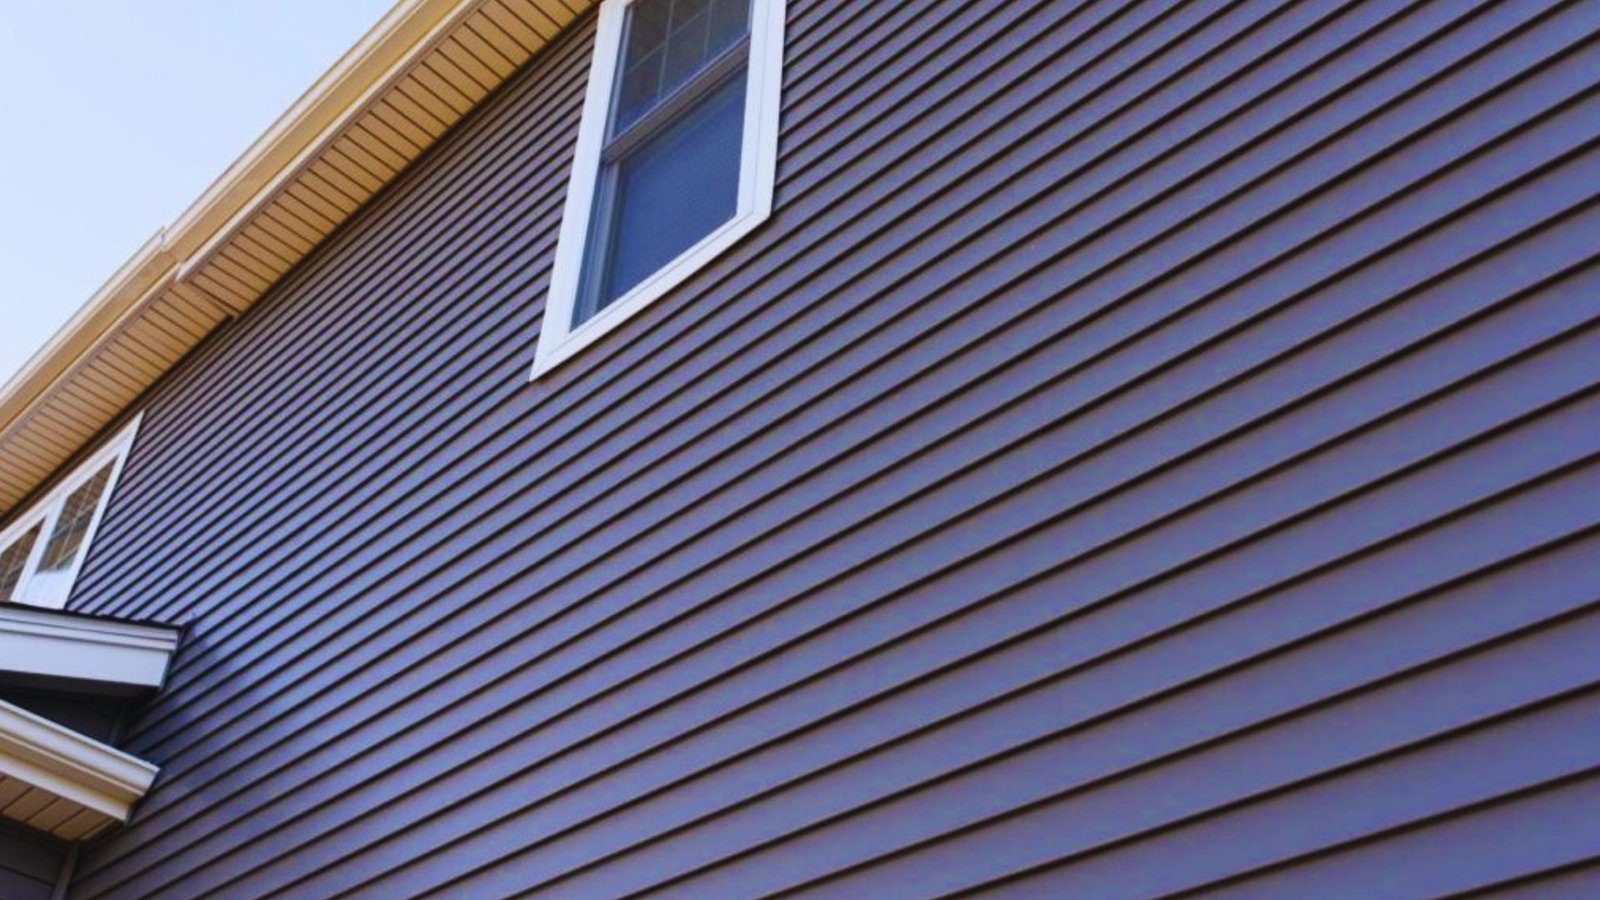
Vinyl is the most popular choice for going over brick. It is lightweight, affordable, and easy to install.
Homeowners appreciate that it does not rot and comes in many colors. Maintenance is low, and the cost works for most budgets.
Wood Siding
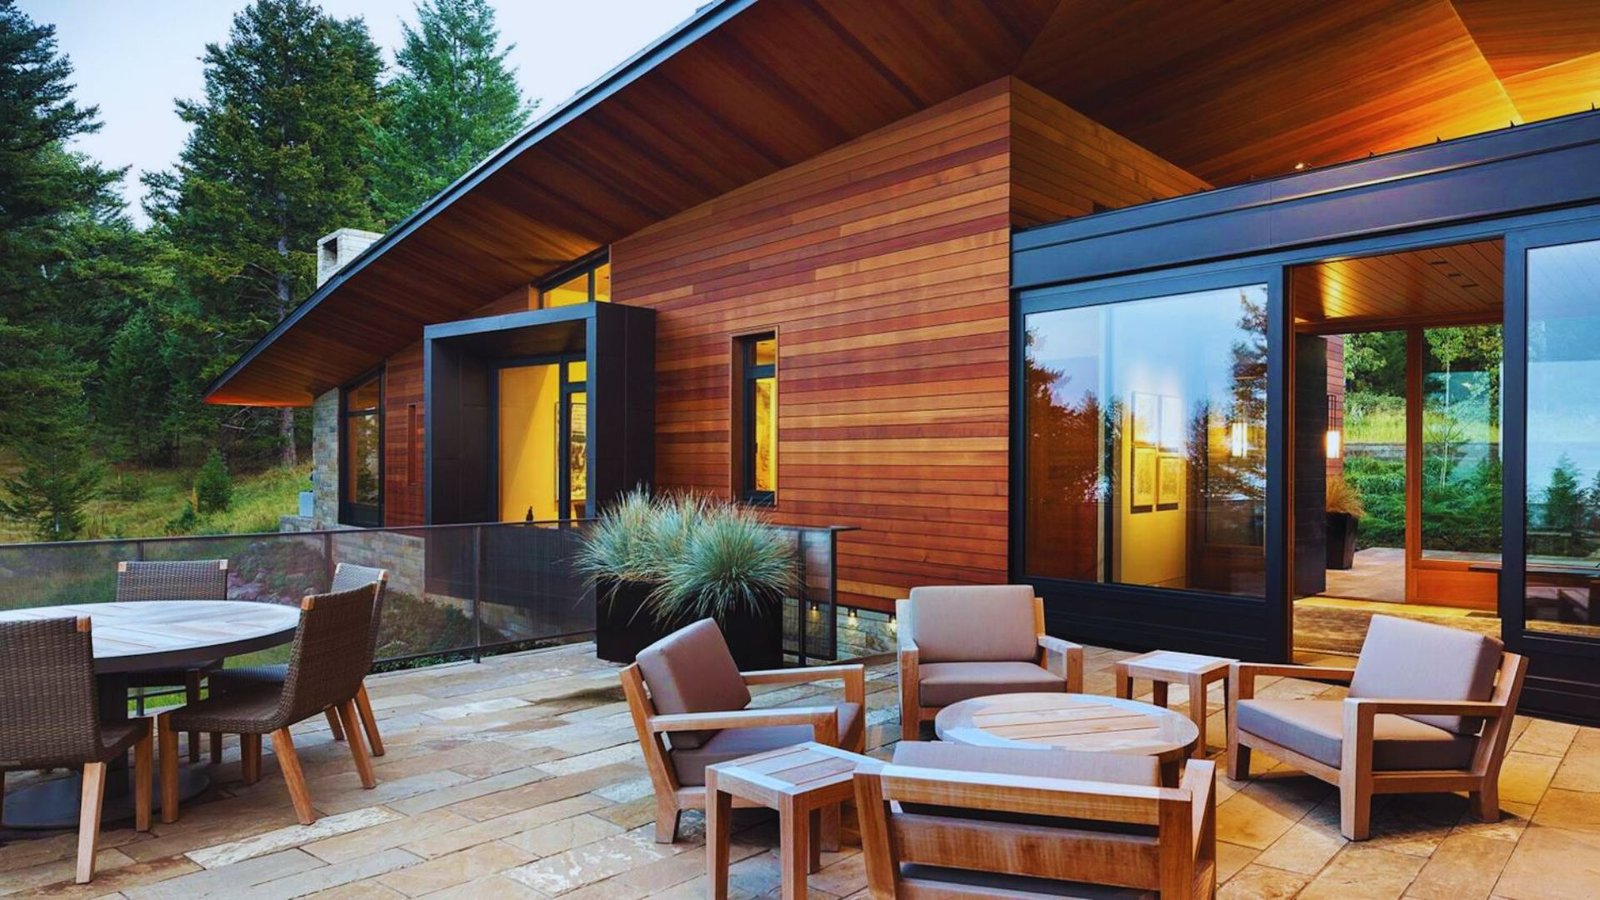
Wood gives a home a warm, natural look that is hard to replicate. But it needs regular upkeep painting, sealing, and checking for rot.
Homeowners who love the look say it is worth it, but only if you commit to the maintenance.
Fiber Cement and Metal Siding

Both are built to last. Fiber cement handles heat, moisture, and pests well. Metal is nearly indestructible.
Both require more skill to install correctly. Homeowners recommend hiring a pro for these unless you have solid experience.
Common Mistakes to avoid
Learning from others saves you time, money, and stress.
- Skipping the moisture barrier: Water trapped behind siding causes mold and rot. This is the number one regret.
- Not inspecting the brick first: Cracks and loose mortar create an unstable base that gets worse over time.
- Improper furring strip alignment: Uneven panels leave gaps that let in drafts and water.
- Choosing the wrong material: Heavy materials on older brick can stress a structure it was not built for.
- Rushing the prep work: The prep is where you win or lose.
A rushed job almost always costs more to fix than doing it right the first time.
Conclusion
I have seen homeowners overthink this project for months, then finish it in a weekend once they committed to the prep.
Can you put siding over brick? Yes. Done right, it looks great and lasts for years.
Start with your brick inspection. Go from there.
Found this helpful? Share it with someone planning the same project. Have questions? Drop a comment below. I would love to hear how yours turns out.
Frequently Asked Questions
Can I put siding over the brick without removing it first?
Yes. Most homeowners leave the brick in place and use furring strips to create a flat surface.
What is the best siding material to use over brick?
Vinyl. It is light, affordable, and the easiest to install.
Do I need a moisture barrier when putting siding over brick?
Yes, always. Skipping it leads to mold and costly repairs.
Can I do this project myself or do I need a contractor?
Vinyl is fine for DIY. Fiber cement or metal needs a pro.
Will putting siding over brick cause any structural issues?
Not if the brick is in good shape. Inspect it before you start.


