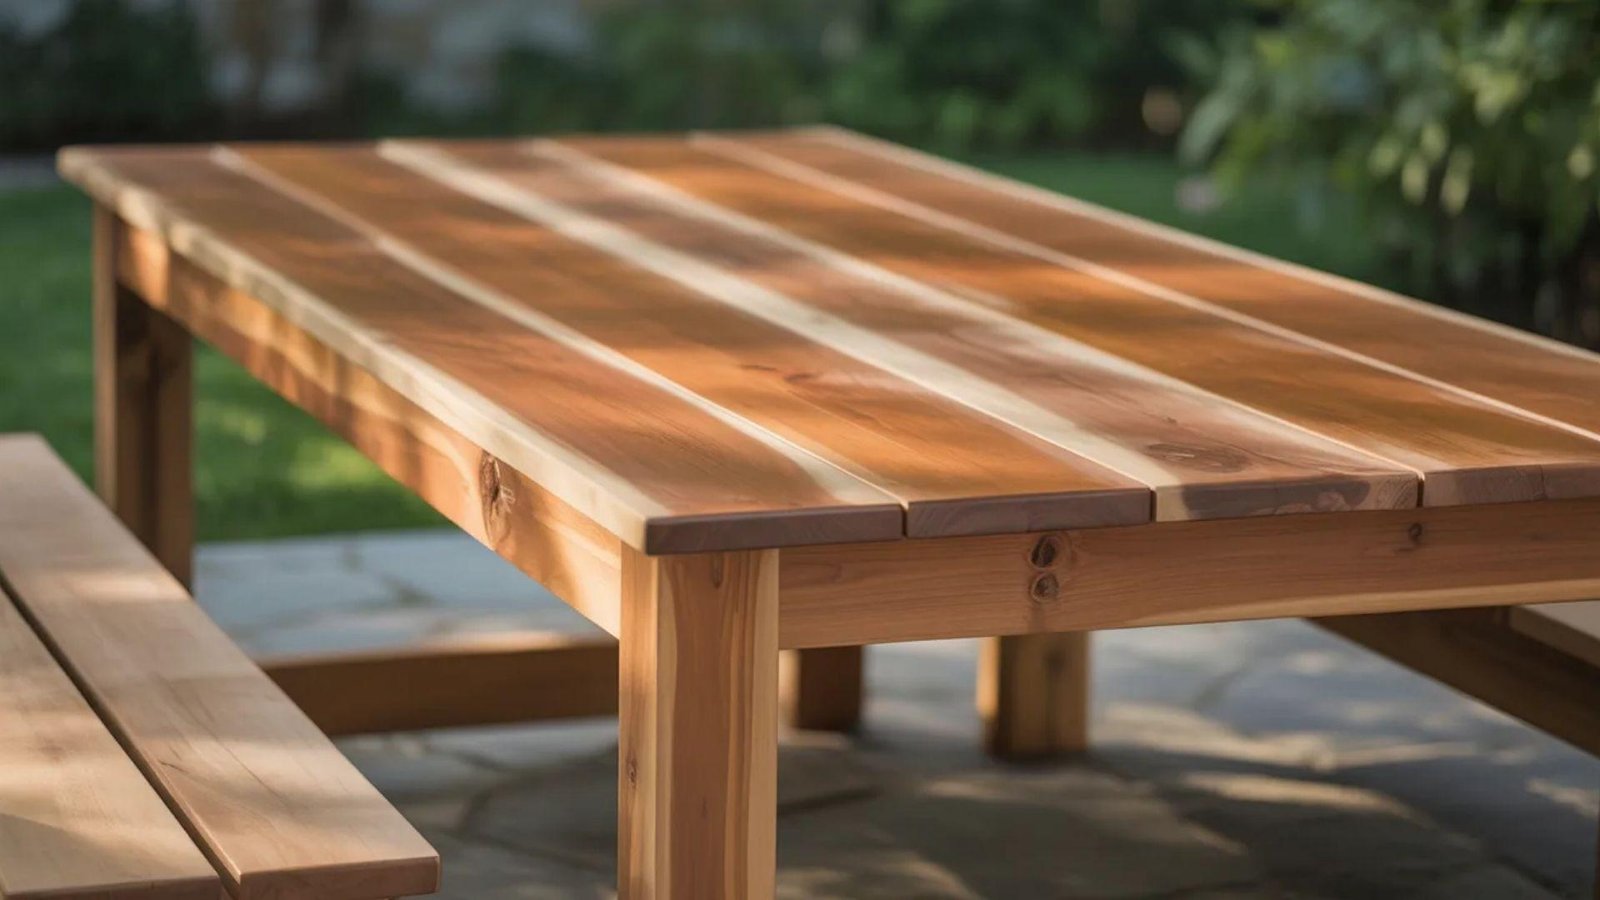
Ever thought about creating a dining space that’s truly your own?
A DIY outdoor dining table can turn that idea into reality while saving money and giving you full control over size, design, and materials.
In this guide, I’ll share my personal tips from years of hands-on woodworking, showing how even beginners can achieve a sturdy and lasting table.
You’ll find step-by-step instructions, creative design ideas, and practical maintenance tips to keep your table in great shape.
By the end, you’ll feel confident to craft a table that fits your backyard perfectly and brings people together.
Why Build a DIY Outdoor Dining Table?
Building your own outdoor dining table can save a lot compared to buying one from a store.
Store-bought tables are often expensive, and finding one that fits your space and style can be tricky.
With a DIY table, you can choose the exact size, type of wood, and design that fits your outdoor area.
This flexibility allows you to create a table that works perfectly for your needs. DIY tables are also built to last, especially if you use weather-resistant materials and finishes.
You can pick from popular styles like farmhouse, modern, or rustic, giving your outdoor space a personal and practical touch.
Step-by-Step Guide to Your DIY Outdoor Dining Table
Building your own outdoor dining table is simple. With the right tools and materials, you can make a table that fits your space and lasts for years.
Tools and Materials You’ll Need:
- 2×4 or 2×6 lumber for frame and tabletop
- Cedar or pine planks for the tabletop
- Wood screws (3-inch exterior)
- Wood glue
- Sandpaper (coarse and fine)
- Wood stain or weatherproof paint
- Outdoor sealant
- Circular saw or hand saw
- Drill with bits
- Clamps
- Measuring tape
- Level
- Sander
Let’s get started step by step to build your table.
Step 1: Measure and Cut the Wood
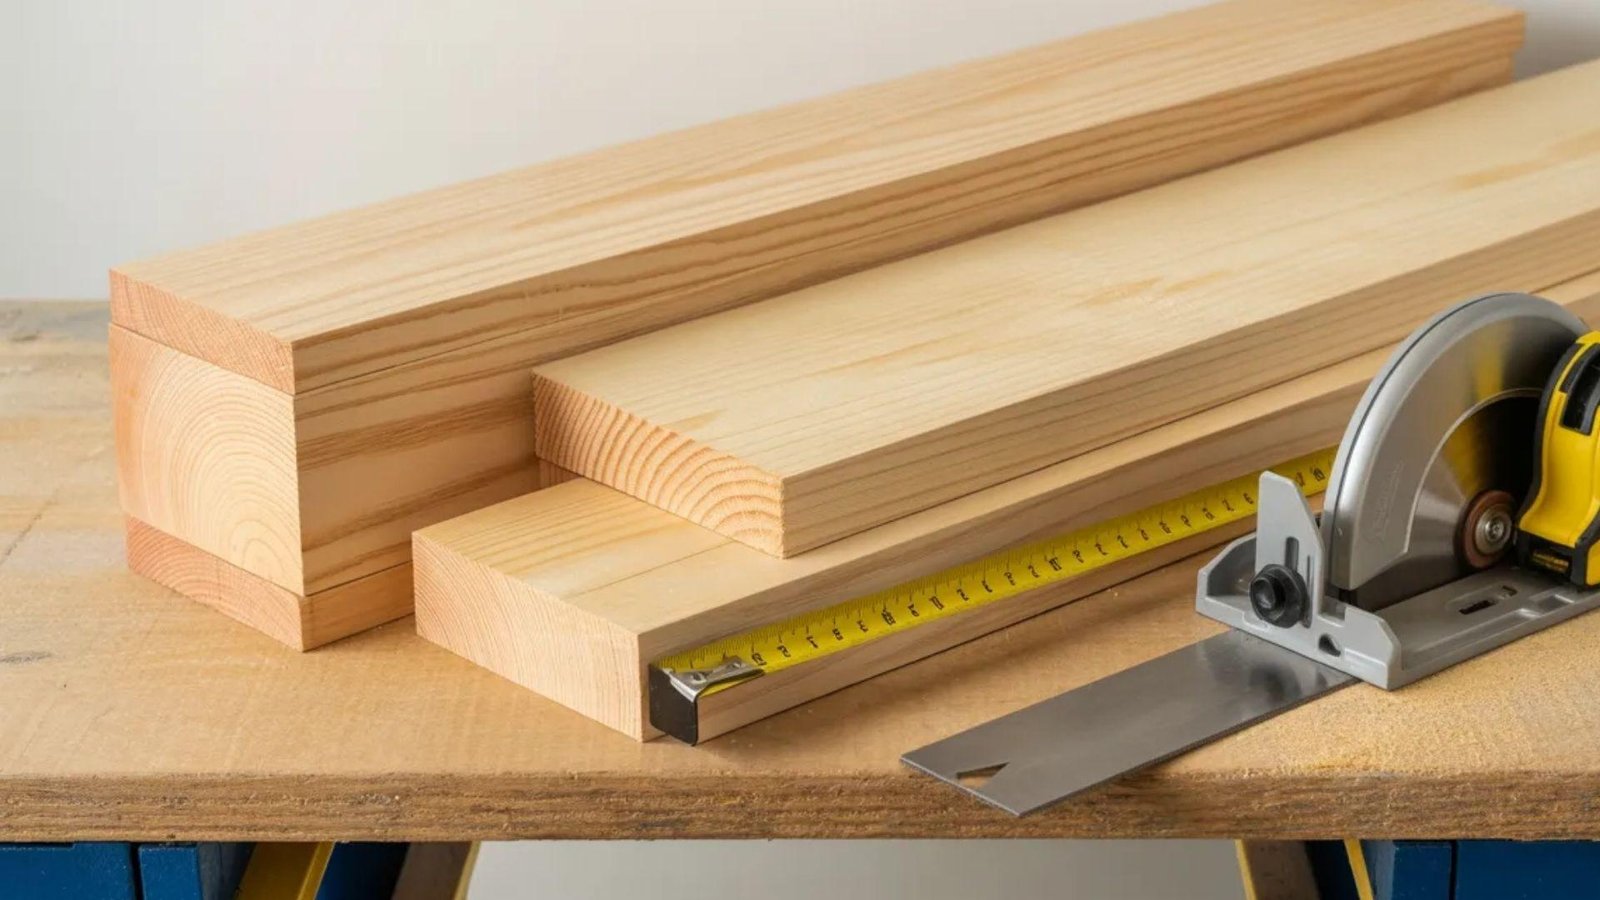
Start by measuring your space to determine table size. For a 6-8 person table, cut lumber accordingly.
Use 2x4s or 2x6s for the frame and cedar planks for the top. Make sure to measure twice and cut carefully for a precise fit.
Step 2: Assemble the Table Frame
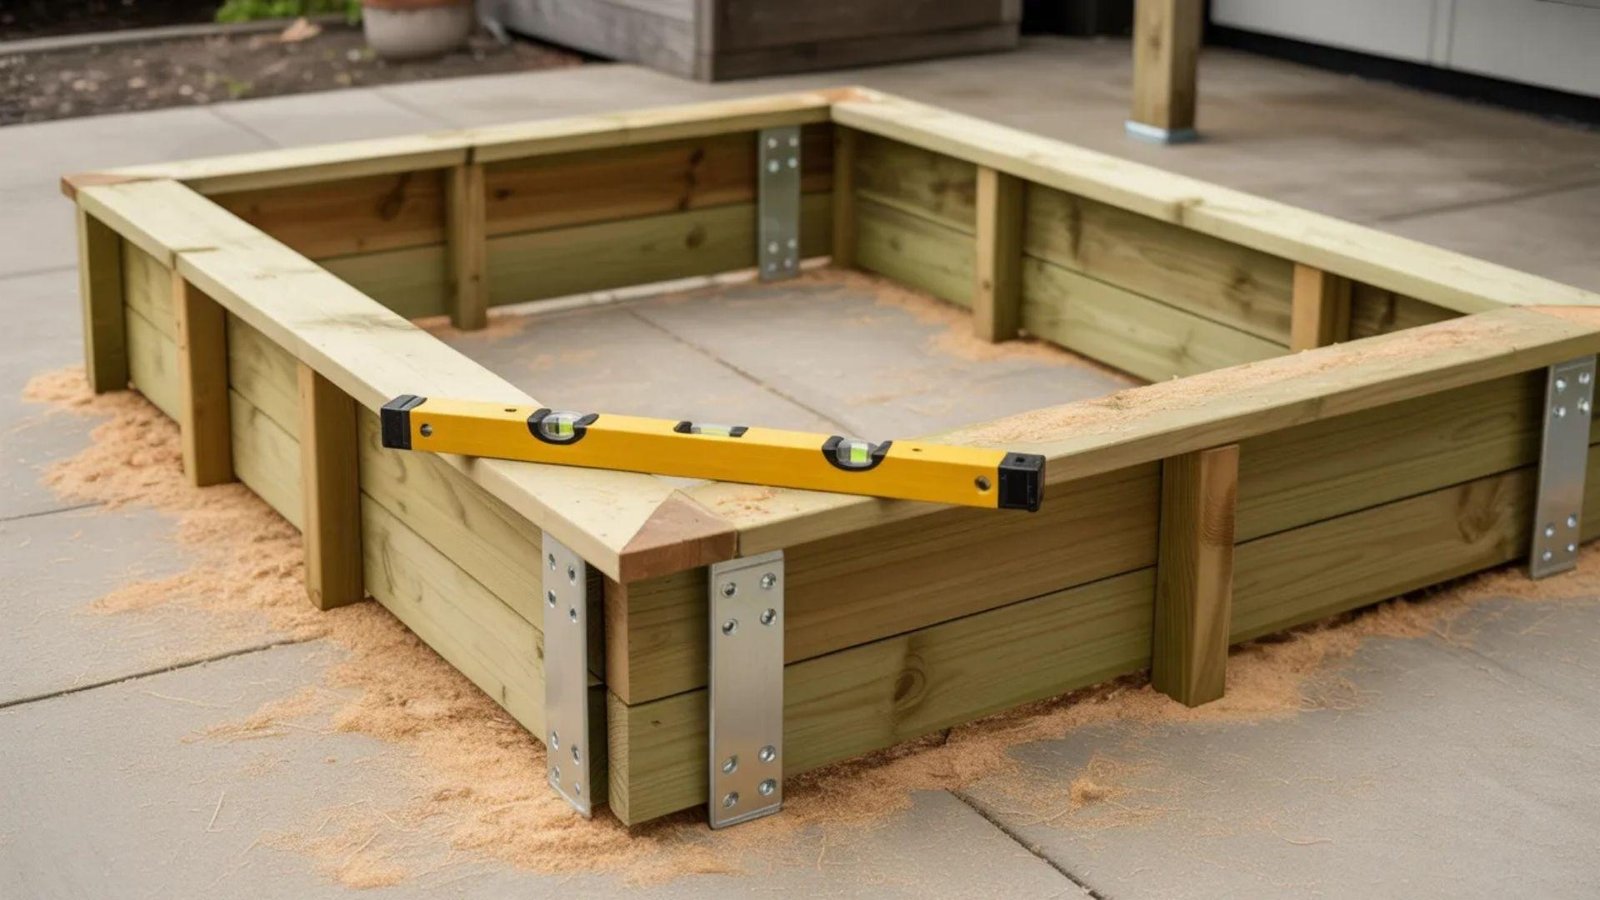
Lay out the frame pieces on a flat surface. Join them using wood screws, brackets, and wood glue for extra strength.
Ensure corners are square using a level. A strong, even frame is key for a stable table. Photos or diagrams help check assembly accuracy.
Step 3: Construct the Tabletop
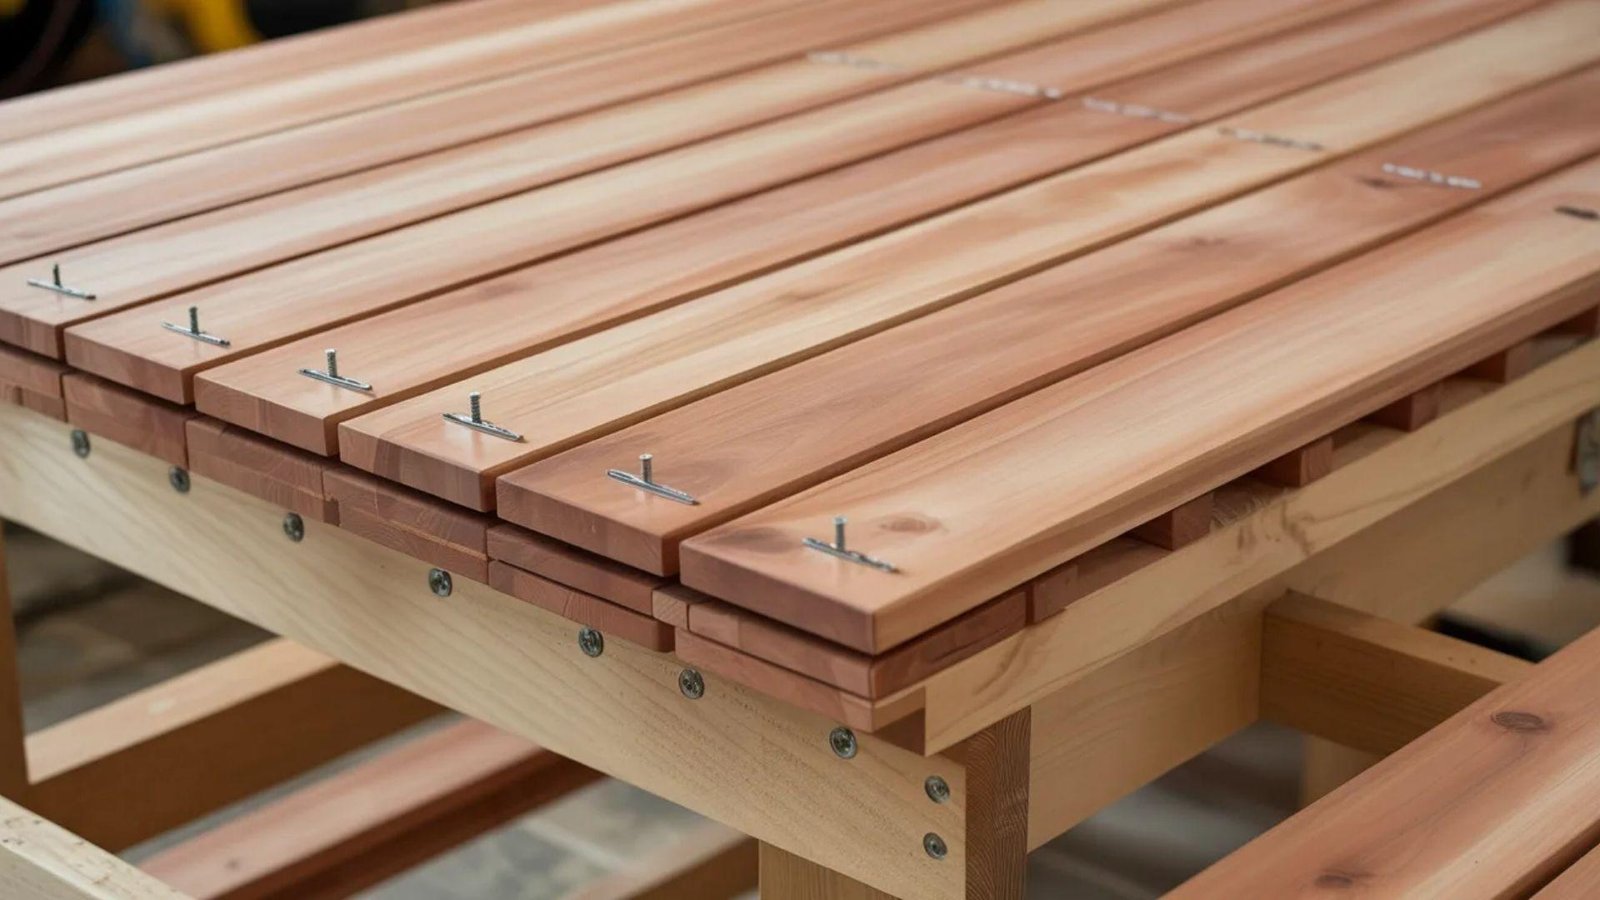
Place the tabletop planks evenly on the frame. Leave small gaps if desired for water drainage or keep them tight for a solid surface.
Secure planks with screws and glue. Sand the edges carefully to remove rough spots for a smooth finish that’s safe to touch.
Step 4: Attach the Legs
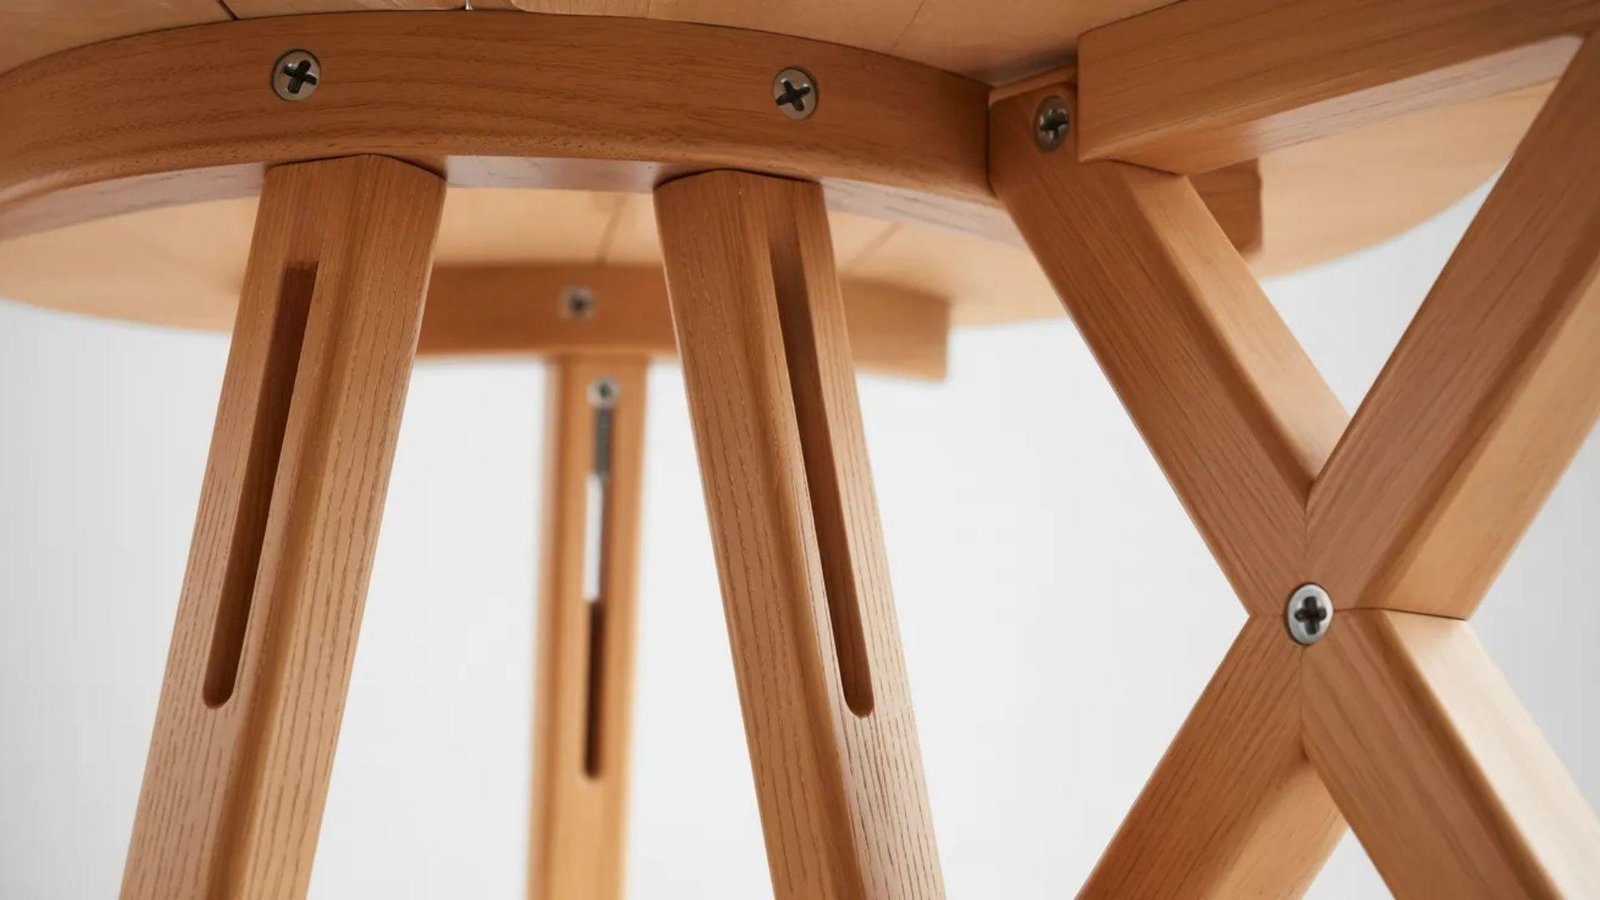
Choose leg style: straight, trestle, or X-style. Attach legs securely using screws and brackets. Check for stability and use a level to ensure the table sits evenly.
Proper leg attachment prevents wobbling and gives the table a sturdy foundation. Include sketches or reference photos.
Step 5: Sanding and Finishing
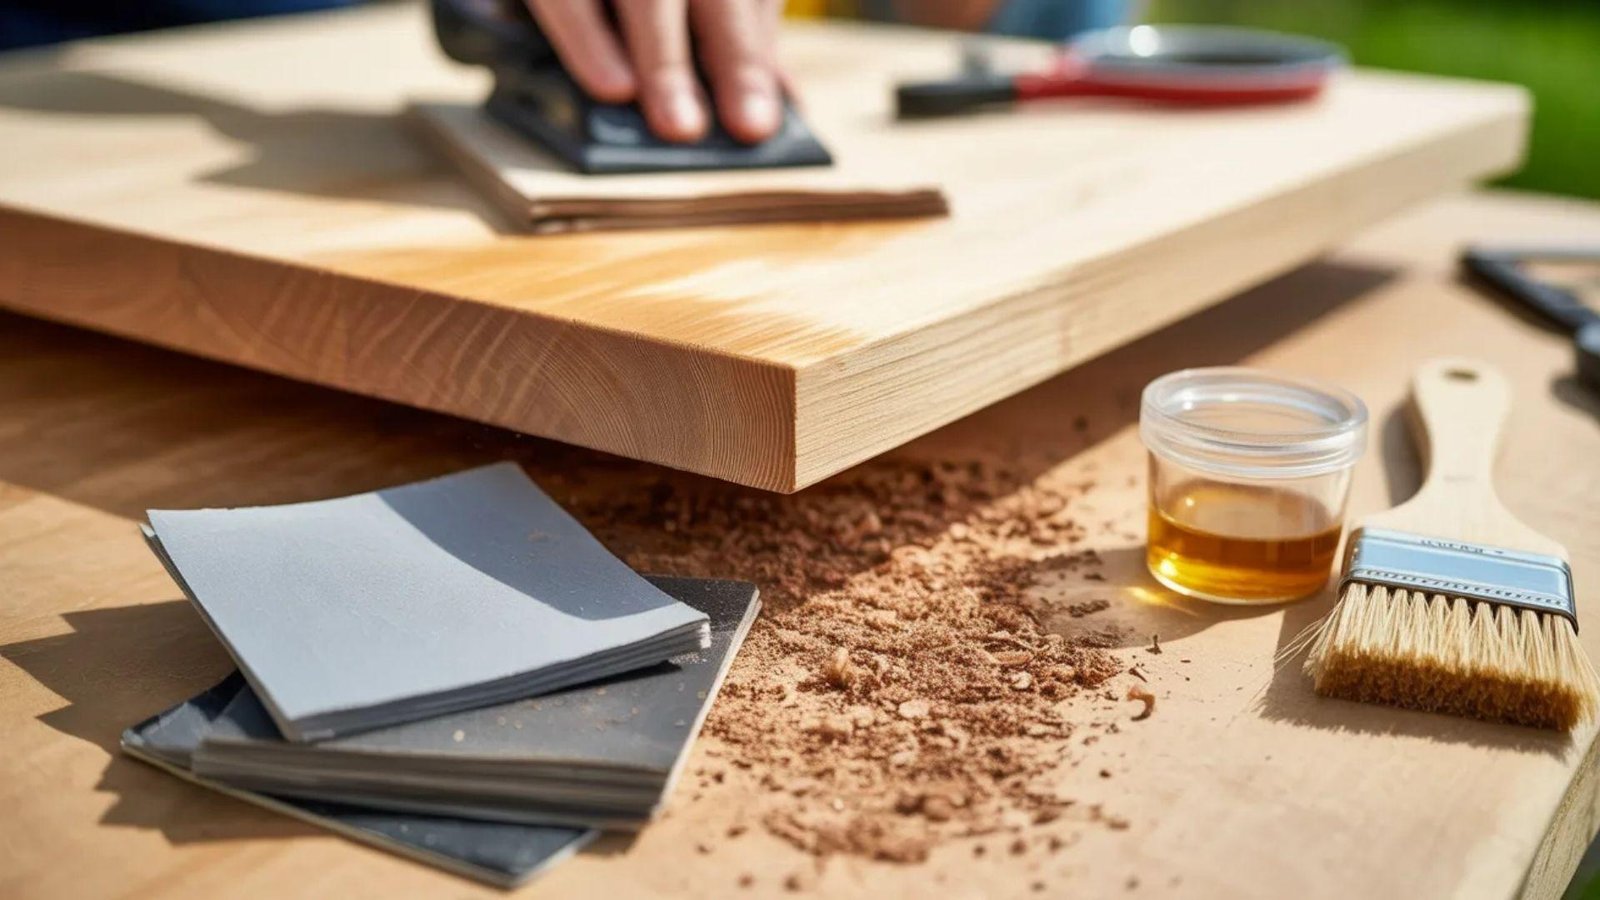
Sand the entire table starting with coarse, then fine-grit sandpaper. Smooth all edges and surfaces.
Apply outdoor stain or paint, then seal with a weatherproof coating. This protects the wood from moisture and sunlight, keeping your table durable and ready for outdoor use.
Step 6: Final Assembly

Attach the tabletop to the frame securely with screws. Optionally, add benches or extensions. Double-check that the table is level and stable before using it.
Test for wobbling and adjust if needed. Once done, your outdoor dining table is ready for gatherings.
Once all steps are complete, you’ll have a sturdy, custom outdoor dining table ready for use.
15 DIY Outdoor Dining Table Ideas
There are many ways to build an outdoor dining table. These ideas show different designs, materials, and assembly tips for your yard, patio, or garden.
1. Classic Farmhouse Table
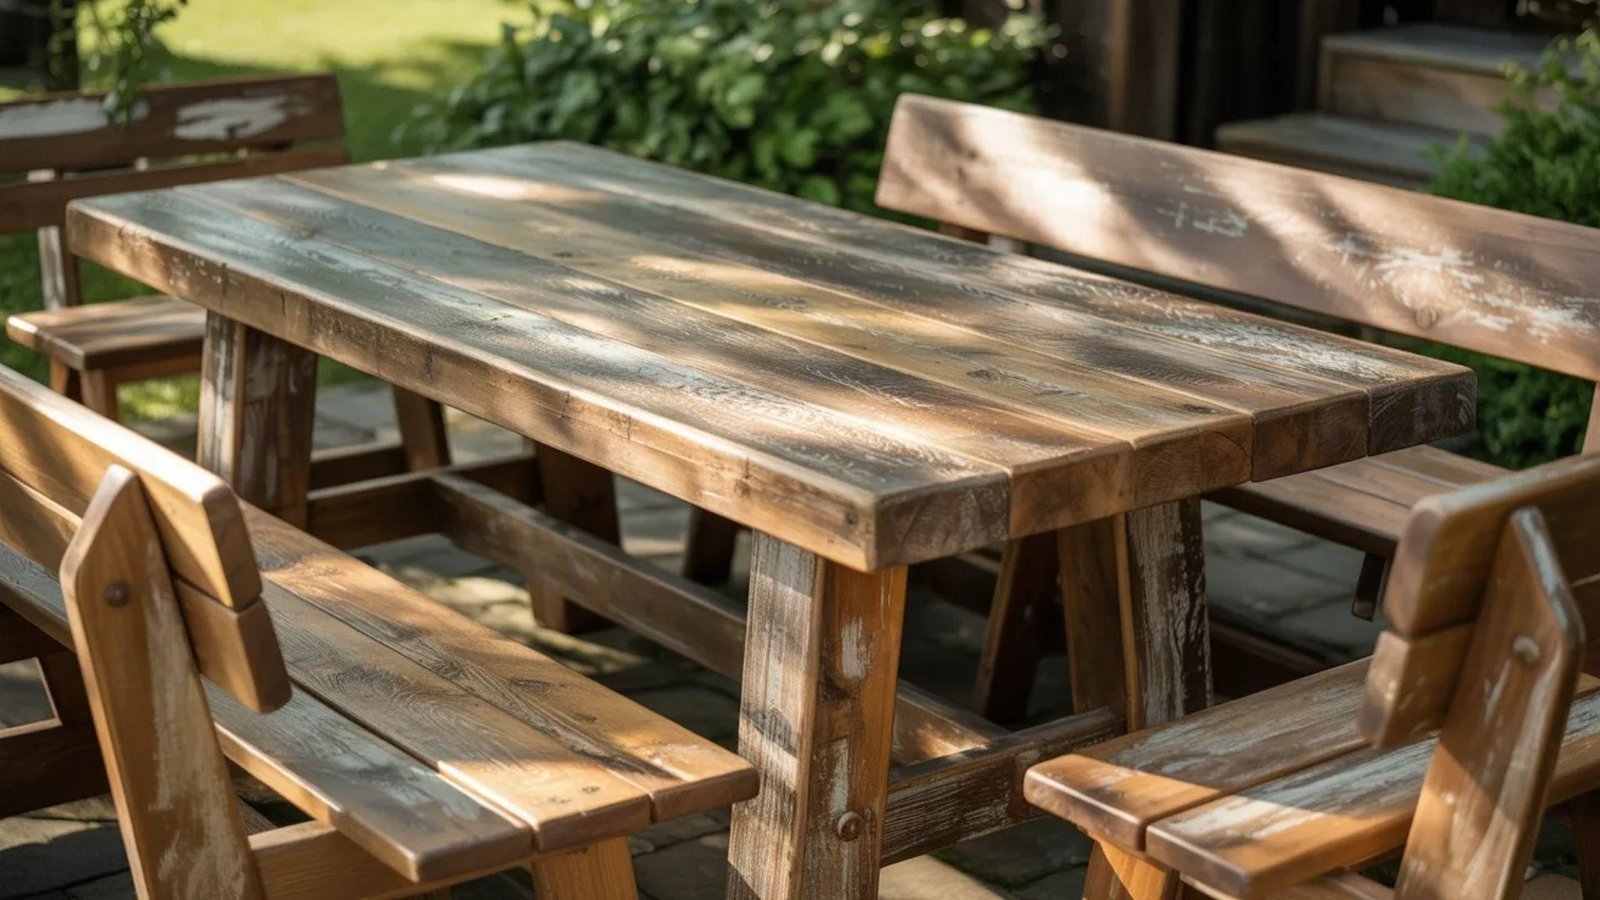
Build this table using reclaimed wood and a distressed finish. Cut the planks to size, assemble a sturdy frame, and attach the tabletop securely.
Pair with wooden benches and mason jar lanterns. A checkered tablecloth adds a cozy and inviting touch to your outdoor dining area.
2. Modern Minimalist Table
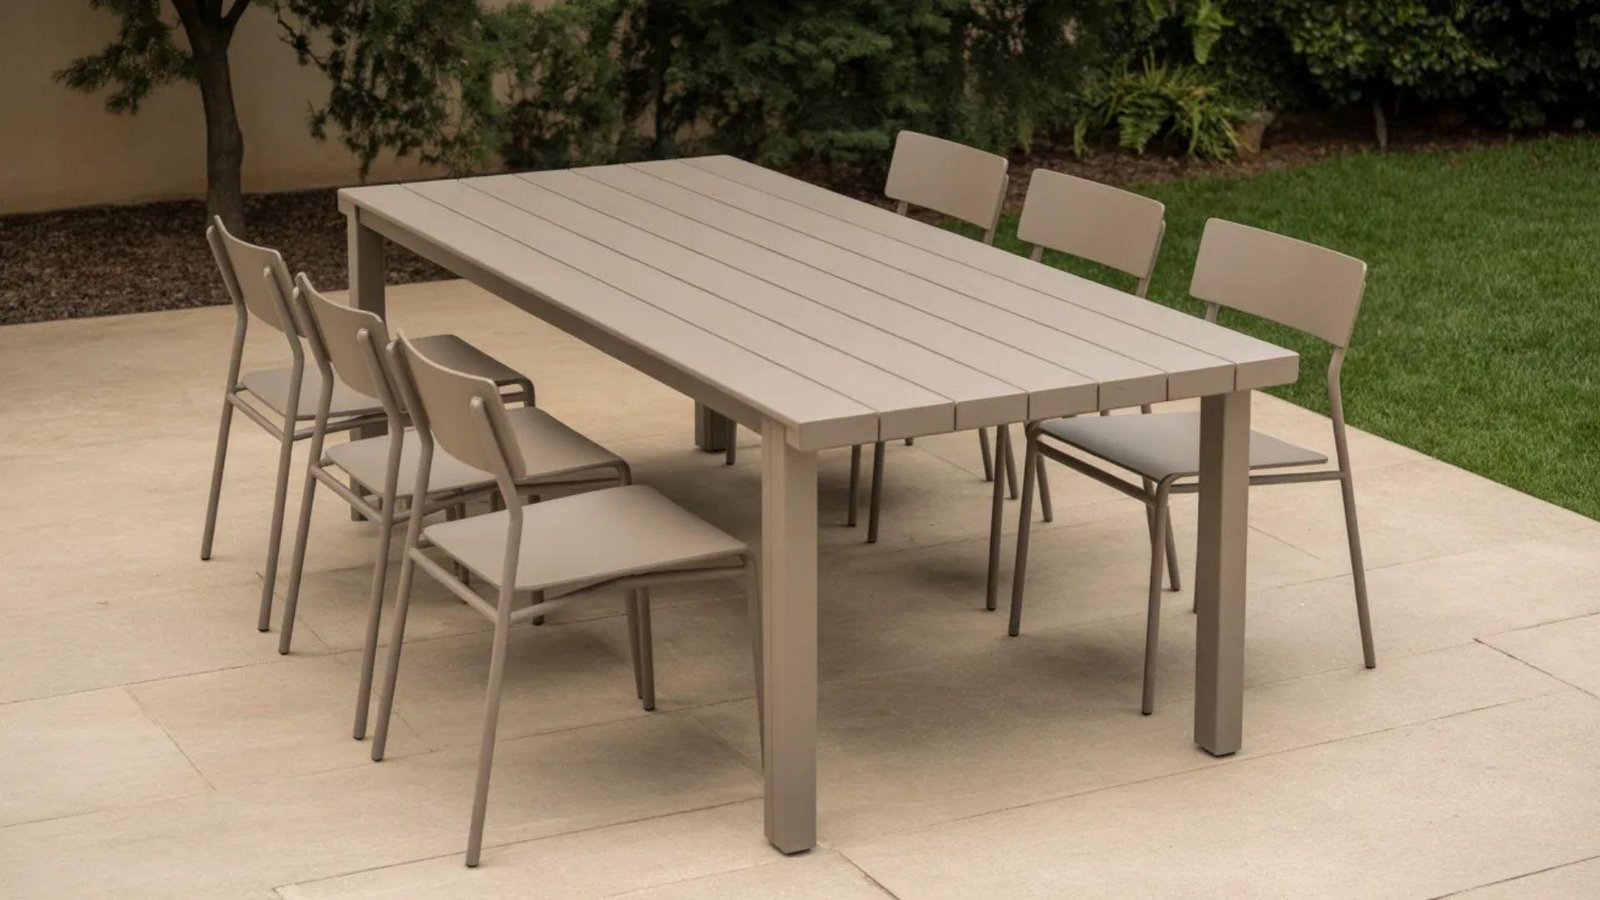
Use smooth, light-colored wood or a concrete top for a clean design. Construct a simple rectangular frame and attach the tabletop evenly. Pair with sleek metal or acrylic chairs.
Keep the décor neutral to highlight the table’s straight lines and create a functional outdoor dining space.
3. Rustic Log Table
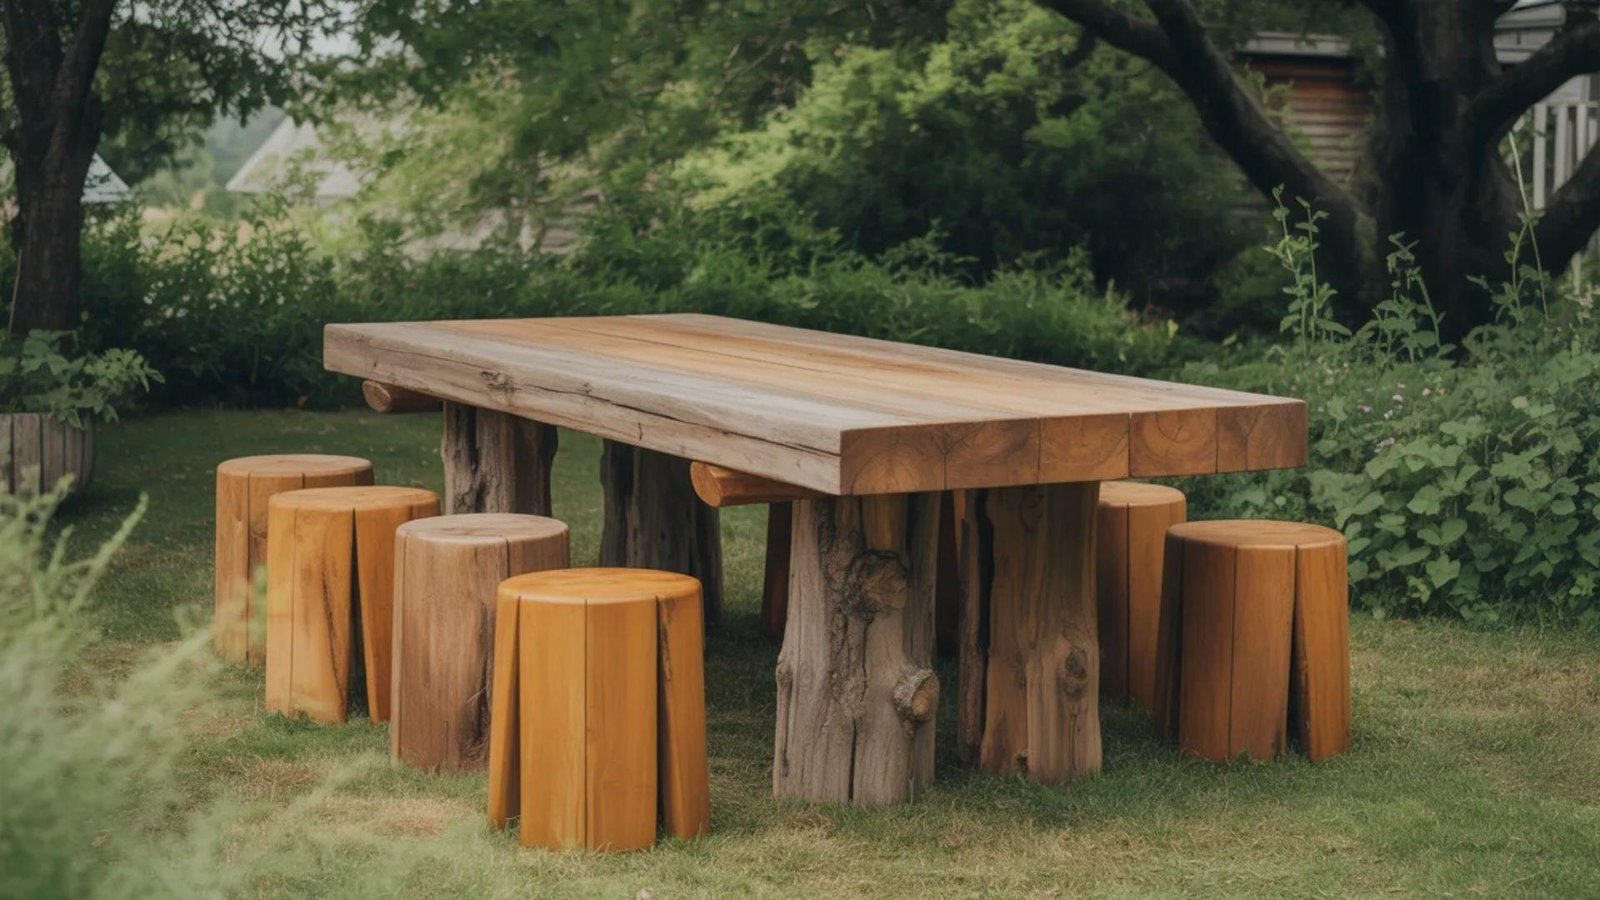
This table uses thick timber planks or raw logs for a natural look. Cut the logs to even lengths and secure them firmly. Lightly sand edges for safety.
Pair with wooden stools or log benches and lanterns. A burlap runner completes the casual, relaxed feel for outdoor dining.
4. Contemporary Outdoor Table
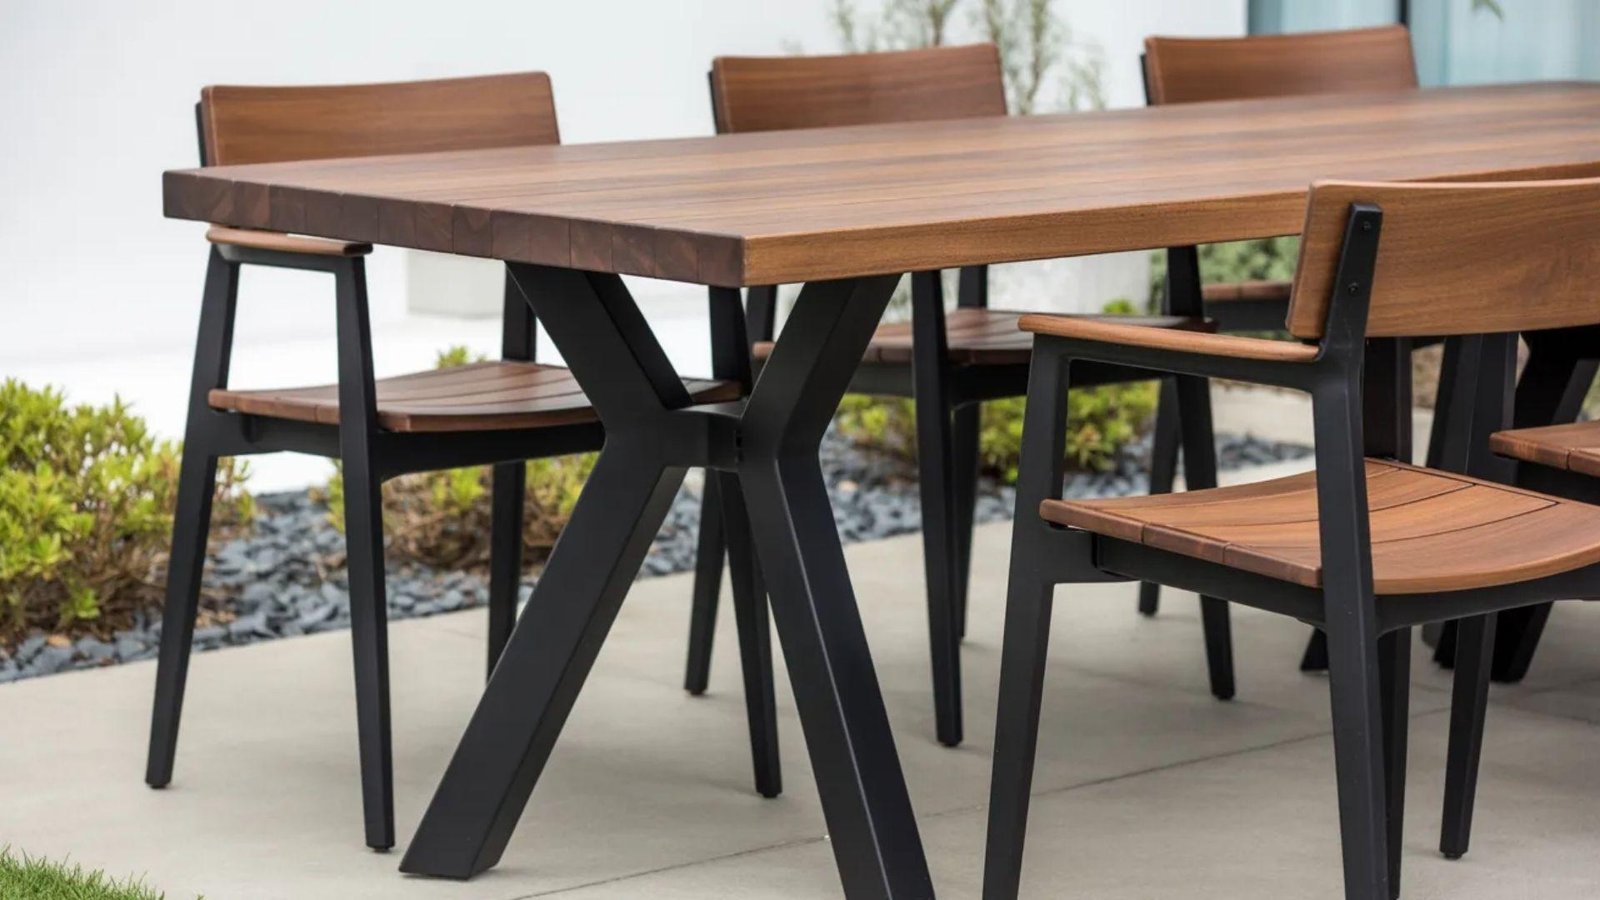
Combine wood and metal to create a modern table. Build the wooden top and attach metal legs using screws and brackets. Pair with modern outdoor chairs and geometric planters.
This design is simple to assemble while providing a stylish and functional addition to your backyard or patio area.
5. Round Picnic-Style Table

Use cedar or pine planks to create a circular top. Cut the planks carefully and attach them to a central frame. Pair with matching round benches and colorful cushions.
This layout works well for casual gatherings, offering friendly and communal seating for meals outdoors.
6. Live Edge Wood Table

Select a single slab of live-edge wood for the tabletop. Smooth the surface lightly, then attach it to a strong frame. Pair with industrial metal chairs and greenery centerpieces.
The natural wood grain and irregular edges give the table a rustic yet artistic appeal for outdoor spaces.
7. Trestle Style Table
Construct the frame using 2x6s or 2x8s and trestle legs. Secure with screws and wood glue for stability. Pair with long benches or mixed chairs.
Adding lanterns on top enhances the outdoor ambiance. The trestle base provides strong support while keeping assembly straightforward.
8. Convertible Extendable Table
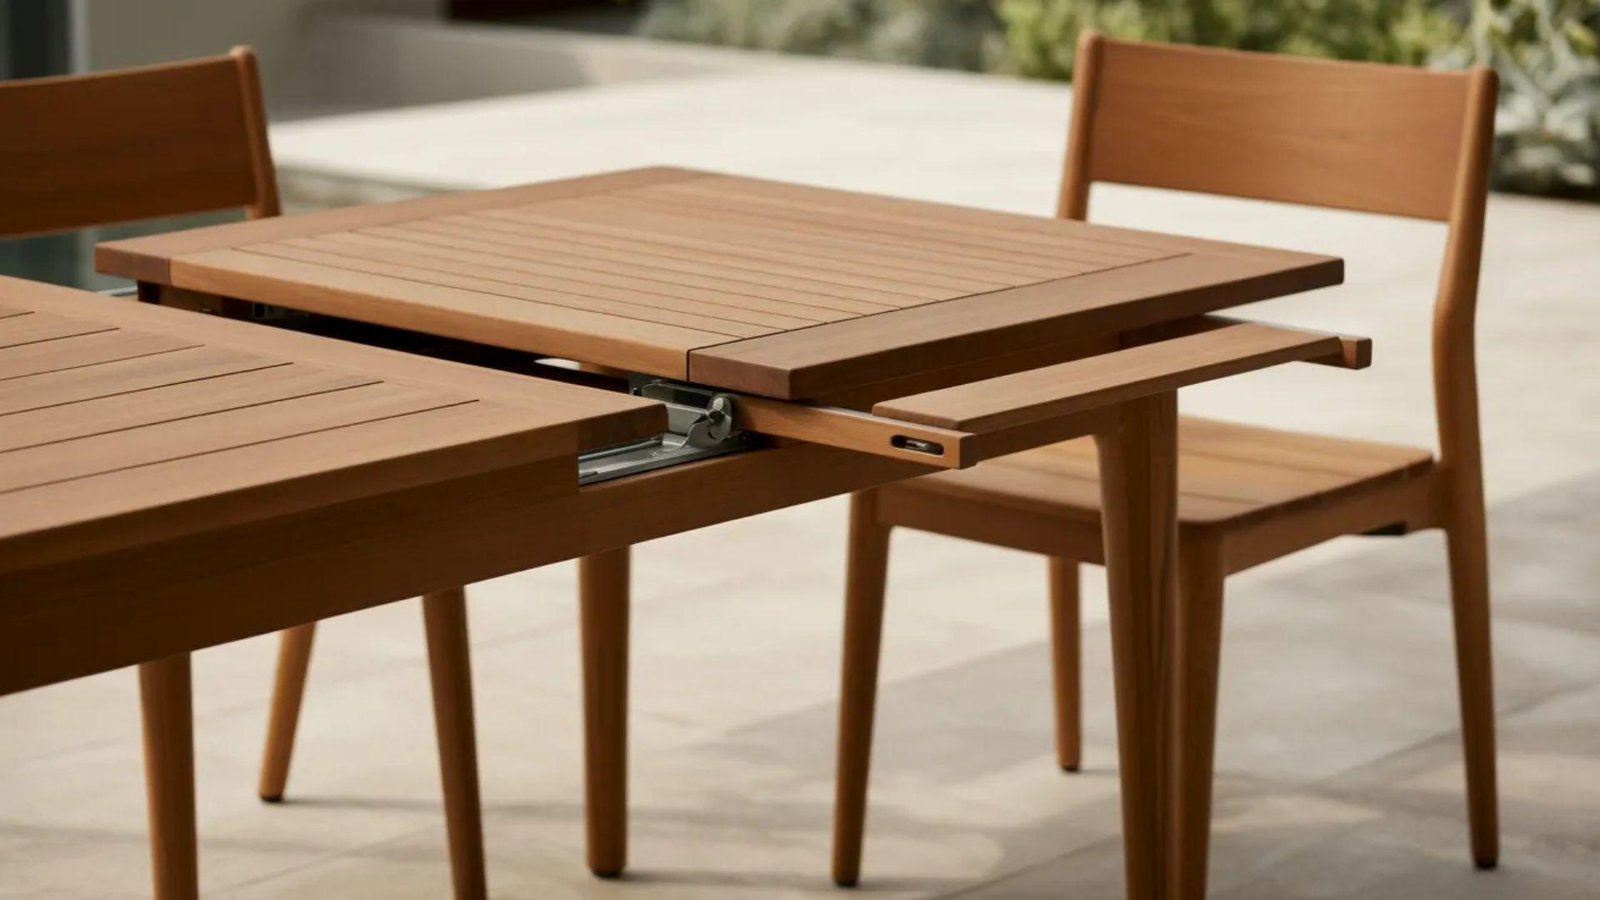
Create a table with a sliding or folding top for extra space. Use standard lumber and attach movable leaves carefully. Pair with stackable chairs and a removable umbrella.
This design works for small or large groups, offering flexibility without compromising stability or durability.
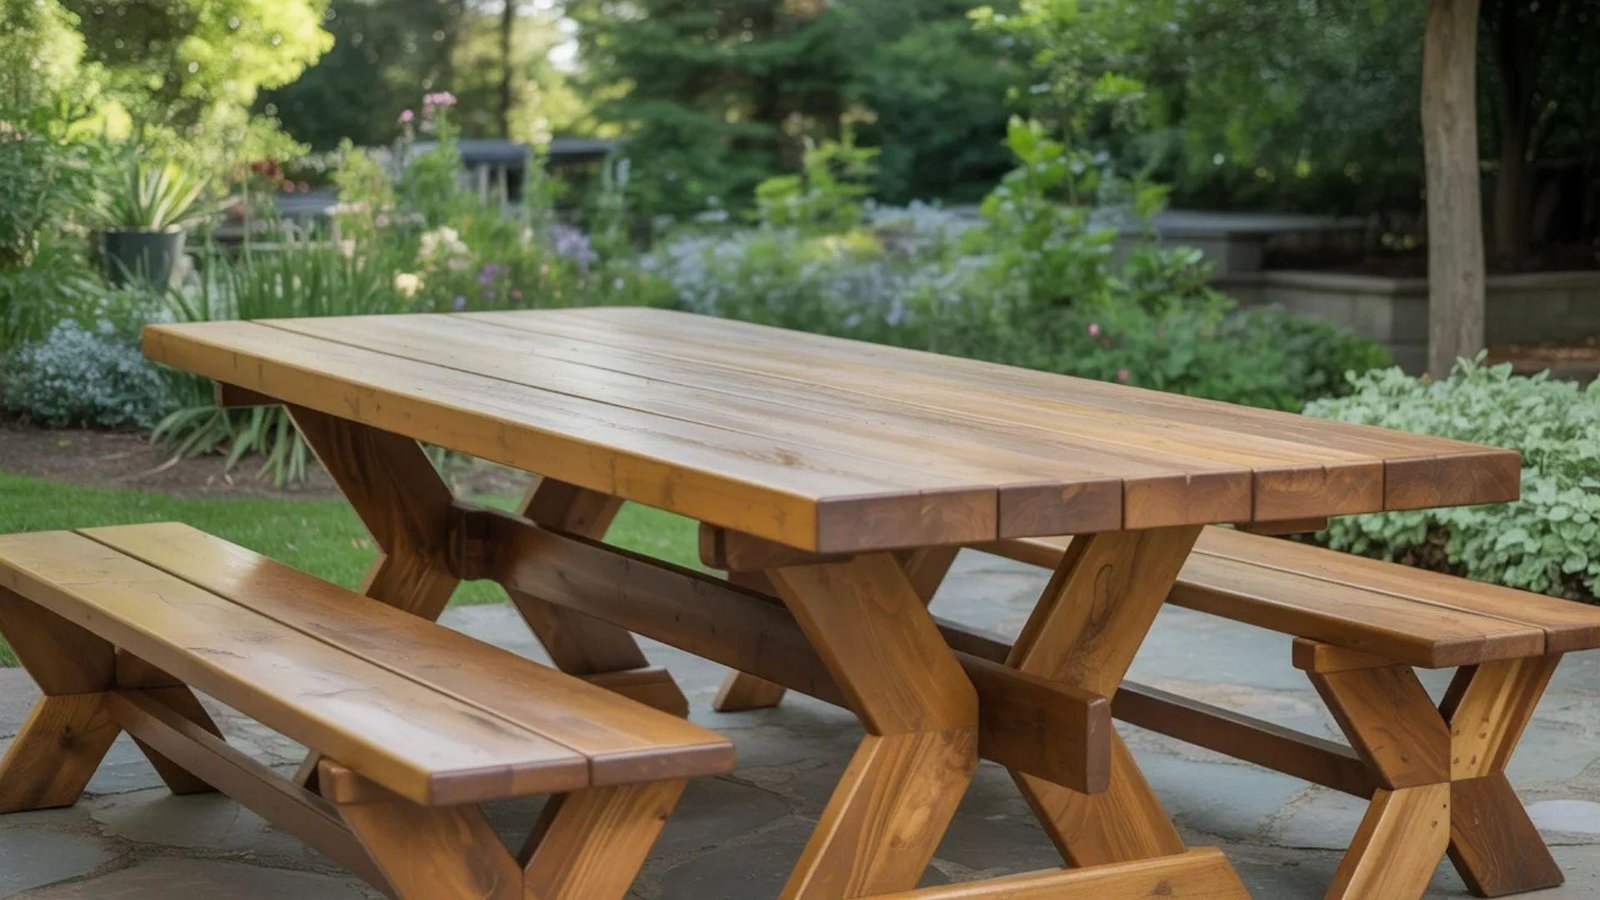
9. Farmhouse X-Leg Table
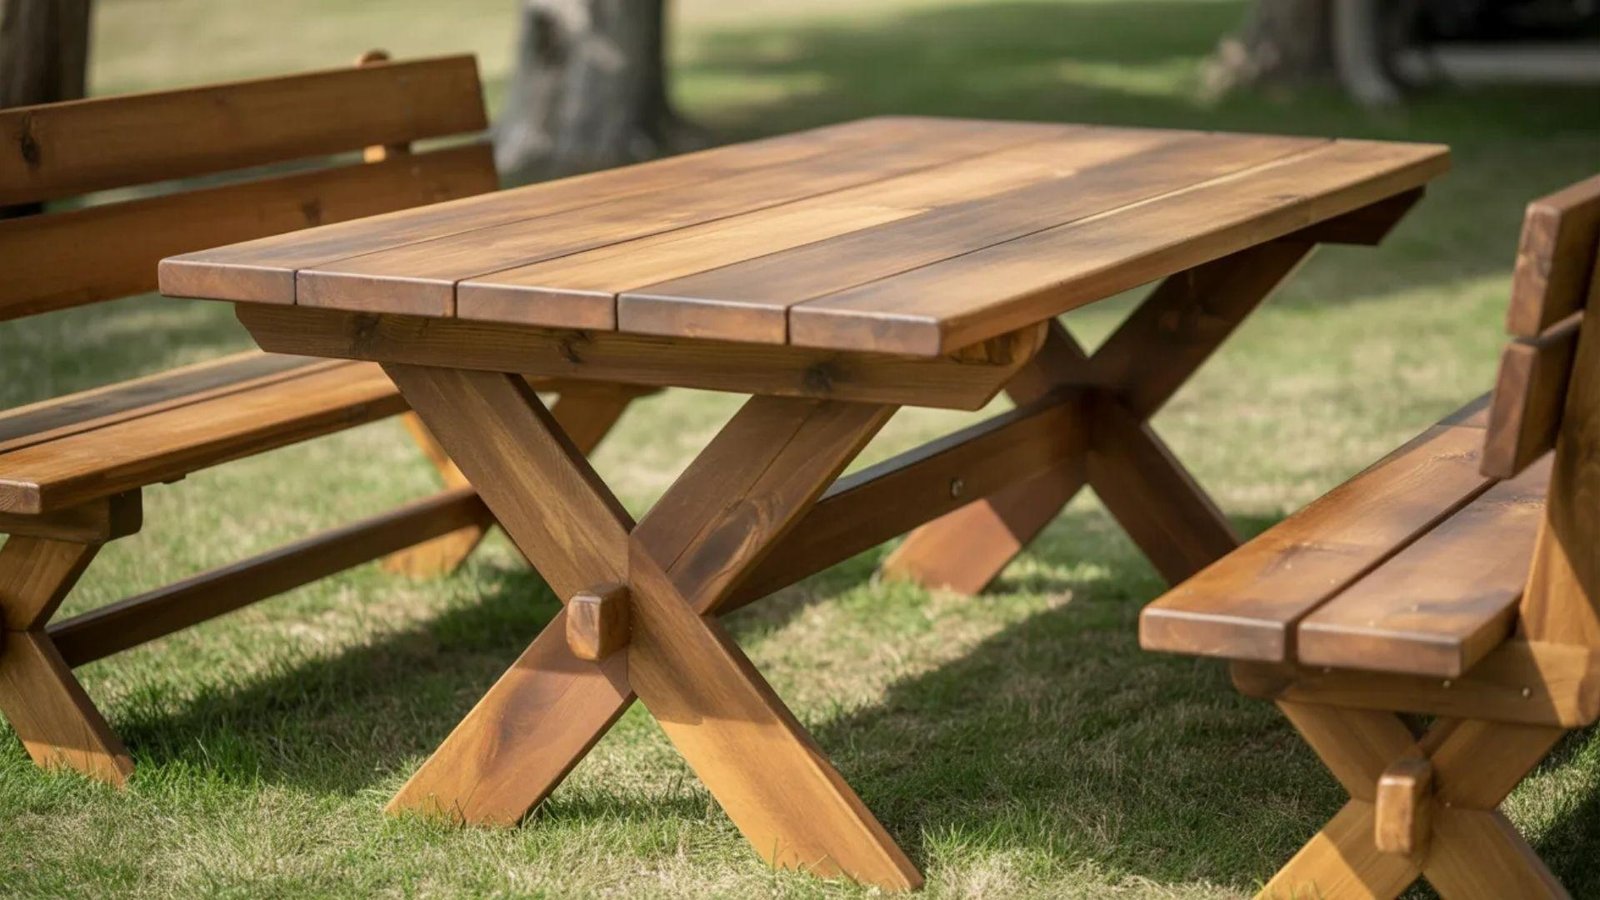
Build a sturdy tabletop and attach X-style legs using screws and brackets. Paint or stain the wood as desired. Pair with wooden benches and vintage tableware.
The X-leg support provides stability while adding character to a simple design that works well for outdoor use.
10. Industrial Style Table
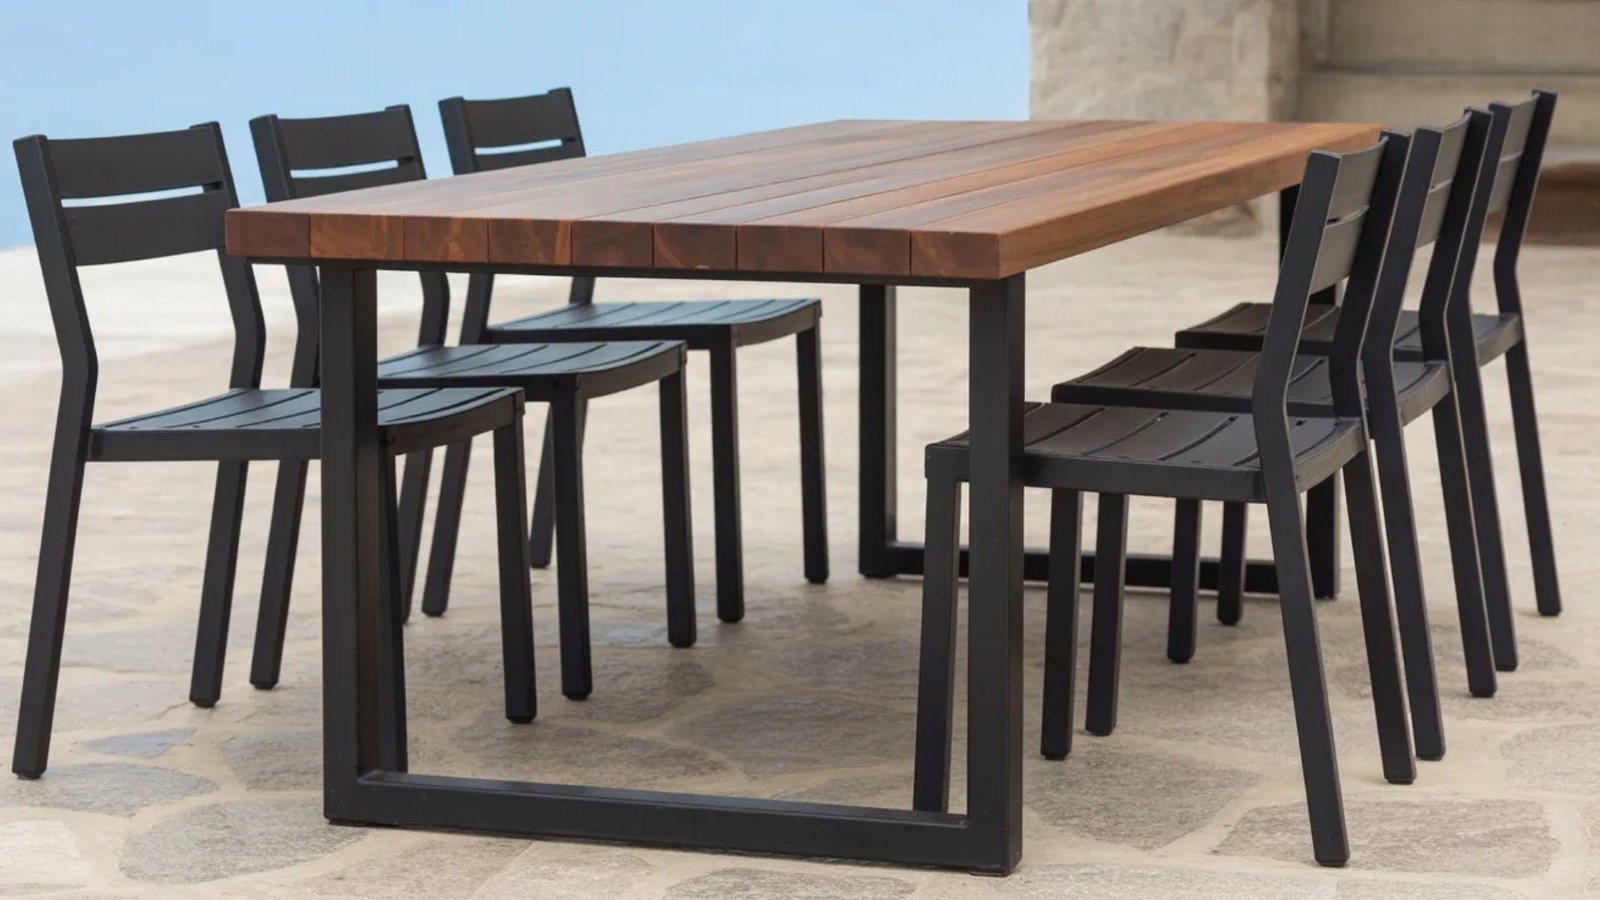
Use a wooden tabletop and attach black steel legs. Secure tightly with screws and brackets. Pair with metal chairs and Edison bulb string lights.
This table combines strength and style, offering a modern industrial look that is practical, durable, and easy to assemble.
11. Garden Party Table
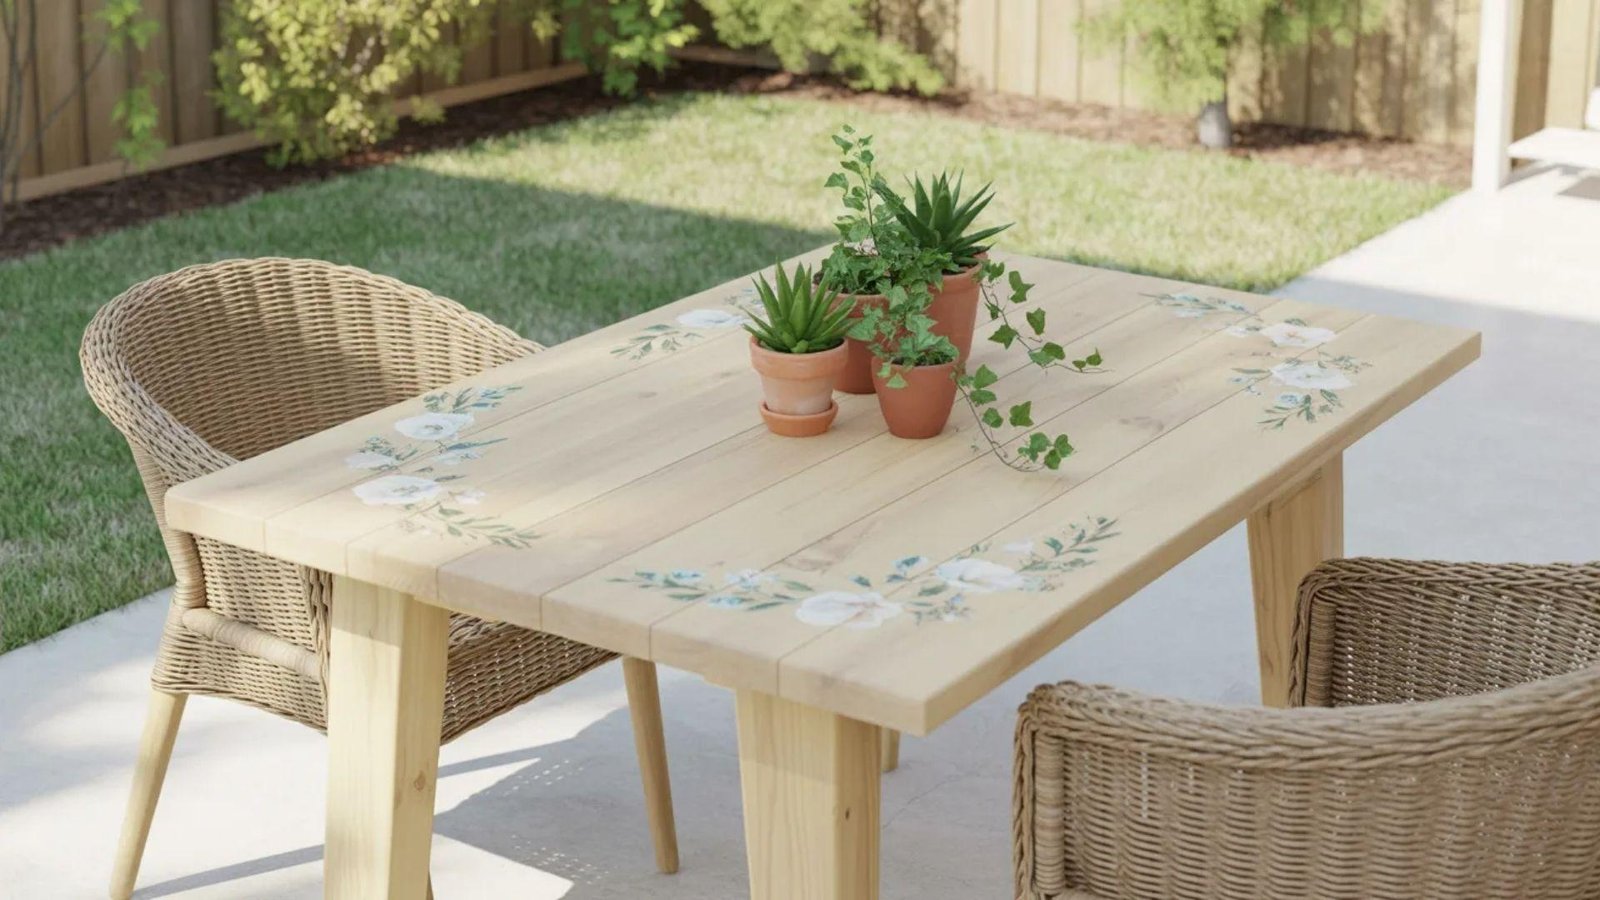
Built with light pine and optional floral paint accents. Construct a rectangular frame and attach planks evenly. Pair with wicker chairs and potted plants as centerpieces.
This table suits small gatherings, offering a relaxed and playful outdoor dining setup while remaining functional and simple to make.
12. Cedar Slat Table
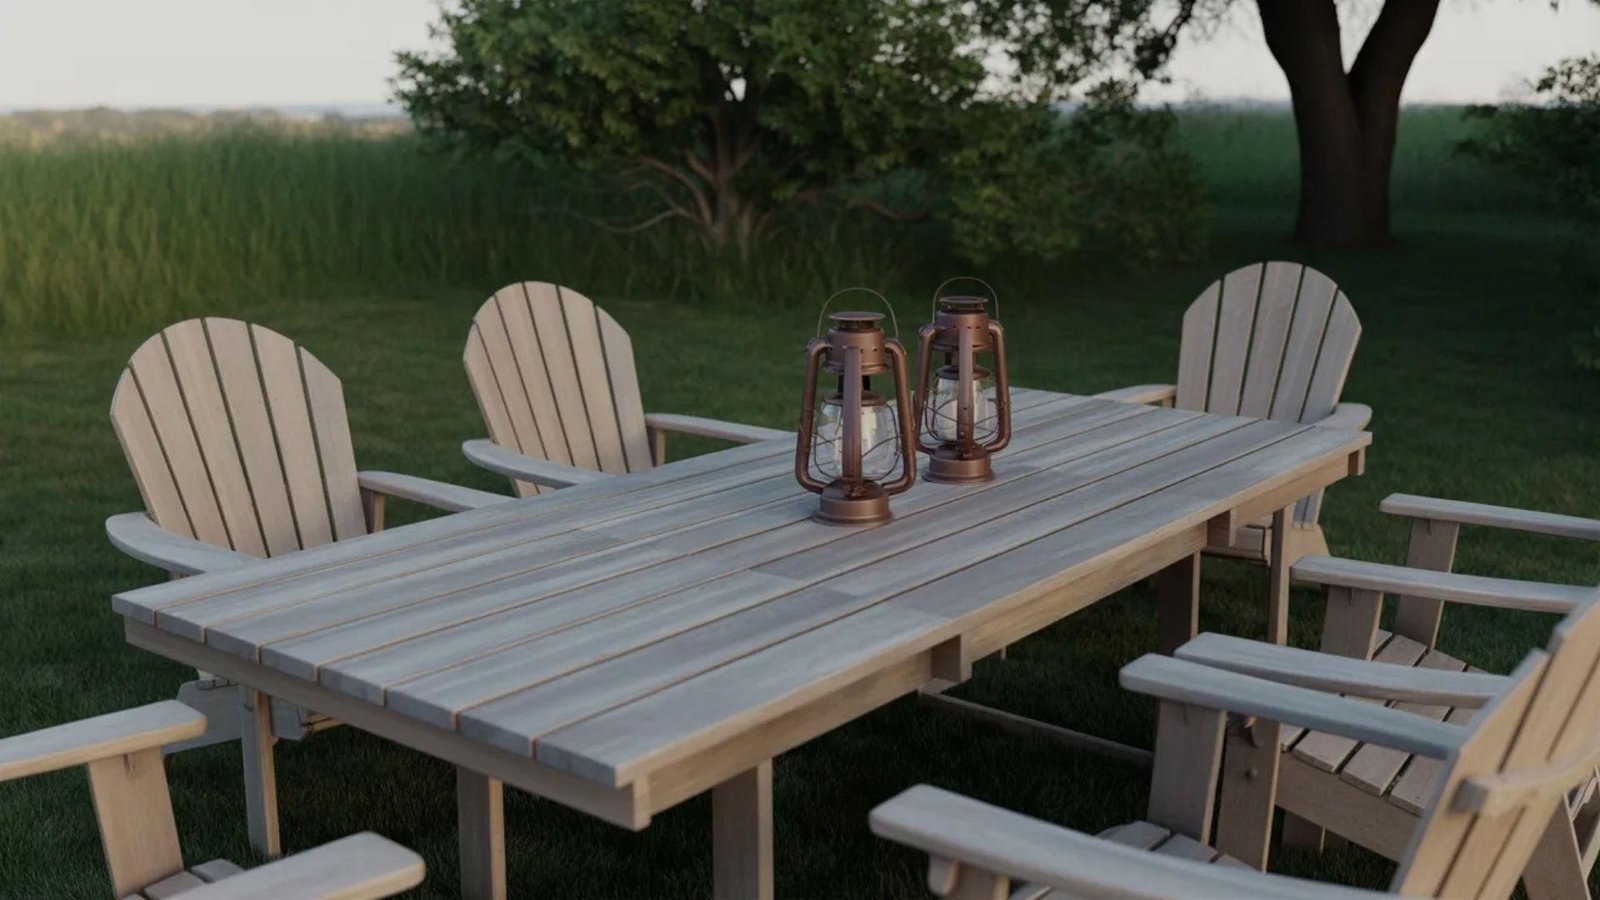
Arrange cedar planks with small gaps for drainage and attach them to a sturdy frame. Sand edges smooth for safety. Pair with Adirondack chairs and outdoor lanterns.
This table is practical, weather-resistant, and highlights natural wood textures while providing a reliable surface for outdoor meals.
13. Outdoor Bistro Table for Small Spaces
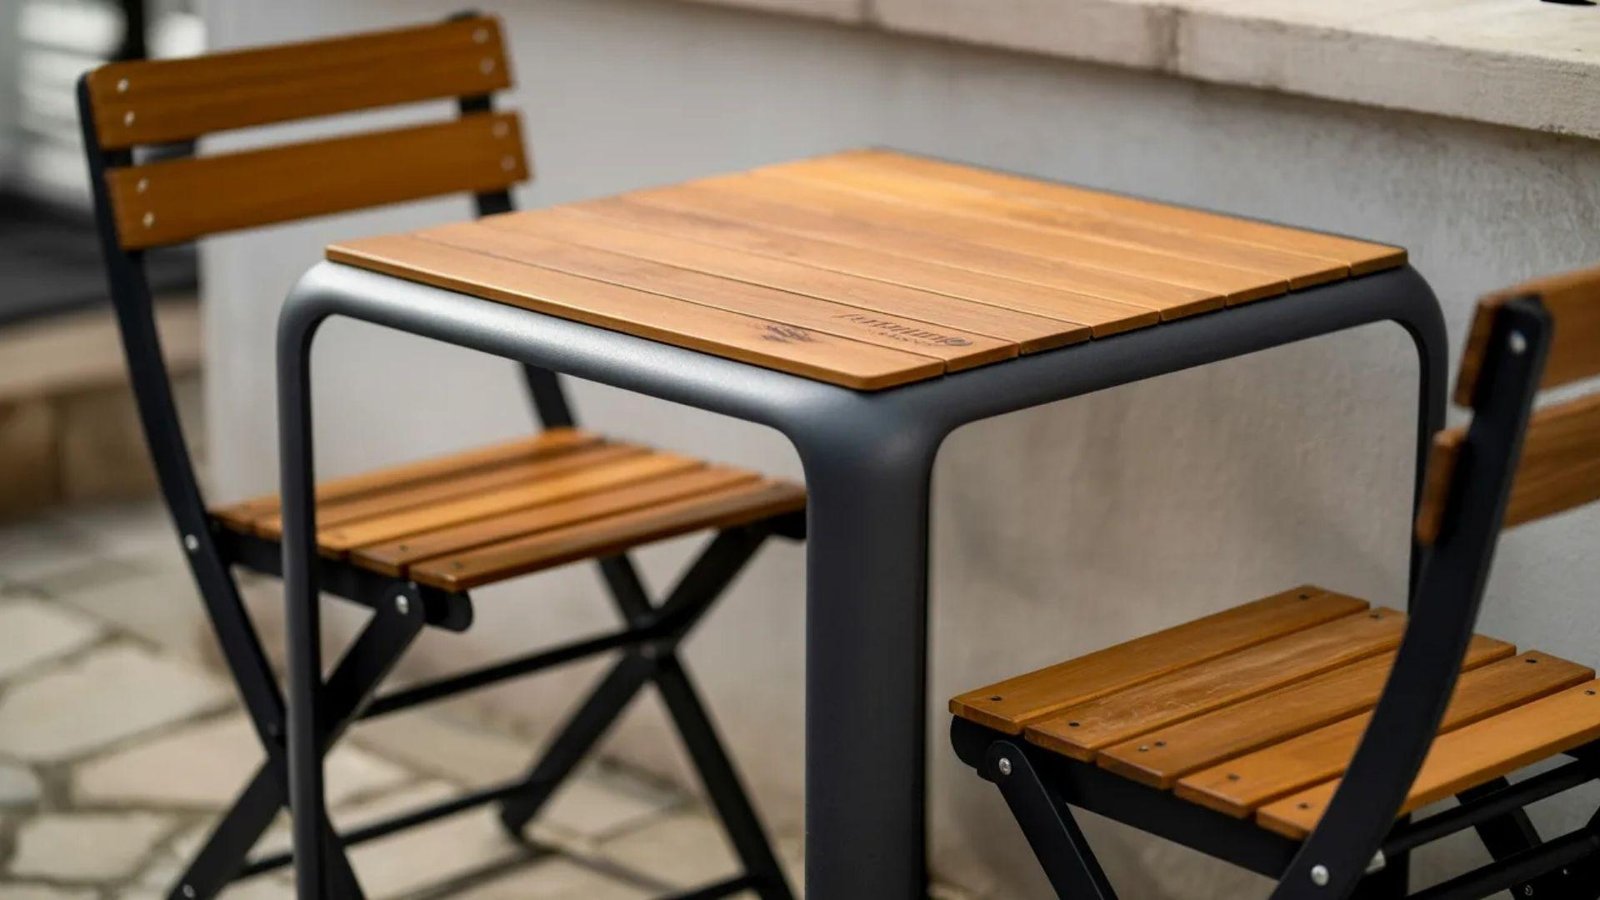
Use compact wood or metal to make a small tabletop and frame. Secure with screws or brackets. Pair with folding bistro chairs and small herb pots.
Ideal for patios or balconies, this table offers functional seating without taking up much space and is easy to assemble and move.
14. Painted Color Pop Table
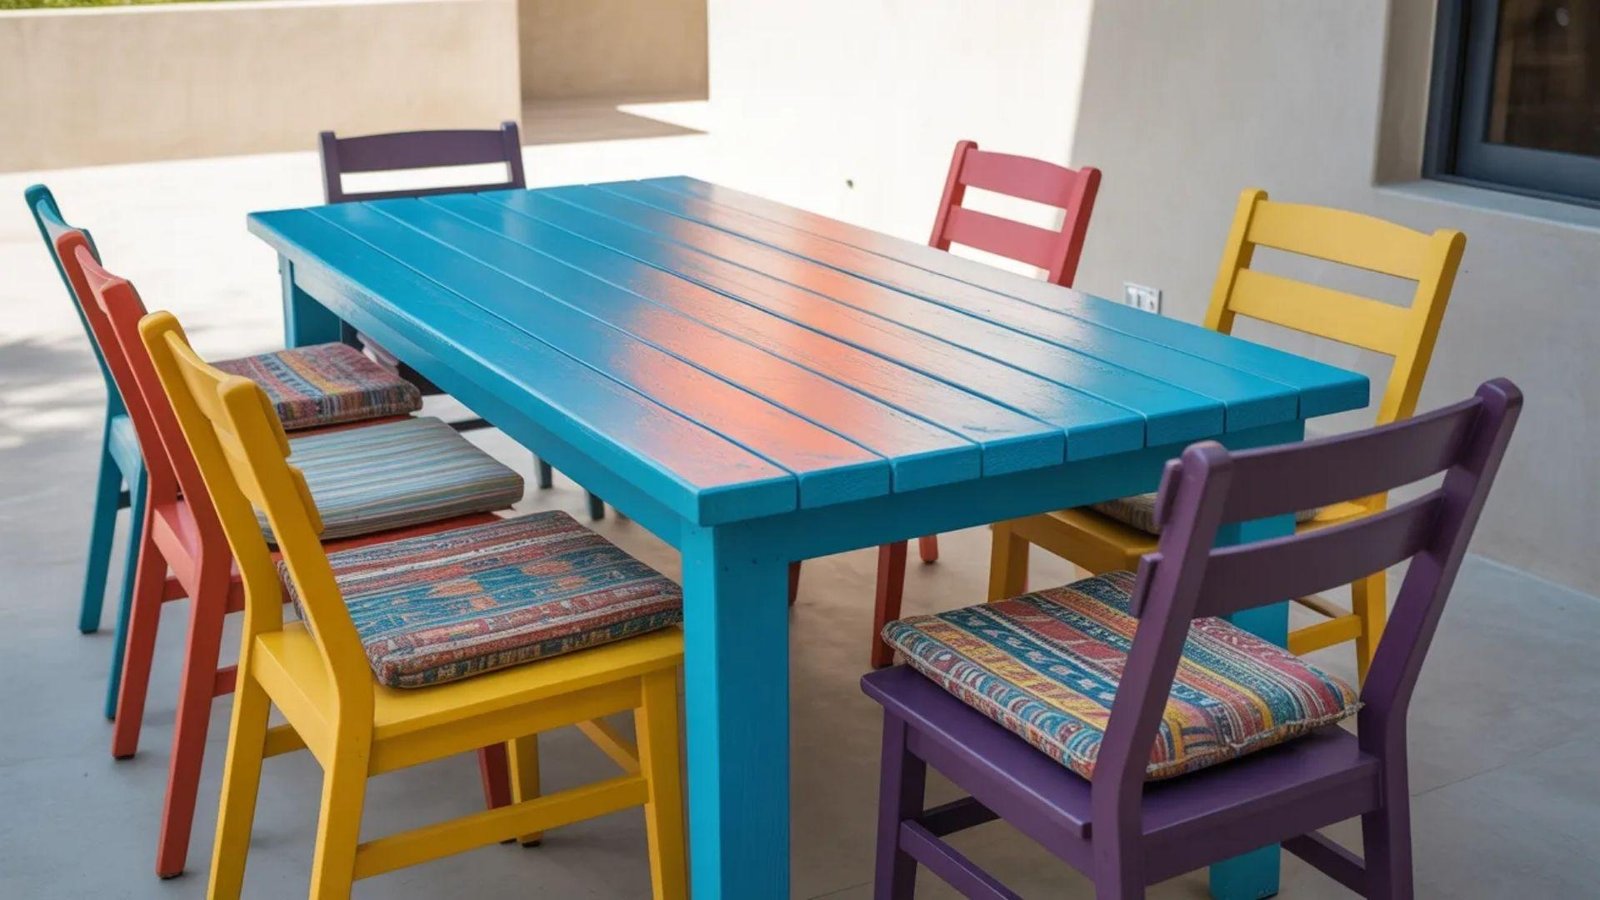
Build a wooden frame and tabletop, then paint the surface in bright colors. Pair with contrasting chairs and patterned cushions.
This playful design is easy to make, adds life to your outdoor space, and remains strong and practical for regular outdoor use while giving a cheerful dining area.
15. Umbrella Hole Table
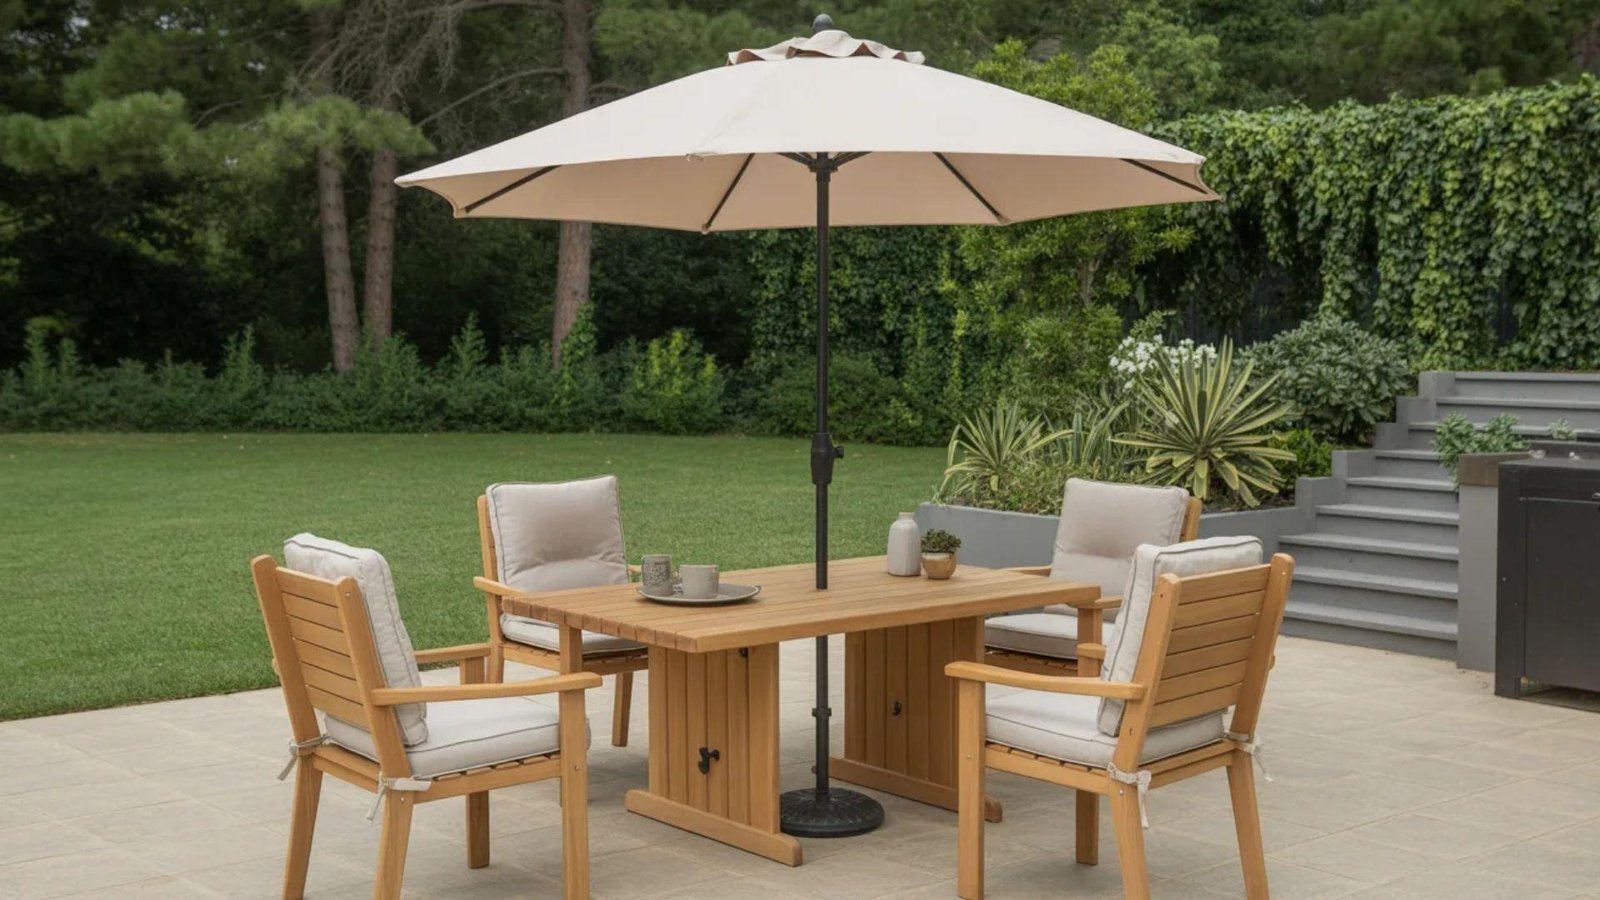
Construct a standard wooden tabletop and pre-drill a hole for an umbrella. Attach legs or a sturdy base. Pair with cushioned patio chairs and a matching umbrella.
This design is practical for sunny days, easy to assemble, and allows comfortable outdoor dining with flexible shade options.
Maintenance Tips for Longevity
Simple care helps your outdoor dining table last longer and stay in good condition.
- Clean regularly with outdoor-friendly soap and water
- Wipe spills immediately to prevent stains
- Re-seal or apply weatherproof coating every 1-2 years
- Sand and touch up rough spots as needed
- Store or cover the table during harsh weather
- Keep the table away from direct ground moisture if possible
Following these tips ensures your table stays sturdy and ready for outdoor meals year-round.
Common Mistakes to Avoid
Avoiding common mistakes ensures your DIY outdoor dining table is stable and long-lasting:
| Common Mistake | How to Fix / Prevent |
|---|---|
| Uneven tabletop | Measure carefully, use a level, and adjust planks before securing. |
| Using untreated wood | Use weather-resistant or treated wood to prevent damage. |
| Improper leveling | Check with a level during assembly and adjust legs as needed. |
| Weak leg connections | Use strong screws, brackets, and wood glue for stability. |
Following these fixes helps your table stay sturdy and safe for outdoor use.
Final Thoughts
Building a DIY outdoor dining table lets you create a space that suits your backyard and lifestyle.
Choosing the right materials, customizing the design, and following simple steps ensures a sturdy, lasting table.
With proper care, it can withstand weather and daily use while providing a place for meals, gatherings, and memories.
Making your own table also brings a sense of accomplishment and personal satisfaction.
Bring your outdoor space to life today by starting your DIY outdoor dining table project and enjoying the results for years!
Frequently Asked Questions
Can I build a table without advanced tools?
Yes. Basic tools like a saw, drill, clamps, measuring tape, level, and sander are enough. Advanced woodworking tools are not required, making this project beginner-friendly.
Can I DIY matching benches or chairs?
Yes. Use the same wood and frame techniques as your table. Benches and simple outdoor chairs can be built to match, creating a coordinated dining set.
Can I use pallet wood?
Pallet wood is a low-cost option, but make sure it is heat-treated (marked “HT”) and sanded smooth. Avoid chemically treated pallets to ensure safety.
How long does it take to build?
Most DIY outdoor dining tables can be built in a weekend, roughly 6–10 hours depending on the table size, design complexity, and finishing steps like sanding and sealing.
What is the average cost?
A DIY table usually costs between $100-$300 for materials. The price depends on wood type, size, and finishes, and it is generally cheaper than buying a ready-made table.