Cutting tile around a toilet is one of those tasks that looks easy but gets tricky fast. Curved cuts, tight spaces, and the risk of cracking tiles can make even experienced DIYers second-guess themselves.
I’ve been there, staring at a tile and wondering where to even start.
This guide covers the right tools to use, how to measure and mark accurately, step-by-step cutting methods, and tips to avoid cracking.
By the end, you will know how to cut tile around toilet areas like a pro, even without a wet saw.
Understanding Why Cutting Tile Around a Toilet Can Be Challenging
Cutting tile near a toilet involves curved shapes, not straight lines, which makes it harder than regular cuts.
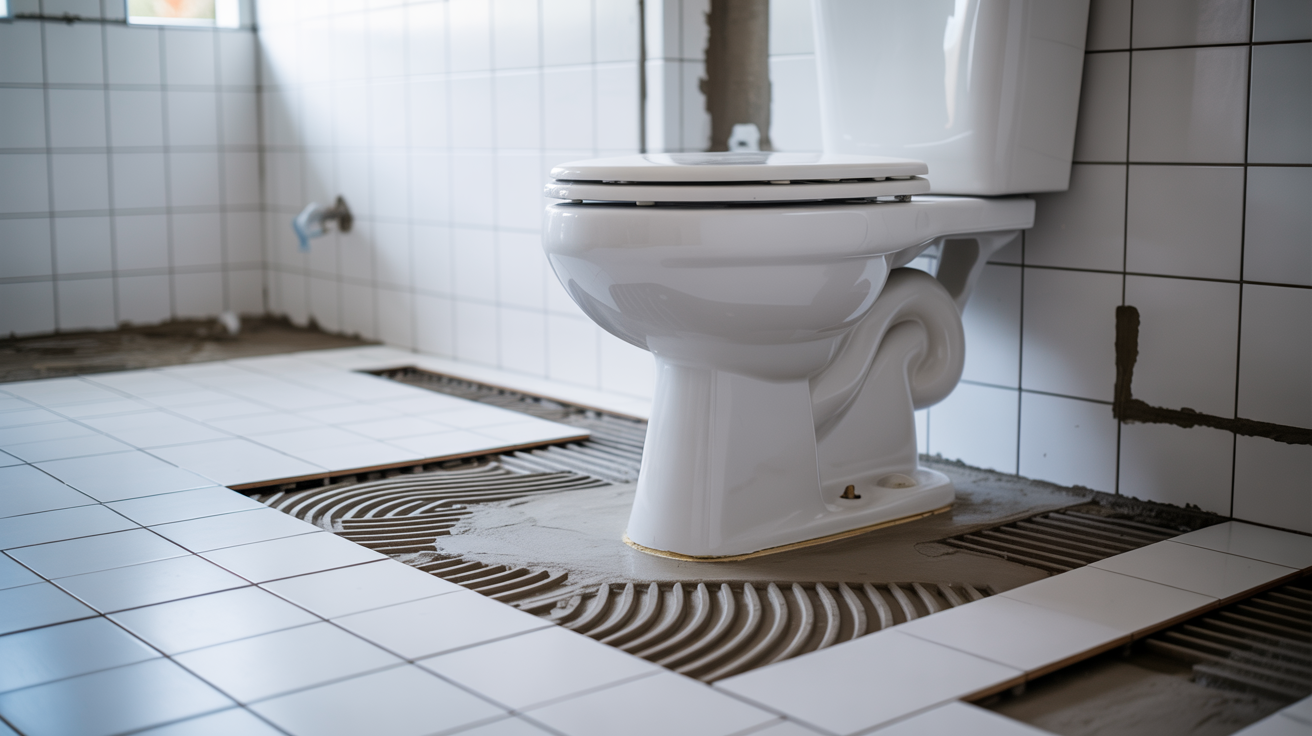
A toilet base is not square. It has curves and angles that do not match a standard tile edge. You need to cut along those curves to get a snug fit. If you skip this step, you will end up with ugly gaps or tiles that simply do not sit flat.
Many people rush the measuring step and end up cutting the wrong spot. Others press too hard on the tile and crack it mid-cut.
Some skip the dry fit test and only realize the tile does not fit after the adhesive is already set. Taking your time at each step saves a lot of frustration later.
Step-by-Step Process for Cutting Tile Around a Toilet
Following a clear step-by-step method helps you avoid costly mistakes and get a tight fit.
Step 1: Planning the Tile Layout Around the Toilet Area
Before cutting a single tile, plan where each tile will go around the toilet.
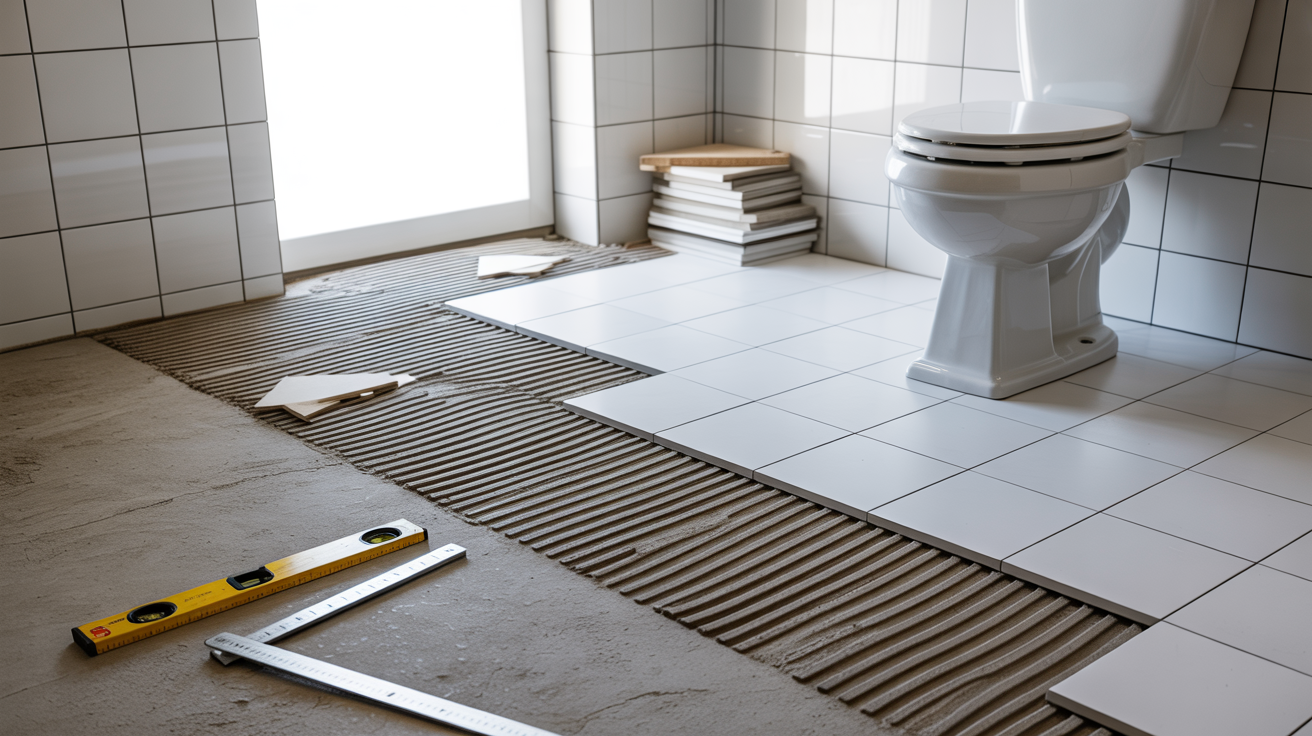
Lay out all your tiles dry, without any adhesive. See how they line up around the toilet area. This helps you figure out which tiles need cuts and where those cuts should fall.
Starting with a plan saves time and reduces wasted tiles.
Step 2: Marking the Shape of the Toilet Flange or Base
Accurate marking is what separates a clean cut from a messy one.
Use a pencil or a china marker to trace the shape directly onto the tile surface. Be as precise as possible. A faint, thin line is easier to follow when cutting than a thick smudged mark.
Step 3: Transferring the Outline onto the Tile Surface
Once you have your template or measurements, transfer the shape clearly onto the tile.
Hold the cardboard template firmly on the tile so it does not shift. Trace around the edge with a marker. Double-check that the shape matches your measurements before cutting.
Step 4: Cutting the Tile Using the Appropriate Tool
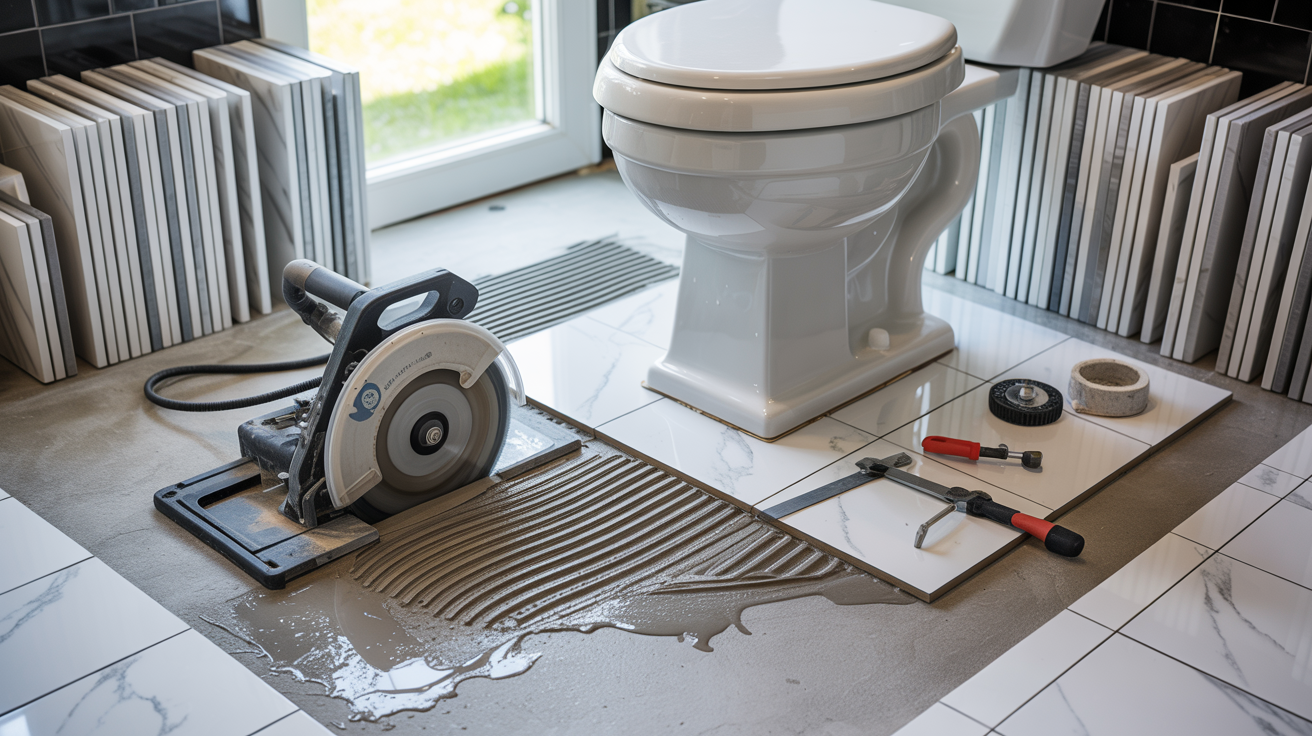
Choose your cutting tool based on the shape of the cut and the type of tile.
For curved cuts, tile nippers or an angle grinder work well. For circular cuts, a hole saw or a wet saw with relief cuts is more effective. Cut slowly and follow the line closely. Do not force the tool through the tile.
Step 5: Smoothing Edges and Checking the Tile Fit

After cutting, check the fit and smooth out any rough edges for a clean finish.
Hold the cut tile up to the toilet base or flange and see how it sits. If it catches or does not lie flat, use a rubbing stone or tile file to smooth the cut edge. Test it again until it fits cleanly without forcing.
How to Cut Tile Around Toilet Flange
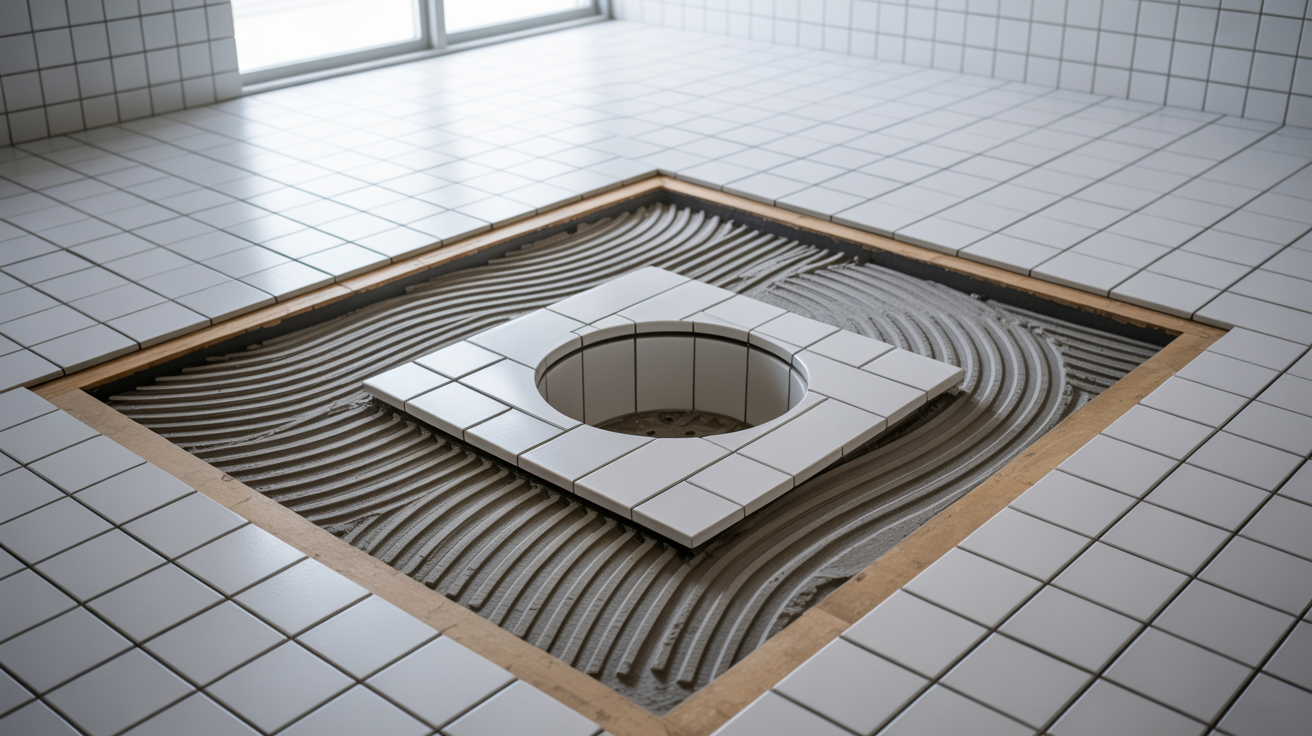
The toilet flange sits on the floor and requires a circular or curved cutout in the tile.
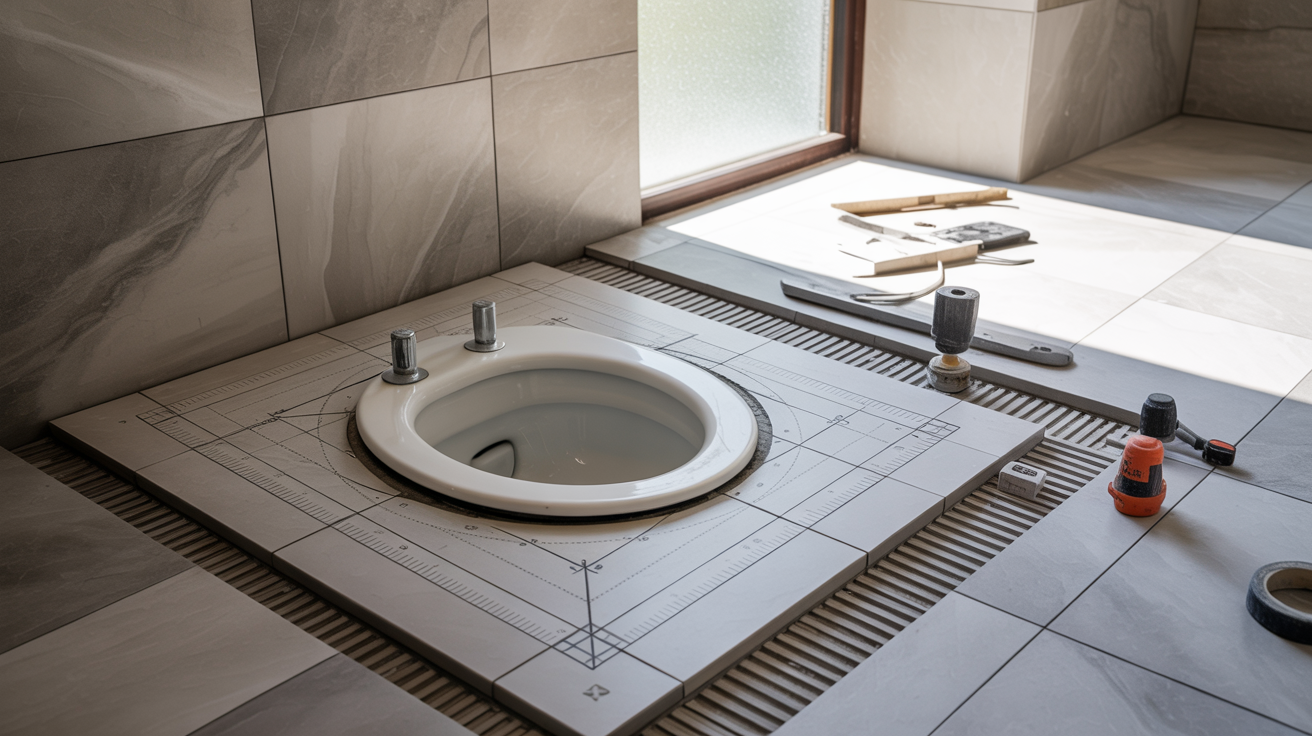
Measuring and Marking the Toilet Flange on the Tile
Getting the flange position right on the tile before cutting is the most important step.
Place the tile next to the flange. Use a pencil or marker to note where the flange sits on the tile surface.
Measure the distance from the tile edge to the center of the flange. Then measure the diameter of the flange opening. Write down these numbers before you move to the next step.
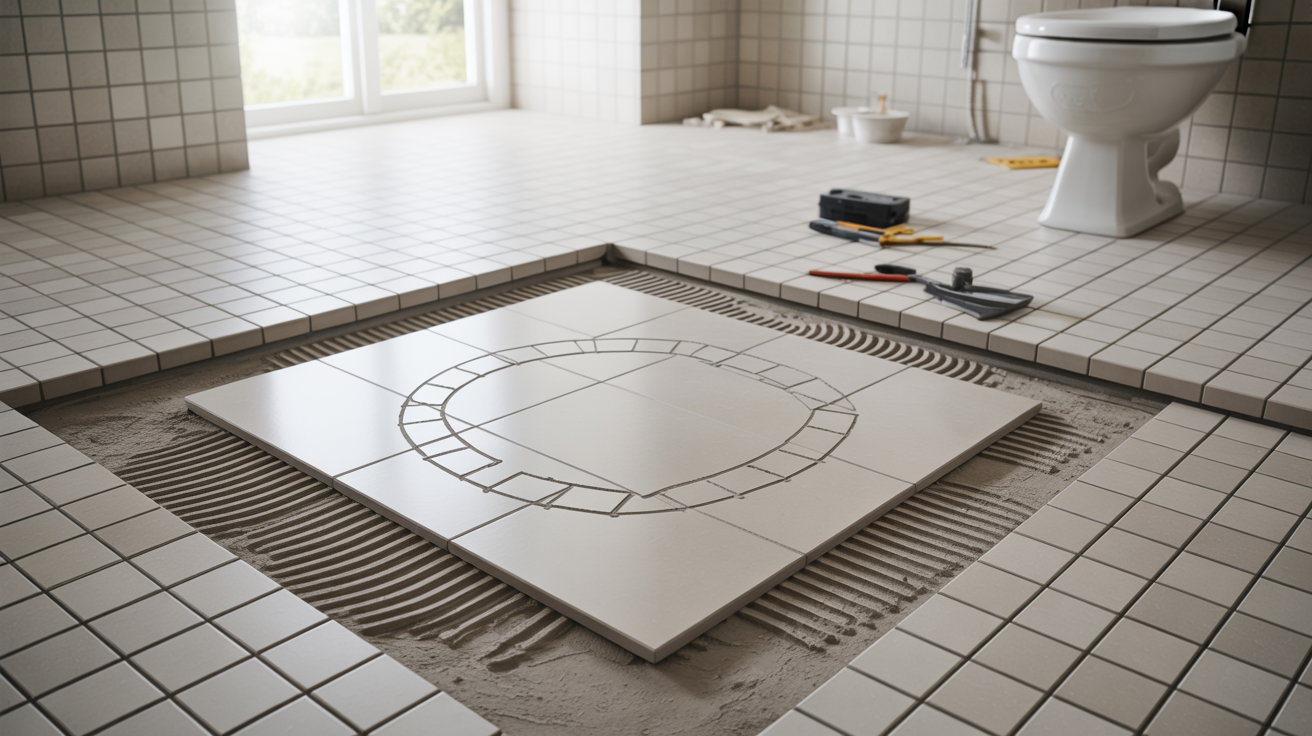
Using Cardboard or Paper Templates for Accurate Tracing
A cardboard template lets you test the shape before cutting into the actual tile.
Cut a piece of cardboard to the same size as your tile. Hold it over the flange area and press it down to get an impression of the flange shape.
Cut along that line, then test the cardboard piece around the flange. Once it fits well, trace the same shape onto your tile and cut along that line.
Dry Fitting Tiles Around the Toilet Area
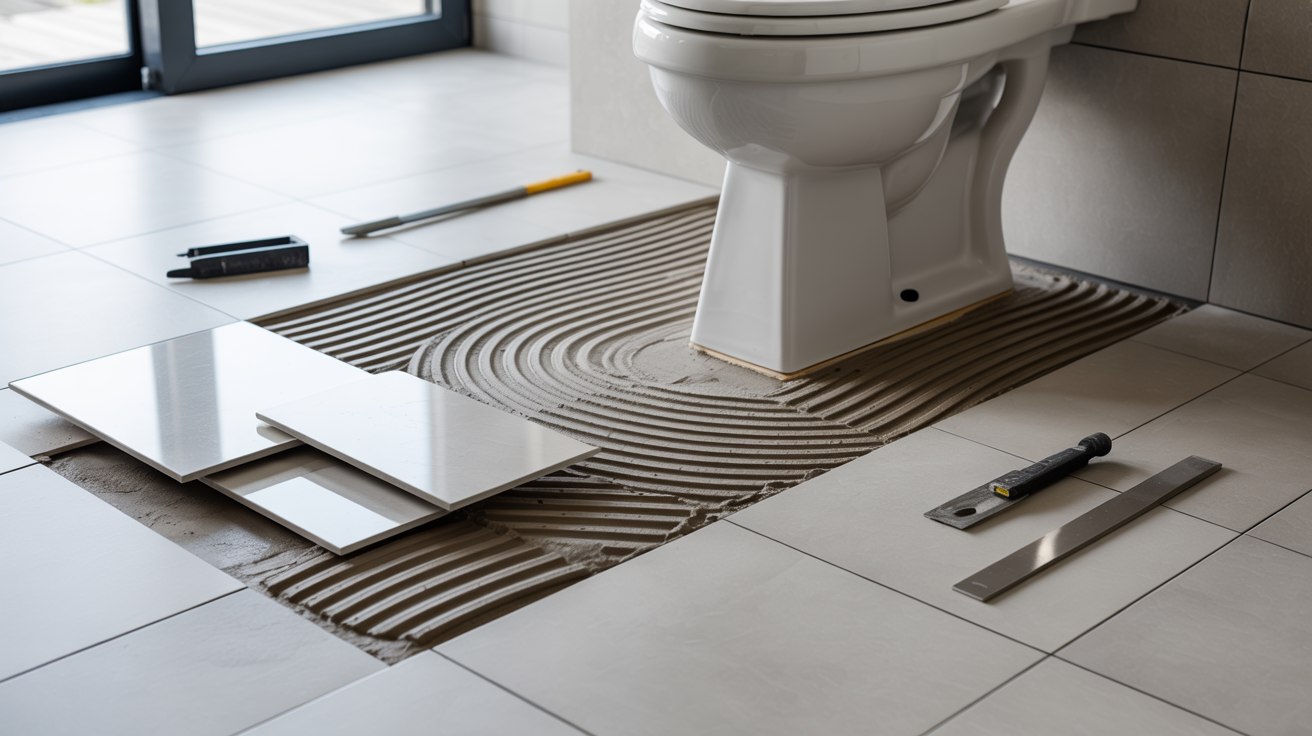
Dry fitting lets you test every piece before committing to adhesive, saving time and material.
Always lay tiles in place without adhesive first to confirm they fit correctly. Place all your cut tiles around the toilet area.
Check for gaps, overlaps, or spots where the tile does not sit flat. This step shows you exactly where adjustments are needed before anything is set permanently.
Small adjustments after dry fitting can make a big difference in how the final job looks. If a tile sits slightly high or has a small gap, use a tile file or nippers to adjust the edge.
Take off a little at a time and test the fit again. A clean fit during dry fitting means a clean and polished result after installation.
Pro Tips for Cutting Tile Around Toilets Without Cracking Tiles
These practical tips can help you get a clean cut every time without breaking tiles.
- Score the tile surface before cutting to reduce chipping, and always cut from the front face never the back
- Use light, steady pressure and take multiple passes on curved cuts rather than forcing one deep cut
- Keep the blade cool with water during cutting to prevent cracking and blade wear
- Support the tile fully on a flat surface so it doesn’t flex or snap mid-cut
- Let the tool stop completely before lifting it away, and always wear safety glasses and gloves
Conclusion
Learning how to cut tile around toilet areas takes a bit of practice, but it is very doable once you know the steps. I remember my first time making a curved cut around a flange.
I was nervous, but once I scored the tile carefully and took slow passes, it came together better than I expected.
You’ve got this. Take your time, measure twice, and test the fit before setting anything in place. If this helped, drop a comment below or share it with someone who needs it.
Frequently Asked Questions
Can You Cut Tile Around a Toilet Without Removing It?
Yes, you can cut tile around the toilet base without removing it. Use a cardboard template to trace the base shape and then transfer that outline onto the tile before cutting.
What Is the Best Tool to Cut Tile Around a Toilet Flange?
A wet saw with relief cuts or a diamond hole saw works well for cutting around a toilet flange. For smaller projects, tile nippers combined with a tile scribe can also give you clean results.
How Much Gap Should You Leave Around a Toilet Flange?
Leave about 1/8 inch of space around the toilet flange when cutting tile. This gap allows room for the wax ring seal and gives the toilet a stable base without cracking the surrounding tile.
Can You Use an Angle Grinder to Cut Tile Around a Toilet?
Yes, an angle grinder with a diamond blade can cut curved and circular shapes in tile. Work in light passes, keep the blade moving, and wear safety gear to protect yourself from tile dust and debris.
How Do You Keep Tile From Cracking When Cutting Around a Toilet?
Score the tile before cutting, use the right blade for your tile type, and apply light steady pressure. Avoid forcing the blade, and support the tile on a flat surface so it does not flex and snap during the cut.