Insulating attic roof rafters is one of the most effective home improvement projects you can undertake to improve your home’s energy efficiency and overall comfort.
Proper rafter insulation creates a thermal barrier that prevents heat loss in winter and keeps your home cooler in summer, resulting in significant energy savings on heating and cooling costs.
Beyond temperature control, quality insulation also helps prevent moisture problems that can lead to mold growth and structural damage.
This comprehensive guide will walk you through the entire process of insulating roof rafters like a professional contractor.
You’ll learn about different insulation materials, proper installation techniques, safety considerations, and common mistakes to avoid.
By following these step-by-step instructions, you’ll be able to complete this project confidently while achieving professional-quality results that improve your home’s performance for years to come.
Benefits of Insulating Attic Roof Rafters

Proper rafter insulation offers numerous advantages that make it a worthwhile investment for any homeowner.
Energy efficiency improvements lead to significantly reduced heating and cooling costs while decreasing your home’s carbon footprint through lower energy consumption.
The enhanced comfort from year-round temperature control eliminates uncomfortable drafts and hot spots, creating a more livable environment throughout your home.
Moisture and mold prevention benefits include reduced condensation buildup that extends roof lifespan and prevents structural damage from rot and decay.
Insulated rafters also provide excellent noise reduction, making upstairs rooms and attic bedrooms quieter and more peaceful by absorbing sound from rain, wind, and neighborhood activities.
Eco-friendly insulation options like cellulose made from recycled materials support sustainable building practices while delivering excellent performance.
The cost savings over time are substantial, with the initial investment typically paying for itself through energy savings within several years, plus the added benefit of increased home resale value that appeals to buyers seeking energy-efficient features.
Tools & Materials You’ll Need
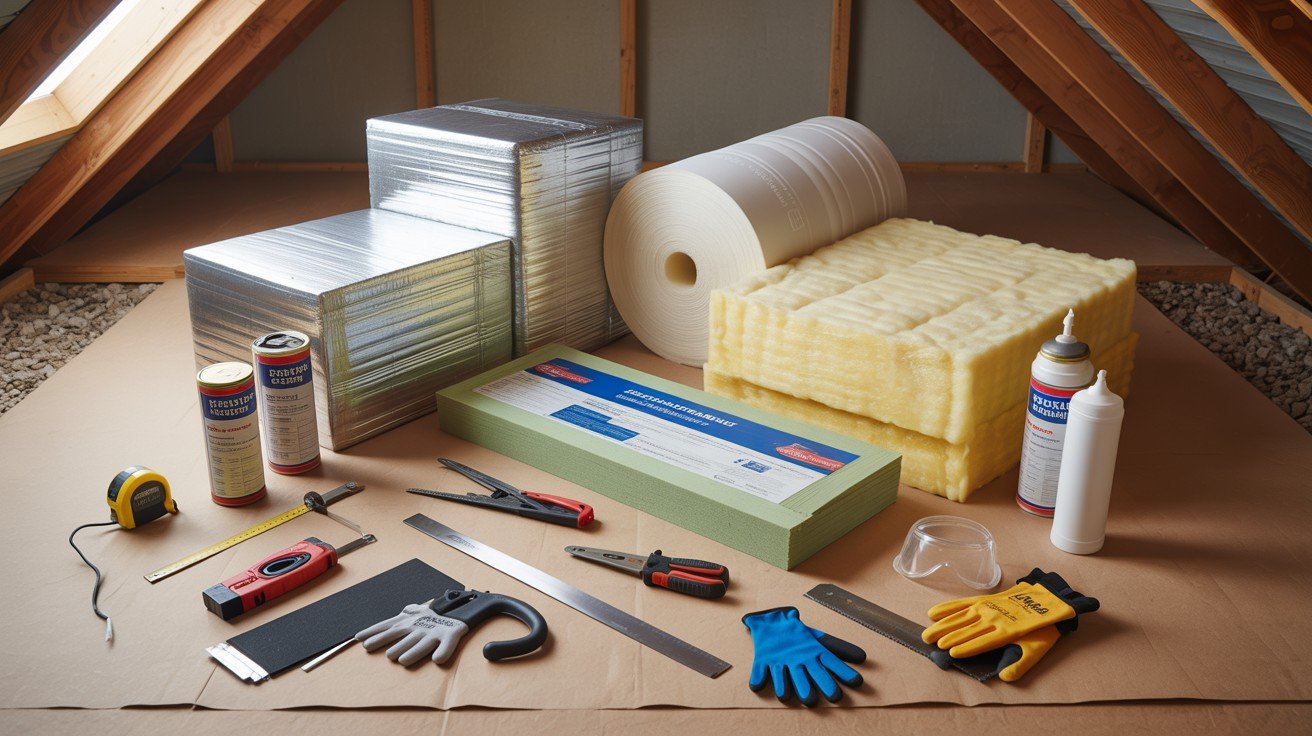
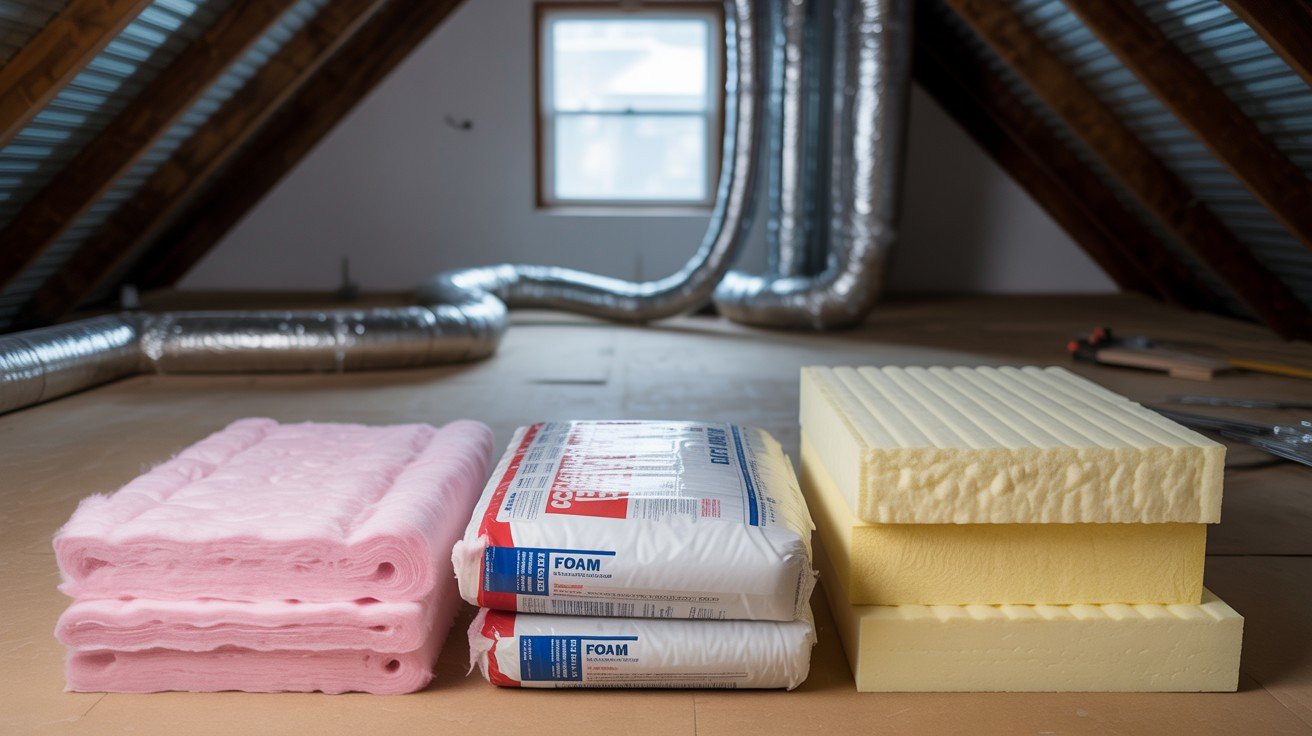
- Insulation material of choice – Select from fiberglass batts, rigid foam boards, or spray foam based on your specific needs, budget, and performance requirements for the project.
- Utility knife or insulation saw – Sharp cutting tools are essential for making clean, precise cuts that fit properly between rafters and around obstacles.
- Measuring tape – Accurate measurements ensure proper fit and minimize waste while helping you calculate the total amount of insulation material needed.
- Staple gun – Secures insulation materials and vapor barriers in place, providing reliable attachment to wooden rafters and structural elements.
- Air chutes (vent baffles) – Maintain proper ventilation airflow from soffit vents to ridge vents, preventing moisture problems and maintaining energy efficiency.
- Caulk or spray foam – Seals gaps and air leaks around electrical boxes, pipes, and irregular spaces where standard insulation might not fit perfectly.
- Safety gear: gloves, goggles, dust mask, long sleeves – Essential protective equipment including gloves for skin protection, goggles for eye safety, dust masks to avoid inhaling particles, and long sleeves to minimize skin contact with insulation materials.
Step-by-Step Guide: How to Insulate Attic Roof Rafters
A comprehensive, professional installation guide covering preparation, material selection, proper placement techniques, and finishing steps for effective rafter insulation.
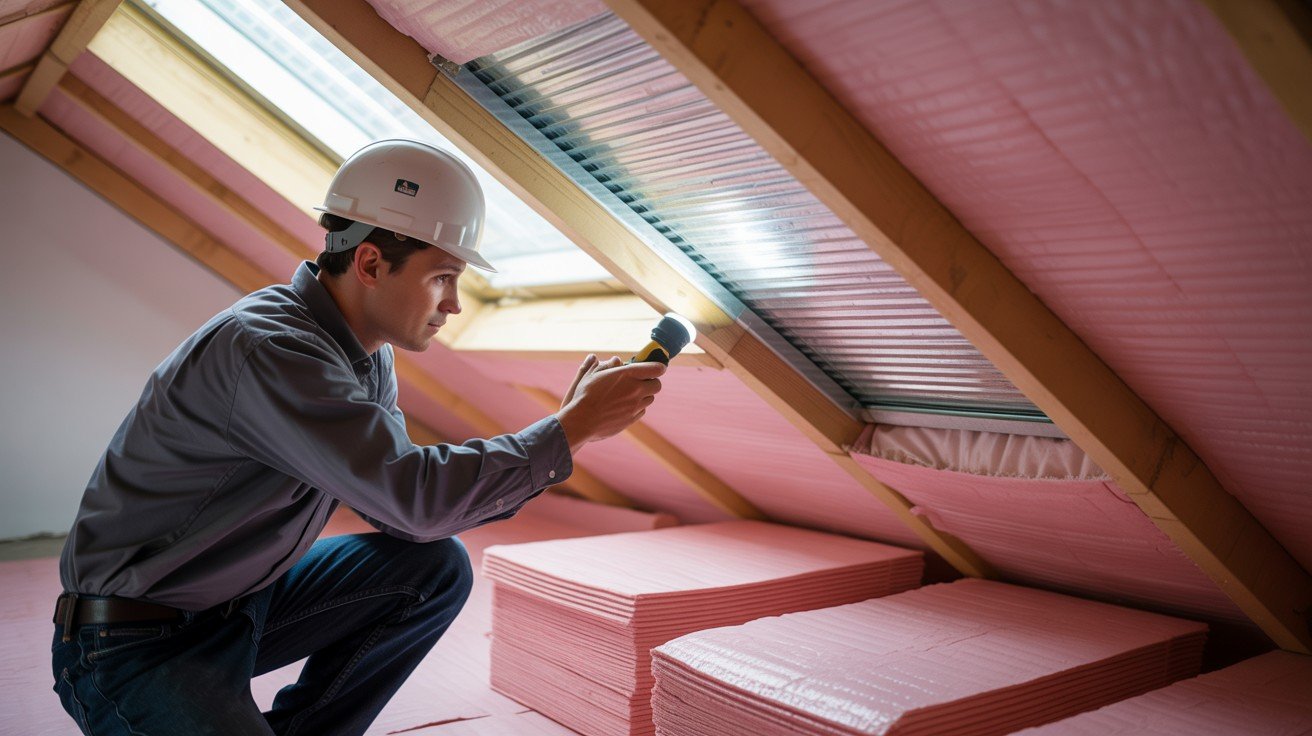
Step 1: Inspect and Prepare the Attic
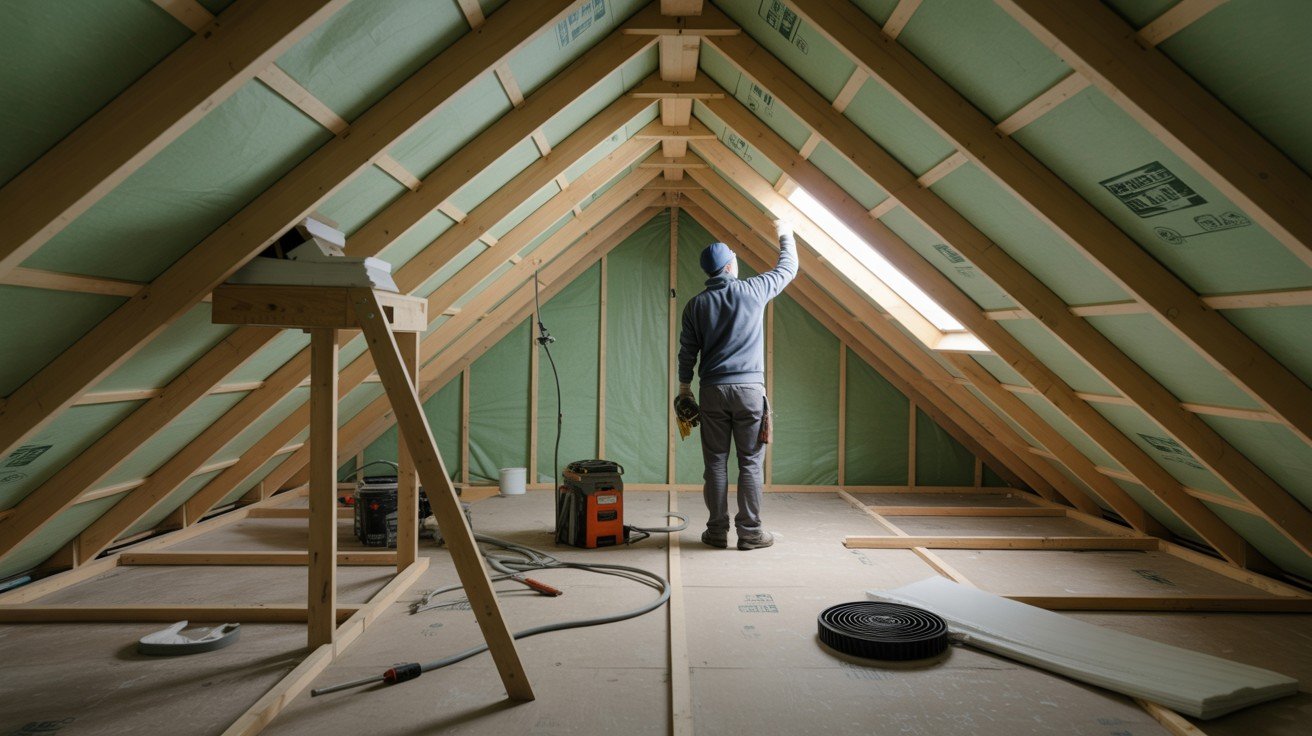
Begin your insulation project by thoroughly examining the attic space for signs of water damage, mold growth, or compromised structural elements that need repair before installation.
Remove all stored items and debris to create safe, unobstructed working conditions throughout the entire attic area.
Assess existing ventilation systems and determine the best approach for maintaining proper airflow from soffit to ridge vents, as this planning will guide your installation strategy.
Step 2: Install Air Chutes (Vent Baffles)
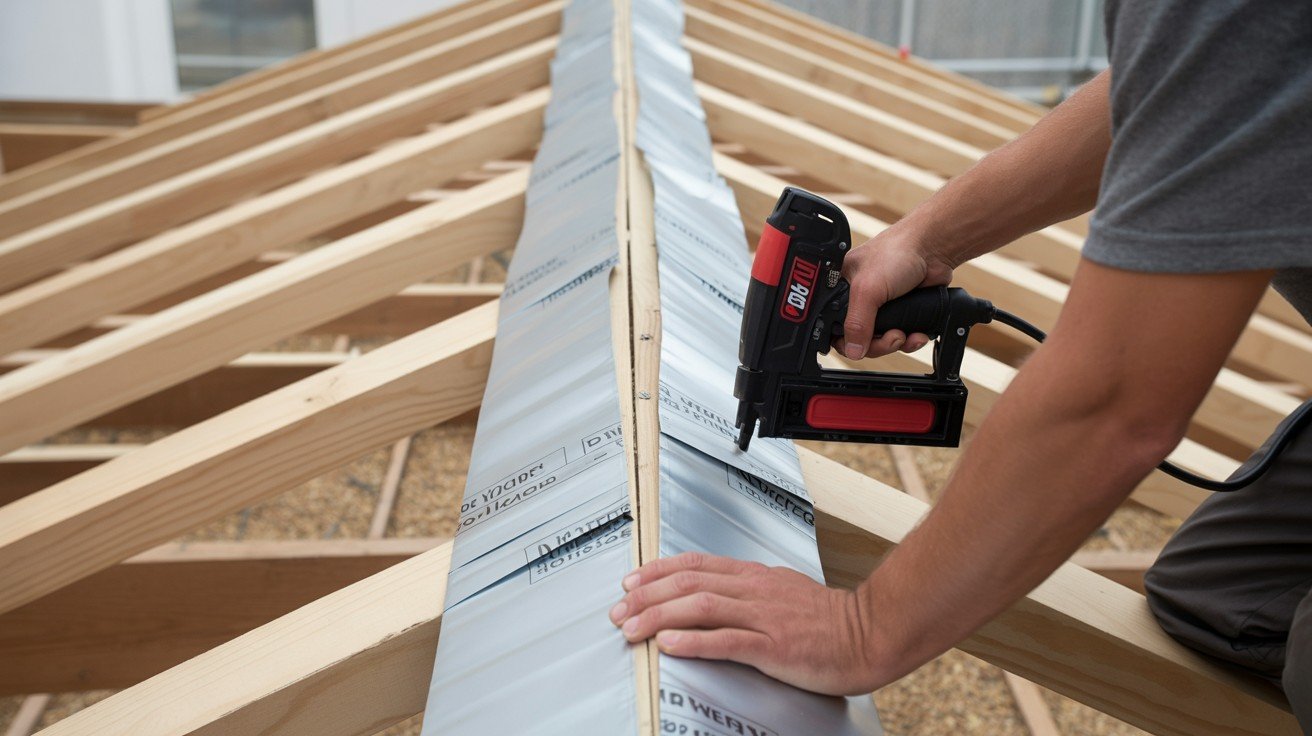
Secure vent baffles to rafters using a staple gun, ensuring they create clear channels for air movement between each rafter bay.
Maintain proper spacing of at least one inch between insulation and roof decking to allow continuous ventilation throughout the rafter cavity.
Install baffles in all rafter spaces that connect soffit vents to ridge vents for optimal air circulation, as this prevents moisture buildup and maintains insulation effectiveness over time.
Step 3: Choose the Right Insulation
Select your insulation material based on your specific needs including thermal performance requirements, available space, and financial constraints.
Choose fiberglass batts for simple installation and cost-effectiveness, spray foam for superior air sealing and performance, or rigid foam boards for maximum R-value in limited space situations.
Consider factors like moisture resistance, fire rating, and ease of installation when making your final material selection.
Step 4: Measure and Cut Insulation
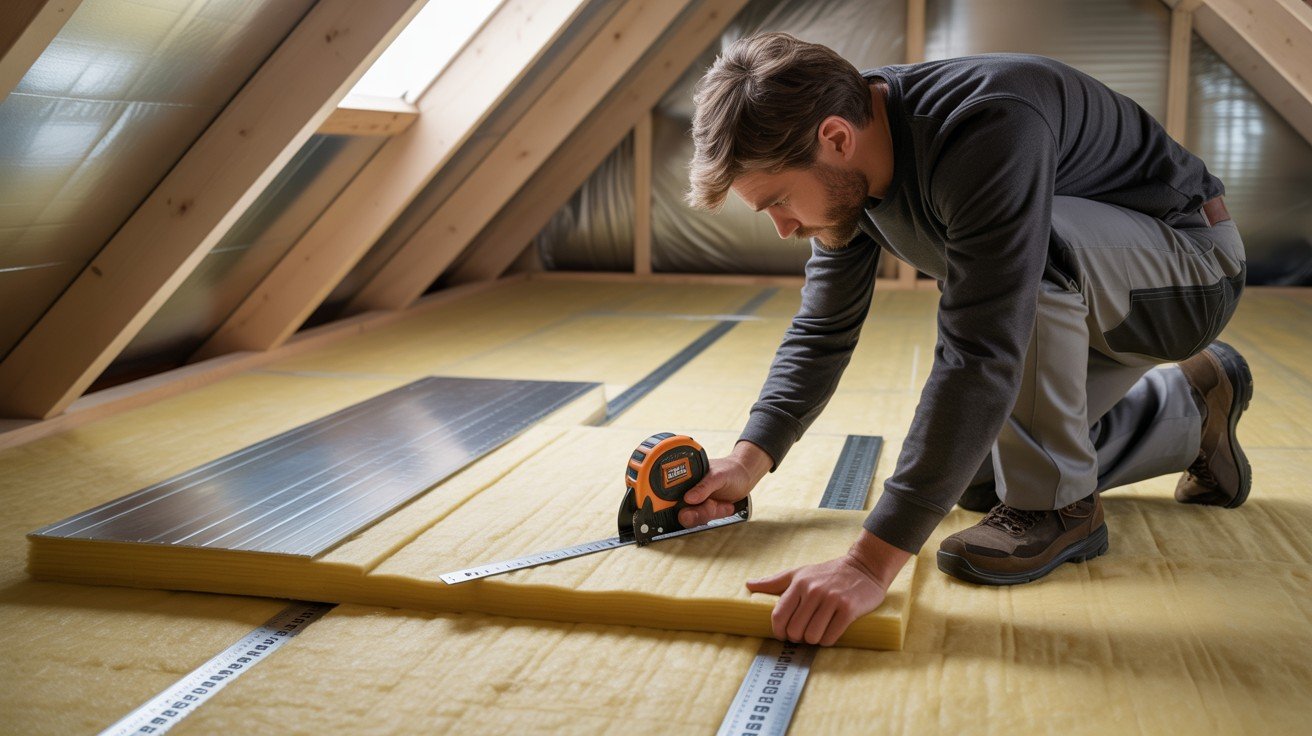
Use a measuring tape to determine exact dimensions of each rafter cavity, accounting for any irregularities or obstructions that might affect fit.
Make precise cuts with a sharp utility knife or insulation saw that allow insulation to fit properly without being squeezed or compressed, which would reduce its thermal effectiveness.
Take time to measure twice and cut once to minimize waste and ensure optimal performance from your insulation investment.
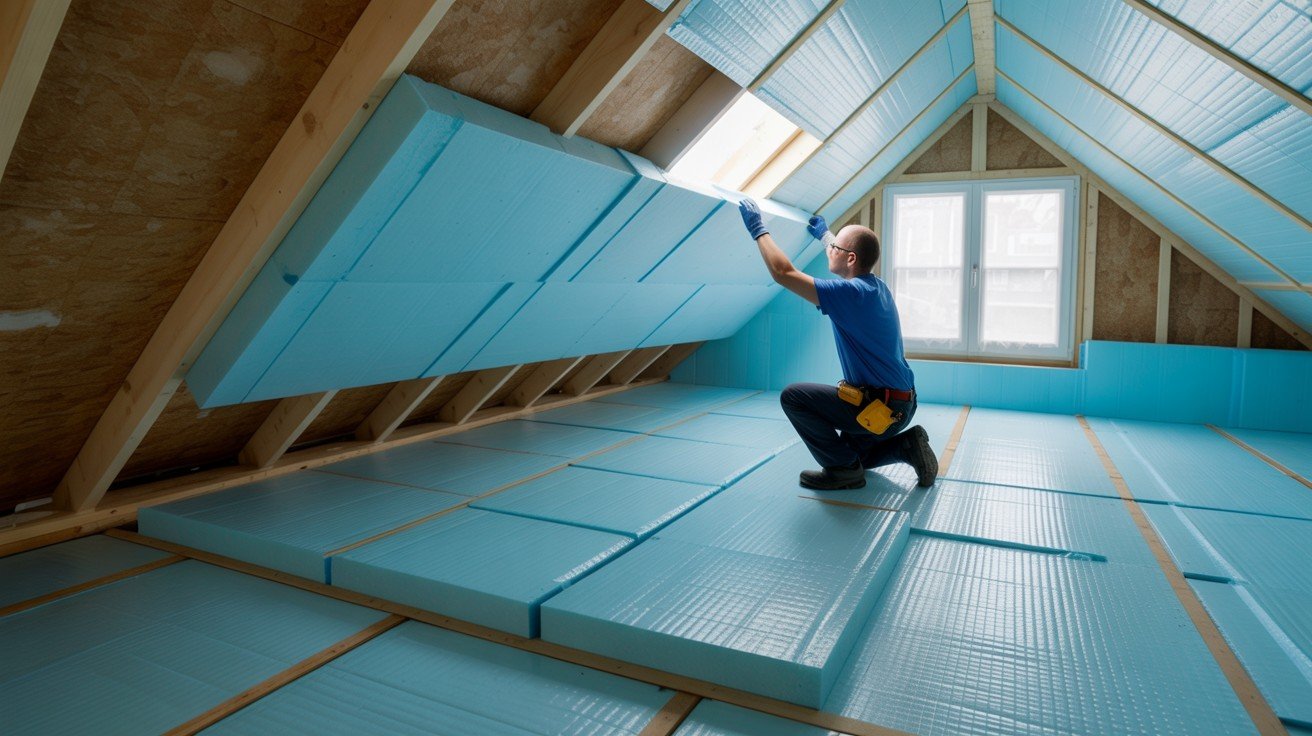
Step 5: Place and Secure Insulation
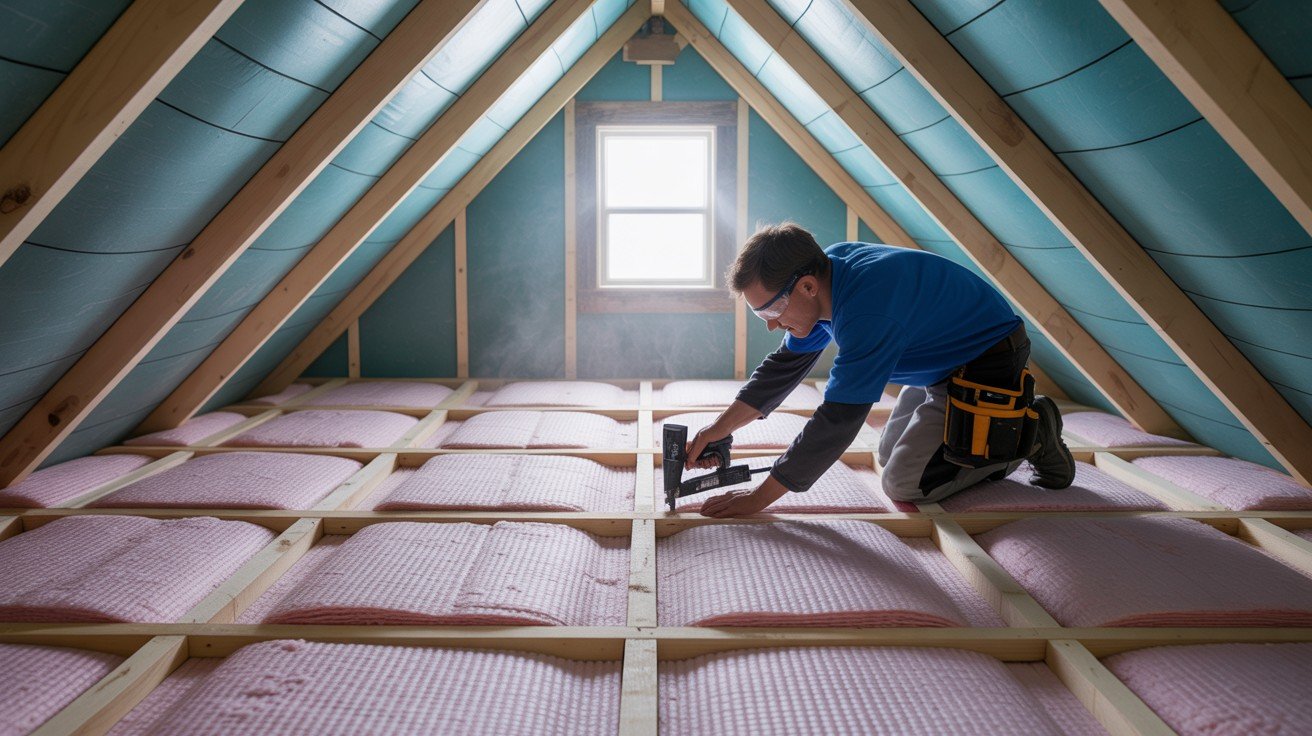
Carefully position insulation materials in rafter cavities, ensuring complete coverage without gaps or voids that could create thermal bridges.
Orient faced insulation with the vapor barrier toward the heated living areas to prevent moisture problems and maintain proper humidity control.
Keep insulation away from air chutes and ventilation channels to maintain proper airflow throughout the attic while securing materials with staples or other appropriate fasteners.
Step 6: Seal Air Gaps
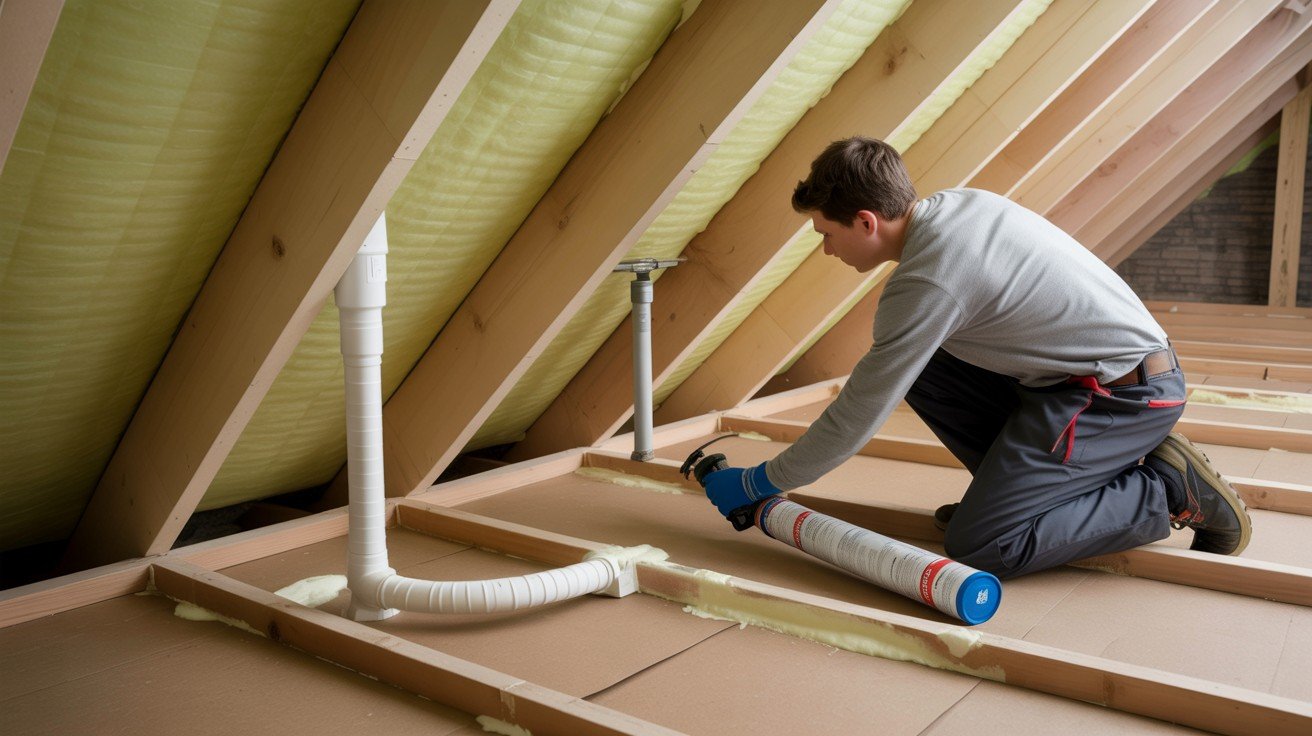
Apply appropriate sealants like spray foam or caulk to eliminate air leaks around penetrations, electrical boxes, pipes, and irregular spaces where standard insulation might not provide complete coverage.
Focus on sealing all potential air pathways that could compromise insulation performance and energy efficiency, paying special attention to areas where different building materials meet.
This air sealing step is crucial for preventing warm air from leaking into unconditioned spaces and reducing overall system effectiveness.
Step 7: Add Rigid Foam or Finishing Layers (if applicable)
Install continuous rigid foam insulation over rafters to eliminate thermal bridging and boost overall R-value if your project requires maximum thermal performance.
Complete the installation with appropriate finishing materials like drywall or paneling if the attic will be used as living space or requires a finished appearance.
This additional layer provides extra insulation value while creating a clean, professional look for converted attic spaces.
Step 8: Ensure Proper Ventilation and Final Inspection
Verify that all ventilation pathways remain clear and unobstructed by insulation materials, checking both soffit and ridge vents for proper airflow.
Conduct a thorough final inspection to identify and address any missed spots, gaps, or installation defects that could compromise performance.
Confirm that vapor barriers are properly installed and all air sealing measures are complete, ensuring your insulation system will provide long-term performance and energy savings for years to come.
Tips for Insulating Attic Roof Rafters Like a Pro
- Maintain airflow with vent chutes to prevent moisture buildup – Proper ventilation prevents condensation and mold growth while ensuring your insulation performs effectively over the long term.
- Choose the right R-value based on your climate zone – Different regions require specific insulation levels for optimal energy efficiency, so check local building codes and recommendations for your area.
- Seal all gaps using spray foam or caulk for better efficiency – Air leaks can reduce insulation effectiveness by up to 40%, making thorough sealing crucial for maximum energy savings.
- Layer insulation (batts + foam board) to save space and boost R-value – Combining different insulation types maximizes thermal performance while eliminating thermal bridging through wooden rafters.
- Wearing safety gear-gloves, mask, and goggles are essential – Protect yourself from insulation fibers and particles that can irritate skin, eyes, and respiratory system during installation.
- Measure accurately for a snug, effective fit – Precise measurements ensure insulation fills spaces completely without compression, which maintains its thermal properties and prevents air gaps.
- Label pipes/wires before covering for easy future access – Mark electrical and plumbing locations clearly to avoid damage during future repairs or renovations when insulation conceals these systems.
Conclusion
Insulating attic roof rafters provides substantial benefits including energy savings, improved comfort, moisture control, and increased home value.
Following the proper steps, from preparation and material selection to installation and sealing, ensures professional-quality results.
Remember that safety gear and proper ventilation are absolutely critical throughout the entire process to protect both you and your home’s structural integrity.
While capable homeowners can successfully complete this project with careful planning and attention to detail, complex installations involving electrical work or structural modifications should be handled by professionals.
For expert assistance with challenging projects, consider consulting trusted services like Rubcorp or similar qualified contractors who specialize in insulation installation.
Whether you choose the DIY route or professional installation, proper rafter insulation is an investment that pays dividends in comfort and energy efficiency for years to come.
Frequently Asked Questions
What’s the best insulation material for attic roof rafters?
Fiberglass batts offer the best balance of cost and performance for most homeowners, while spray foam provides superior air sealing but costs more. Choose based on your budget, climate zone, and whether you need maximum R-value in limited space.
Do I need a vapor barrier when insulating rafters?
Yes, a vapor barrier on the warm side prevents moisture from entering the insulation and causing mold or rot. Use faced insulation with the paper side toward the living space, or install a separate plastic vapor barrier.
How much R-value do I need for my climate zone?
R-value requirements vary by location, ranging from R-30 in warm climates to R-49 in cold regions. Check your local building codes or consult an energy efficiency guide to determine the appropriate R-value for your area.
Can I insulate rafters myself or should I hire a professional?
Most homeowners can handle basic rafter insulation with proper safety gear and careful attention to ventilation requirements. However, complex projects involving electrical work, structural modifications, or spray foam application are best left to professionals.
How do I maintain proper ventilation with rafter insulation?
Install vent baffles between each rafter to maintain a 1-inch air gap from soffit to ridge vents. This continuous airflow prevents moisture buildup and maintains insulation effectiveness while protecting your roof structure.