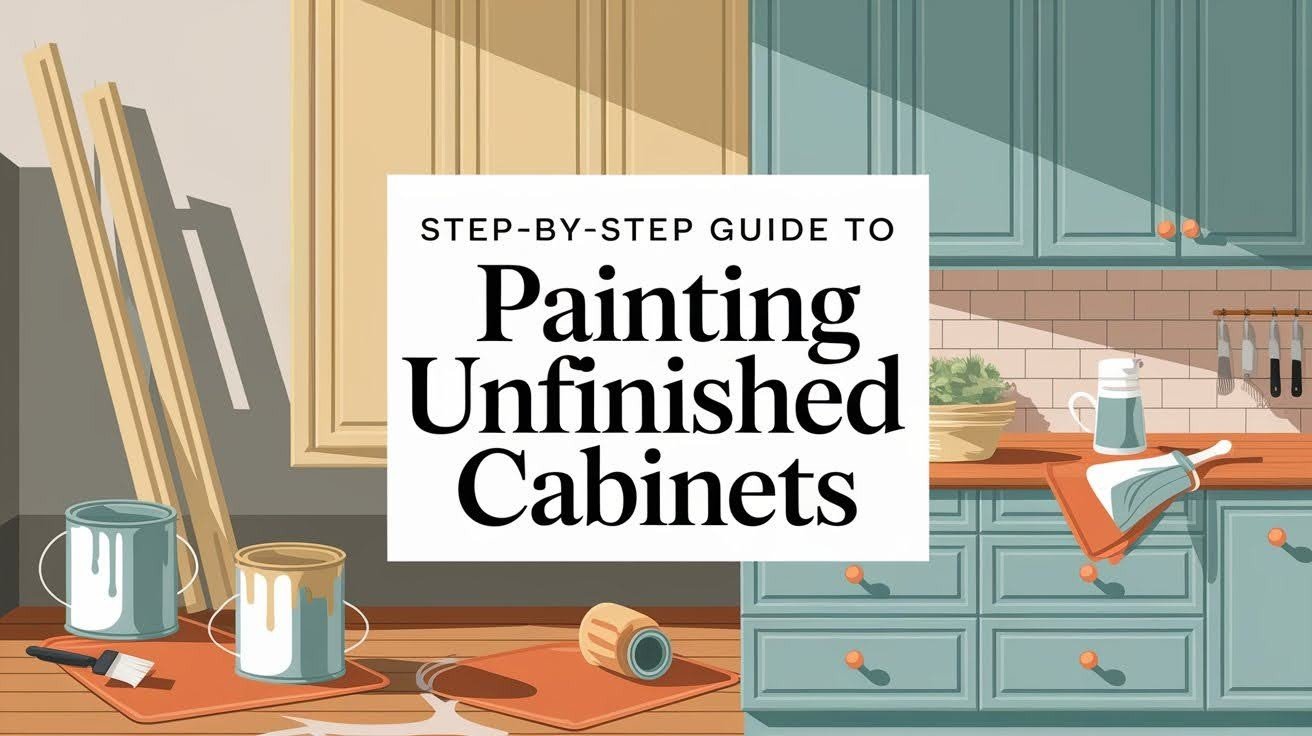
Painting unfinished cabinets is a simple and cost-effective way to achieve a custom look in your kitchen, bathroom, or laundry room without the expense of hiring professionals or purchasing pre-finished units.
This DIY project allows you to create exactly the style and color you want while saving significant money on your renovation budget.
Whether you’re working with new unfinished cabinets or updating existing ones, proper technique makes all the difference in achieving professional-looking results.
In this comprehensive guide, we’ll walk you through the entire process from start to finish, covering everything from prepping the wood surface to applying the final protective coat for a smooth, durable finish that will last for years.
Why Paint Unfinished Cabinets?
Painting unfinished cabinets offers a cost-effective alternative to replacing entire cabinet systems, allowing you to save thousands of dollars while still achieving a fresh, updated look.
This approach costs significantly less than purchasing new cabinets or hiring professionals for a complete kitchen renovation.
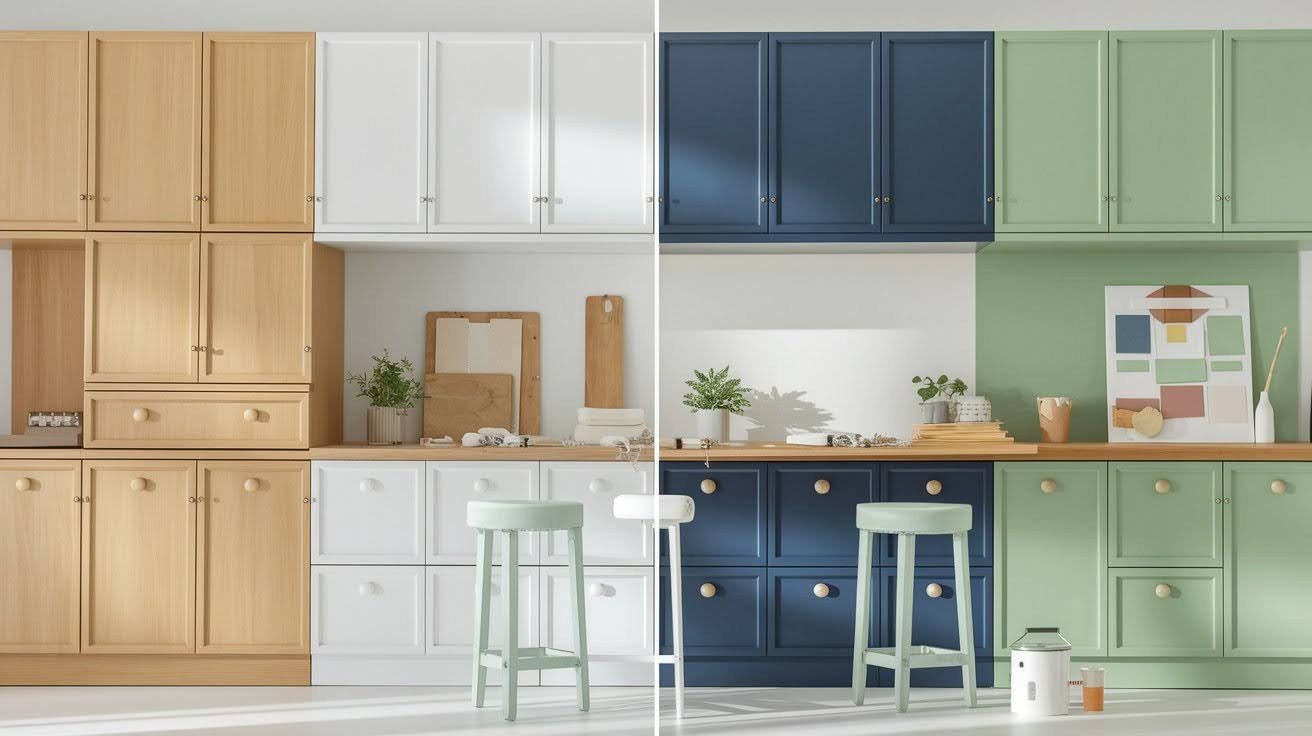
You gain total control over color and finish options, creating exactly the aesthetic you want without being limited to manufacturer choices or pre-selected colors.
A well-executed cabinet painting project enhances room aesthetics and can boost your home’s overall value, making it an excellent investment for homeowners.
Fresh, professionally painted cabinets instantly modernize any space and create a cohesive design that appeals to potential buyers.
The ability to customize your cabinets to match current design trends or your personal style preferences makes this project both practical and rewarding.
Tools and Materials You’ll Need
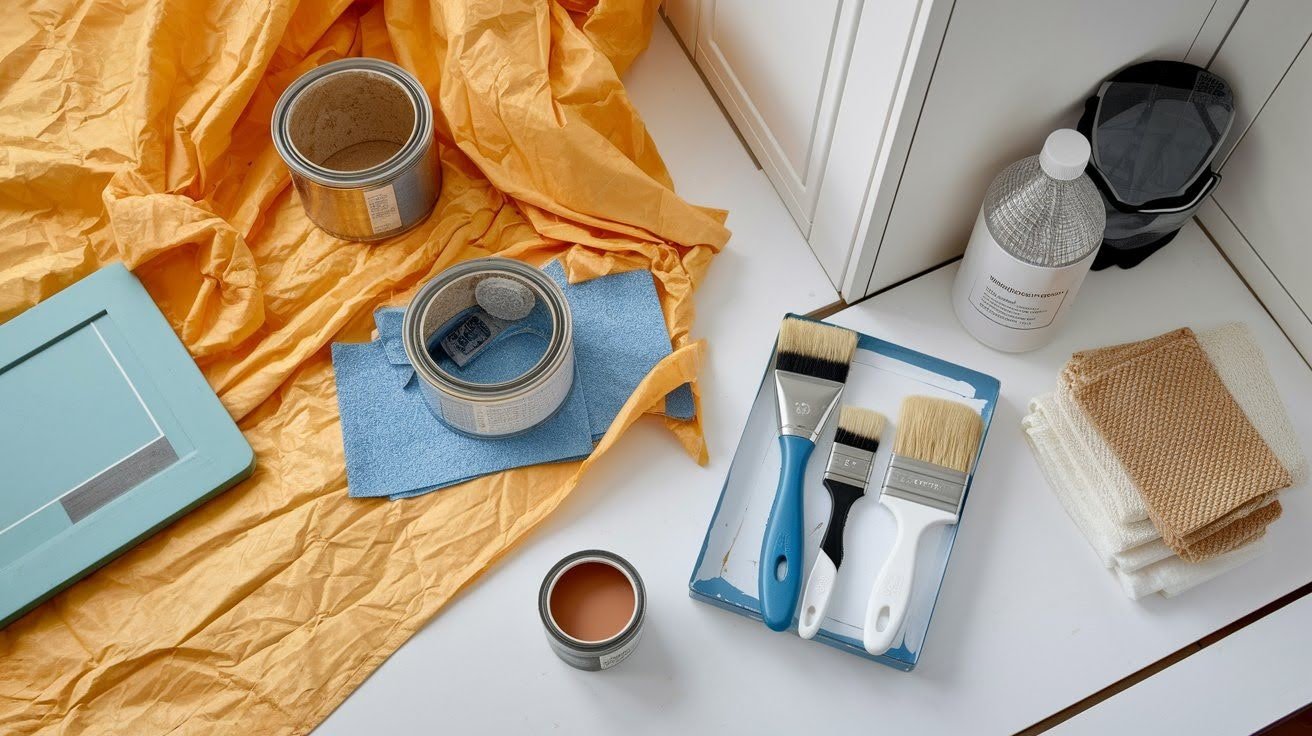
Essential equipment and supplies required for successfully painting unfinished cabinets, including preparation tools, painting materials, and safety gear.
Basic Supplies
- Gather medium and fine grit sandpaper for smoothing the wood surface and preparing it for paint application
- Use drop cloths to protect your floors and surrounding areas from paint spills and dust
- Apply painter’s tape to mask off areas you don’t want painted, such as hinges or adjacent walls
- Keep tack cloth handy for removing dust particles between sanding and painting steps
- Include degreaser or cabinet cleaner to remove any manufacturing residues or dirt from the unfinished wood
Painting Materials
- Select a high-quality primer or 2-in-1 paint and primer combination designed for wood surfaces
- Choose professional-grade brushes and foam rollers that will provide smooth, even coverage without leaving brush marks
- Pick latex, enamel, or hybrid paint formulated for cabinets that offers durability and easy cleaning
- Have wood filler available to repair any holes, dents, or imperfections in the wood surface
- Always wear safety gear including gloves, goggles, and masks to protect yourself from dust and fumes
5 Easy Steps to Painting Unfinished Cabinets
Simple, straightforward process covering preparation, sanding, priming, painting, and reassembly for professional-looking cabinet finishes at home.
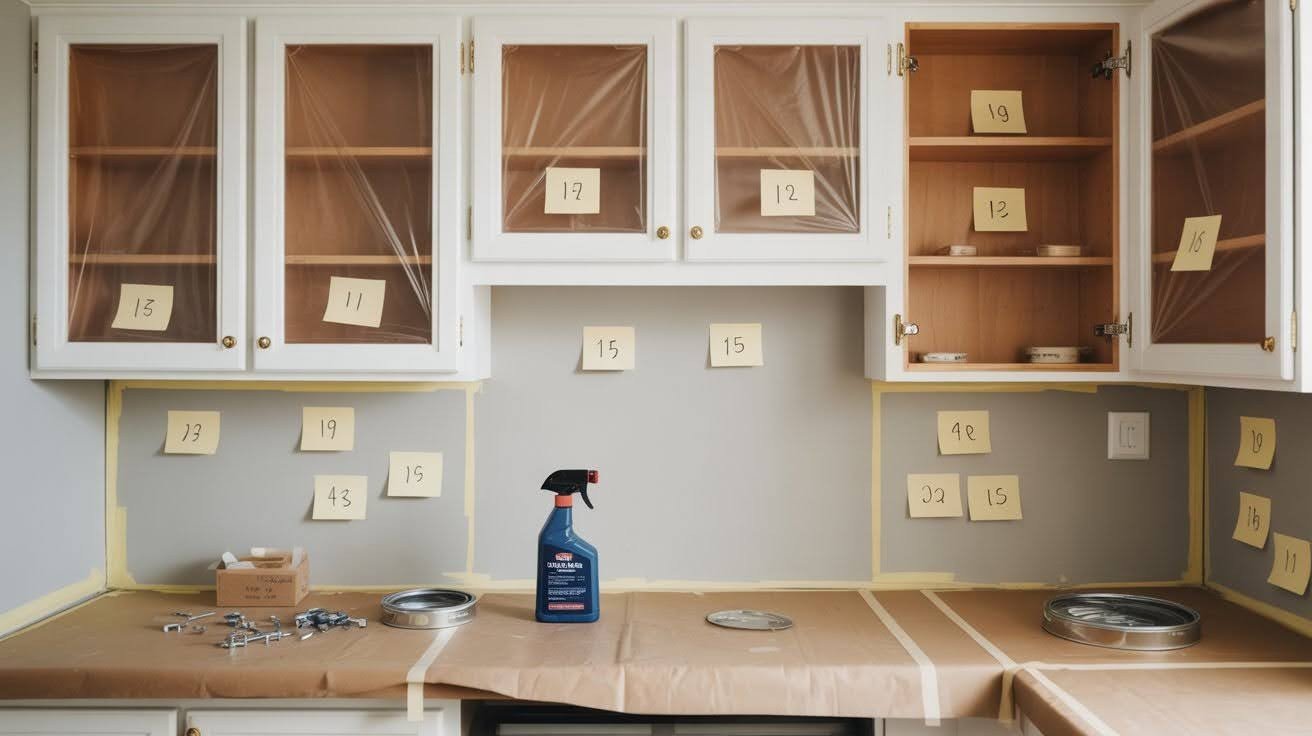
Step 1: Prepare the Cabinets and Workspace
Use a vinegar-water mixture or commercial degreaser to remove manufacturing residues and dirt from the wood surface.
This step ensures proper paint adhesion by eliminating any oils or contaminants that could interfere with your finish.
Wipe off all cleaning residue with a damp cloth and allow the cabinets to dry completely before proceeding to the next step.
Number each door and its corresponding cabinet opening to ensure proper reinstallation later in the process.
This simple organization step saves time and frustration during reassembly. Store screws and hinges in labeled bags or containers to prevent loss during the painting process, keeping all hardware organized and easily accessible.
Lay down drop cloths on floors and countertops to protect surfaces from paint drips and dust created during sanding and painting.
Apply painter’s tape to walls, edges, and interior cabinet boxes that won’t be painted, creating clean lines and protecting adjacent surfaces from accidental paint coverage.
Step 2: Sand and Patch the Surfaces
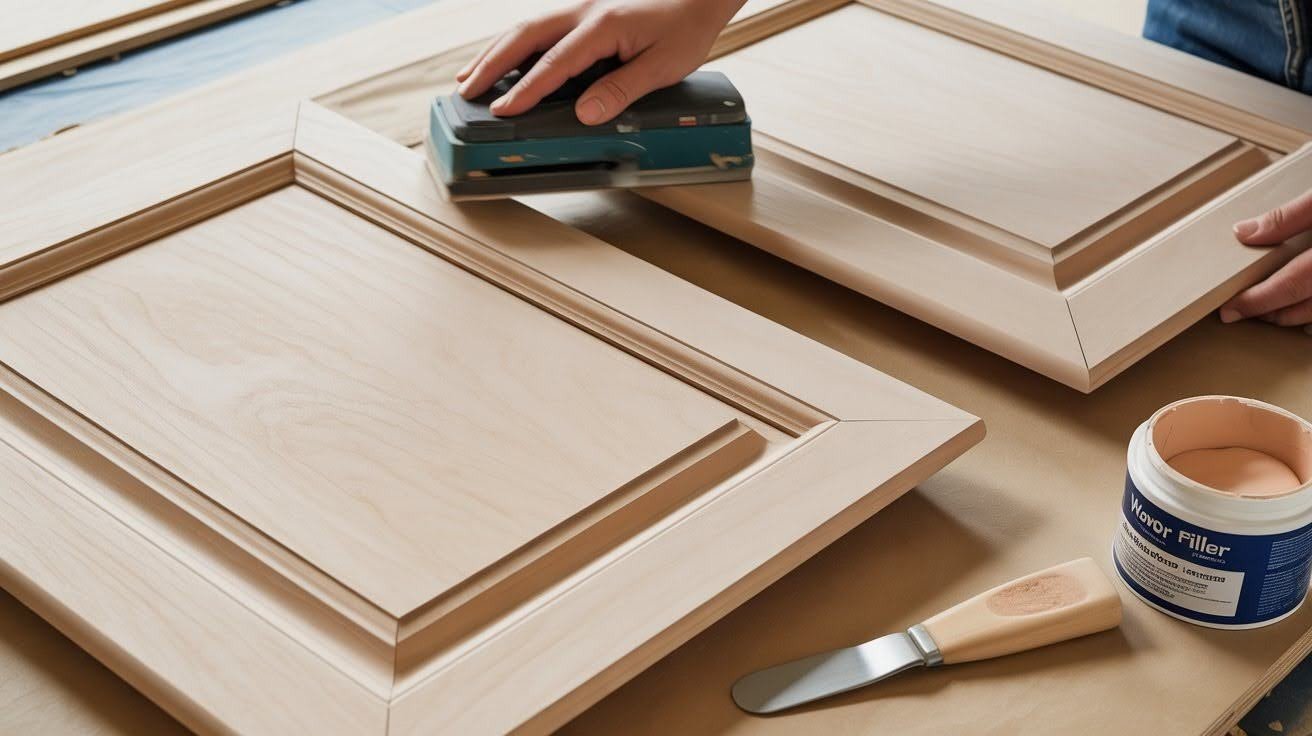
Start with medium grit sandpaper to scuff the surface and create better paint adhesion on the raw wood.
This initial sanding removes any surface imperfections and prepares the wood for primer application.
Follow up with fine grit sandpaper to smooth the wood and remove any scratches from the initial sanding, creating an ideal surface for painting.
Fill old hardware holes, dents, and scratches with high-quality wood filler appropriate for your wood type.
Apply the filler slightly proud of the surface to account for shrinkage during drying. Allow the filler to dry completely according to manufacturer instructions, then sand smooth for an even surface that will accept paint uniformly.
Step 3: Prime the Cabinets
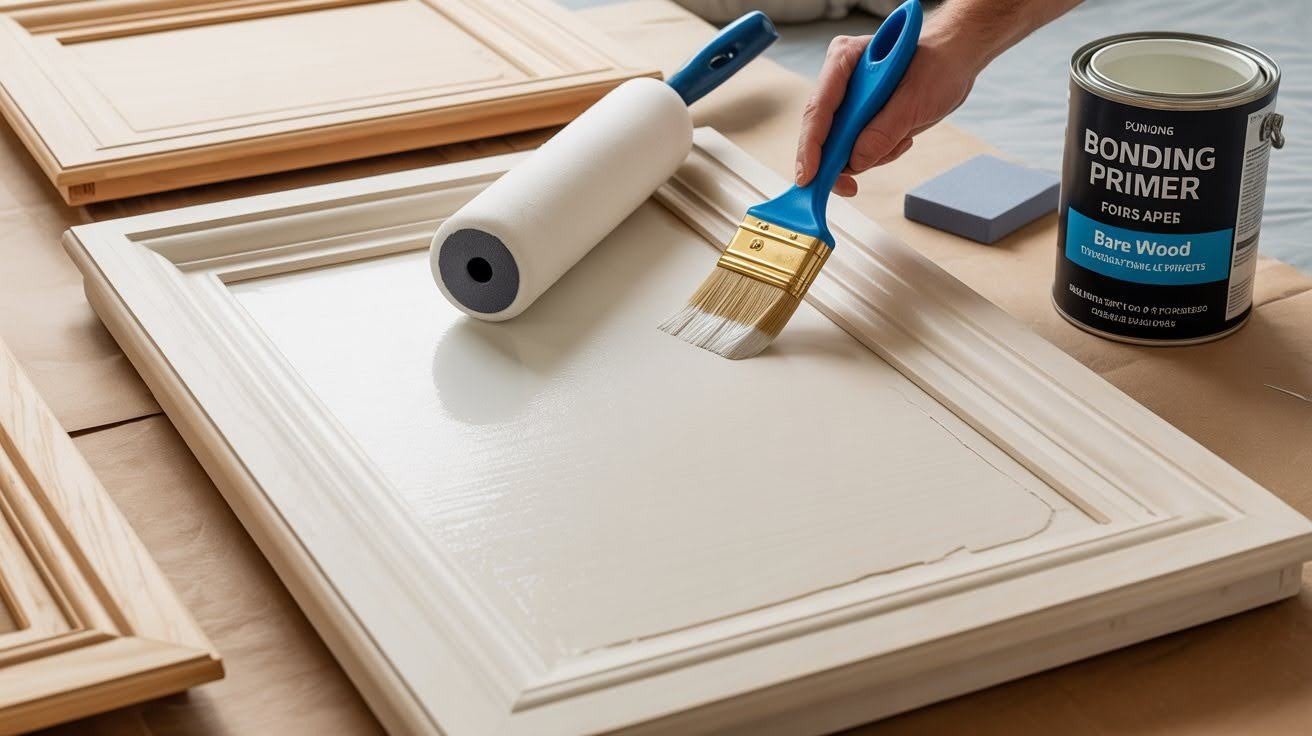
Select a bonding primer specifically designed for bare wood surfaces to ensure proper paint adhesion and prevent bleed-through of wood tannins.
Consider tinting your primer to match your final paint color, especially when using darker shades, as this reduces the number of topcoats needed for complete coverage.
Use a high-quality brush to carefully prime edges, corners, and detailed areas for complete coverage in hard-to-reach spots.
Apply primer to flat surfaces with a foam roller for smooth, even application that minimizes brush marks.
Allow each coat to dry completely and lightly sand between coats if recommended by the manufacturer for optimal smoothness.
Step 4: Paint the Cabinets
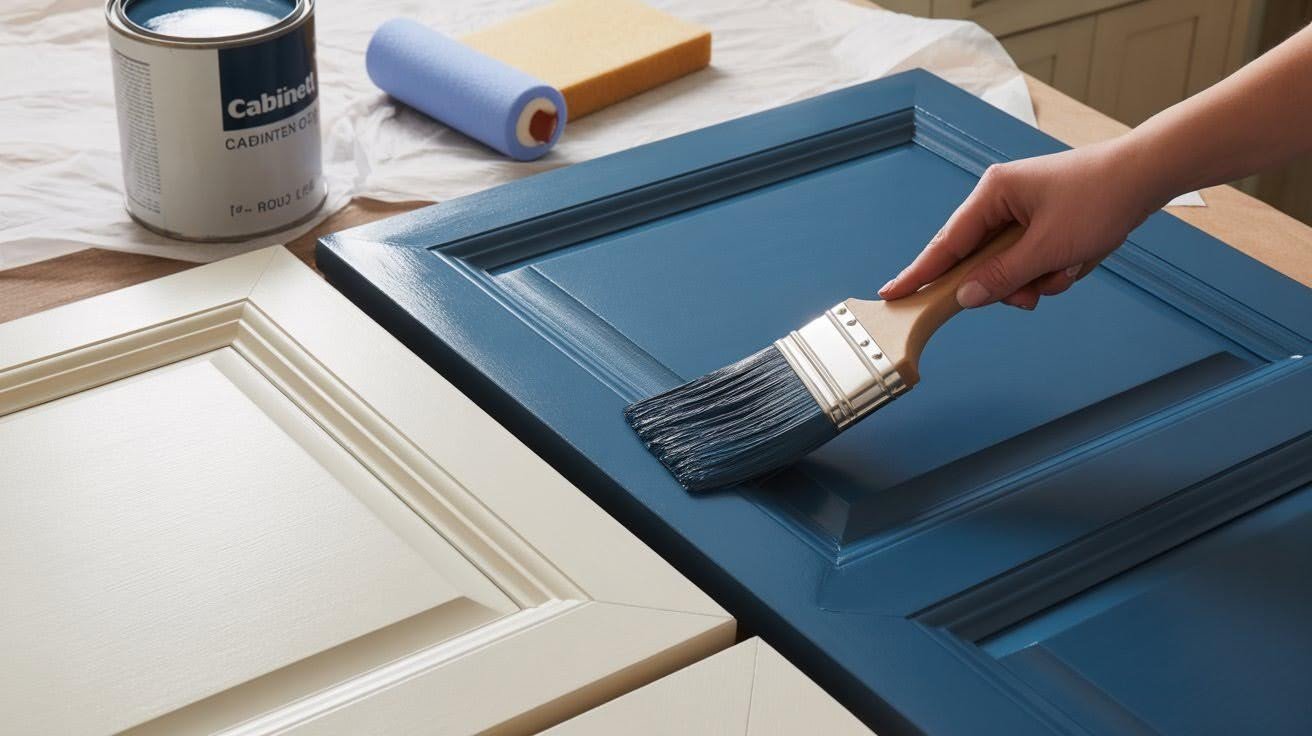
Choose latex, enamel, or acrylic-alkyd hybrid paint formulated specifically for cabinet use, as these offer superior durability and adhesion.
Select semi-gloss or satin finishes for durability and easy cleaning in kitchen and bathroom environments where cabinets face moisture and frequent use.
Use a high-quality brush for edges, corners, and detailed areas to ensure complete coverage in areas where rollers cannot reach effectively.
Roll large flat surfaces with a foam roller to achieve smooth, professional-looking results without visible brush marks.
Apply two to three thin coats rather than one thick coat, sanding lightly between applications to remove any imperfections and ensure a smooth final finish.
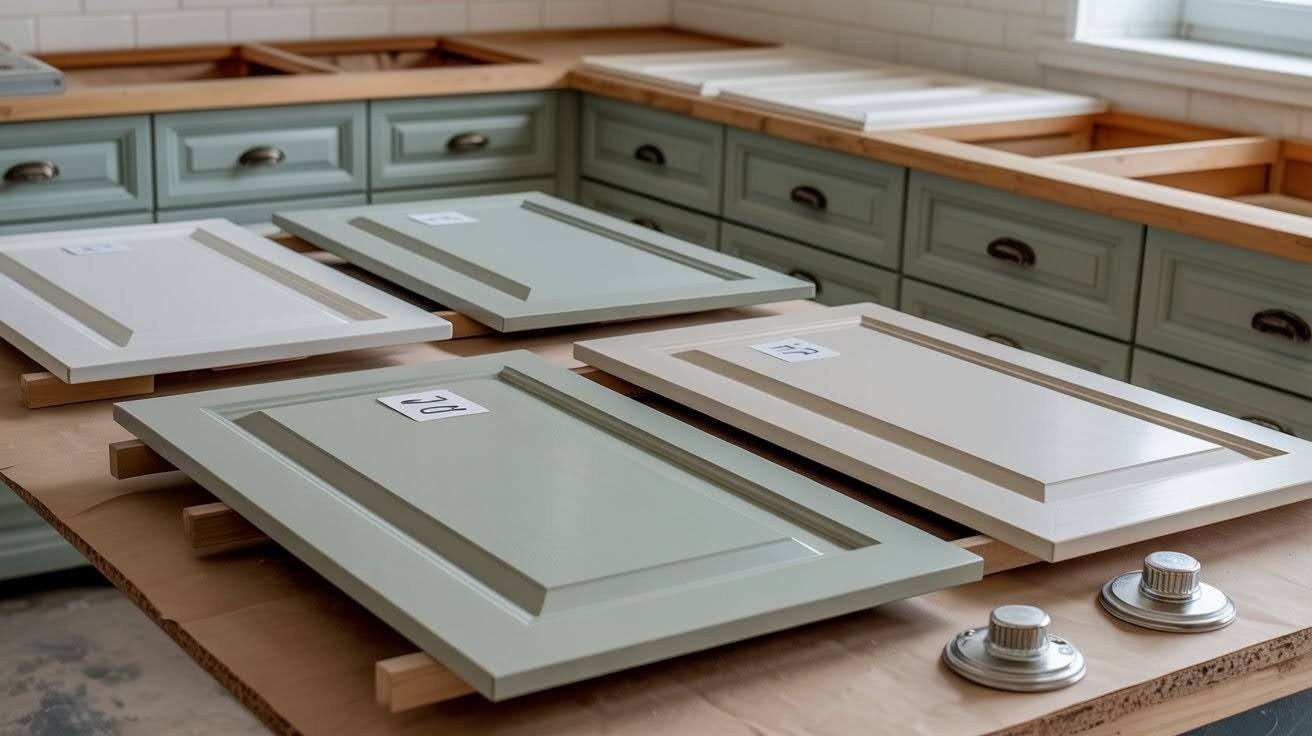
Step 5: Let Paint Cure and Reassemble
Paint will be touch dry within one to two hours but avoid heavy contact during this initial drying period.
Allow twenty-four to forty-eight hours before light use of cabinet doors and drawers to prevent damage to the fresh paint surface.
Full curing takes twenty-one to thirty days for maximum durability and scratch resistance, so handle with care during this extended period.
Match your numbered labels to reinstall doors in their correct positions for proper alignment and smooth operation.
Take time to ensure doors hang straight and close properly before moving to the next door.
Install new hardware or polish existing pieces before reattaching to complete your cabinet transformation and achieve a professional-looking result.
Common Mistakes to Avoid
- Skipping primer leads to poor paint adhesion, uneven coverage, and potential bleed-through from wood tannins
- Without primer, paint may peel, chip, or appear blotchy regardless of quality
- Always use bonding primer designed for bare wood surfaces
- Applying thick coats creates drips, sags, brush marks, and extended drying times
- Thick applications prevent proper curing and ruin the final finish
- Use multiple thin coats for better coverage and smoother results
- Not sanding between coats prevents achieving a smooth, professional finish
- Light sanding removes imperfections and creates better adhesion for subsequent coats
- This step eliminates dust particles and raised grain for flawless appearance
- Using wrong paint type results in poor adhesion, inadequate durability, and premature wear
- Different materials require specific paint formulations for optimal performance
- Choose products designed specifically for cabinet applications in moisture-prone areas
Conclusion
Painting unfinished cabinets takes a bit of patience, but the results are well worth the time and effort invested in this rewarding project.
The key to success lies in following proper preparation techniques, investing in quality materials, and taking careful steps throughout each phase of the process.
When done correctly, this DIY approach can save you thousands of dollars compared to purchasing pre-finished cabinets or hiring professional painters.
With the right primer, paint, and application methods, you can achieve a durable, beautiful finish that rivals expensive custom cabinetry.
The satisfaction of completing this project yourself, combined with the dramatic visual improvement to your space, makes painting unfinished cabinets an excellent choice for any home renovation budget.
Frequently Asked Question
What type of paint works best for unfinished cabinets?
Use latex, enamel, or acrylic-alkyd hybrid paints specifically formulated for cabinet applications. Choose semi-gloss or satin finishes for durability and easy cleaning in kitchen and bathroom environments.
Do I really need to use primer on unfinished wood cabinets?
Yes, primer is essential for proper paint adhesion and preventing wood tannins from bleeding through your topcoat. Bonding primer designed for bare wood creates the foundation needed for a long-lasting, professional finish.
How long should I wait between coats when painting cabinets?
Allow each coat to dry completely according to manufacturer instructions, typically 2-4 hours between applications. Light sanding between coats helps achieve a smooth finish and better adhesion for subsequent layers.
Can I paint cabinet doors while they’re still attached?
It’s better to remove doors for easier access and better results, though you can paint them attached if necessary. Removing doors allows you to paint all surfaces evenly and prevents drips from affecting door operation.
How long before I can use my newly painted cabinets?
Paint will be touch dry in 1-2 hours, but wait 24-48 hours before light use. Full curing takes 21-30 days for maximum durability, so handle doors and drawers gently during this period.