Ever pulled into a parking lot and felt confused? Couldn’t find a spot? Or worse – scraped your car door on another vehicle?
Poor parking lot striping is the culprit. You need a proper parking lot striping layout. One that maximizes space while keeping people safe.
Here’s what you’ll learn:
- 11 essential layout elements
- Common mistakes that cost money
- How to stay code compliant
- Whether to DIY or hire pros
I’ve helped dozens of property owners fix their parking problems. Over 15 years in the business. I know what works and what doesn’t.
Your goal is simple: Create a layout that handles traffic smoothly. Keeps customers happy. Meets all legal requirements.
I’ll solve your parking layout problems step by step. No confusing jargon. Just practical advice you can use today.
Let’s get started.
What is a Parking Lot Striping Layout?
A parking lot striping layout is your roadmap. It shows where every line, symbol, and marking goes on your pavement.
Think of it as the blueprint for your parking area. It’s not just about drawing lines. You’re designing traffic flow. Creating safety zones. Maximizing space while following strict regulations.
Your layout determines:
- How many cars fit
- How easily people can park
- Whether you meet legal requirements
- How safe pedestrians feel
Get it wrong? You’ll face frustrated customers, legal issues, and wasted space.
Get it right? You’ll see smoother traffic flow and happier visitors.
11 Essential Elements of a Parking Lot Striping Layout
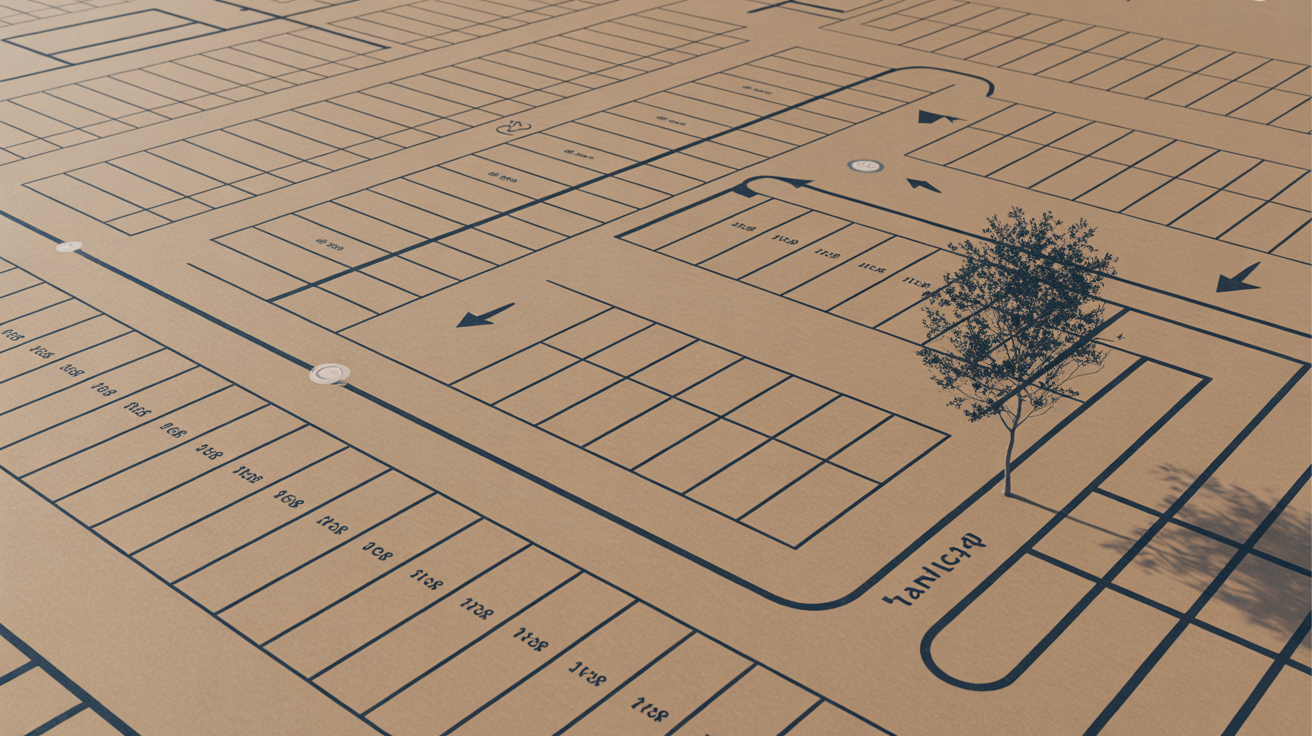
1. Planning the Traffic Flow

Traffic flow comes first. Everything else builds on this foundation.
Start with these questions:
- Where do cars enter?
- Where do they exit?
- How will they move through your lot?
I always map the main traffic arteries before placing a single parking space. You want smooth, logical movement patterns.
People should never have to back up into traffic. Design your layout so cars can pull forward into spots or aisles.
Consider peak hours too. Will your layout handle heavy traffic? Or will cars stack up at bottlenecks?
2. Understanding Local Zoning & Compliance Codes
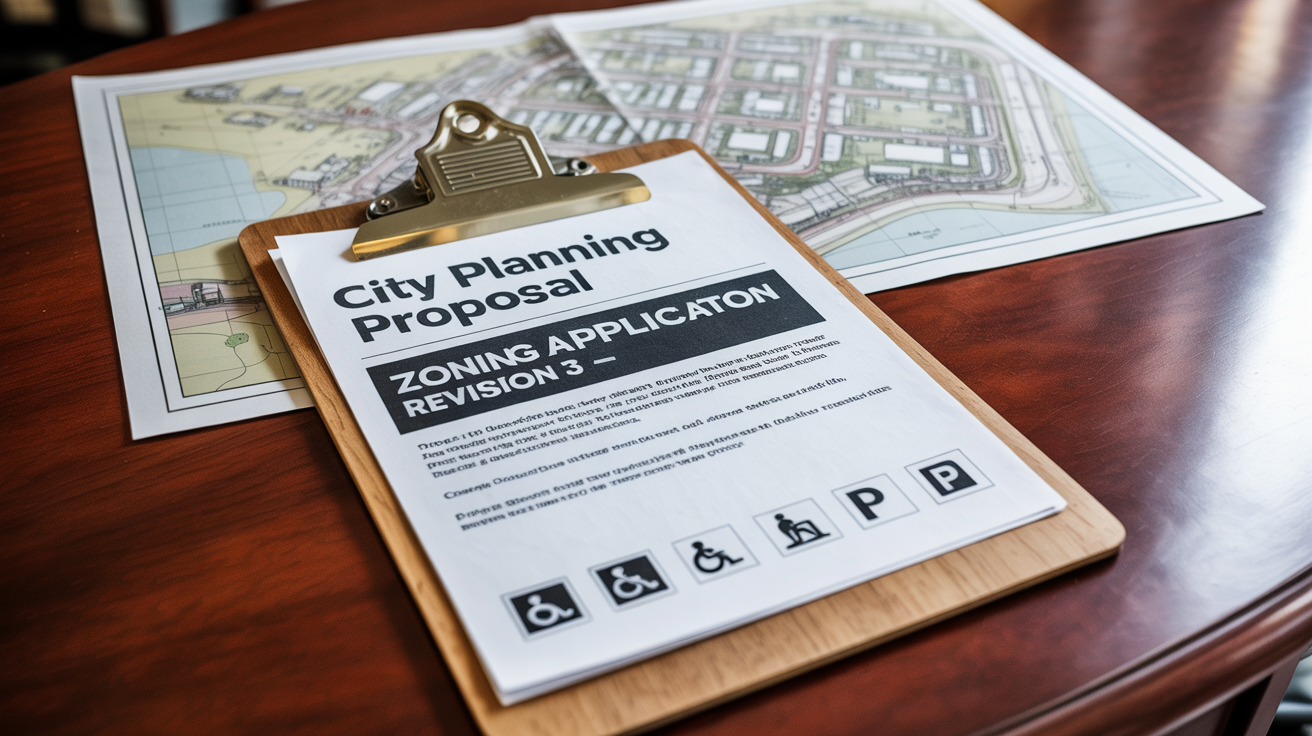
Every city has different rules. Ignore them at your own risk.
Common requirements include:
- Minimum space dimensions
- Required number of handicap spots
- Fire lane specifications
- Landscaping ratios
I’ve seen businesses forced to re-stripe entire lots because they skipped this step. It’s expensive and embarrassing.
Call your local planning department before you start. Get the requirements in writing.
Some areas require permits for striping work. Others have specific paint color requirements. Better to know upfront than face fines later.
3. Determining Parking Stall Dimensions
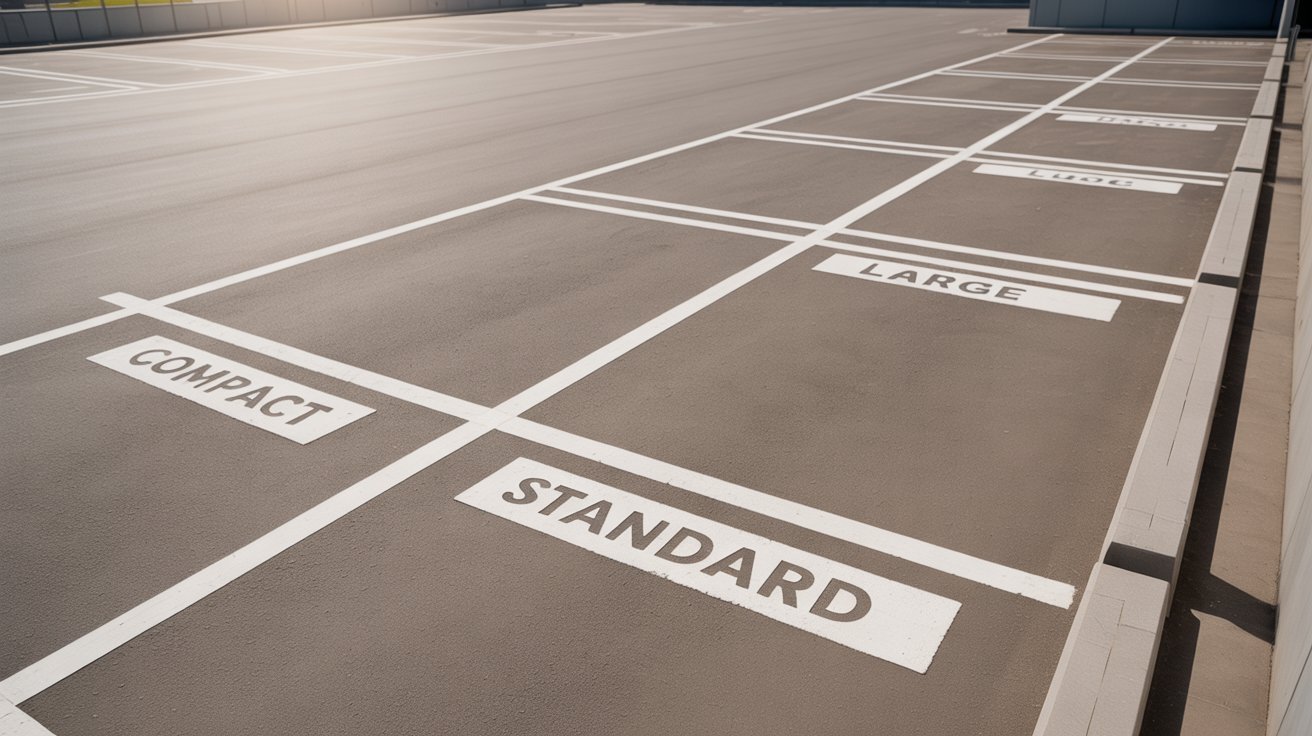
Standard parking spaces aren’t actually standard everywhere.
Typical dimensions:
- Compact cars: 7.5′ x 15′
- Standard cars: 9′ x 18′
- Large vehicles: 9′ x 20′
But your local codes might differ.
Consider your customers too. A medical office needs wider spaces for elderly visitors. A shopping center might want more compact spaces to fit more cars.
I recommend 9′ x 18′ for most commercial lots. It’s a good balance between space efficiency and customer comfort.
Don’t forget the end spaces. They often need extra width for door clearance.
4. Choosing the Right Striping Angle

The angle of your parking spaces affects everything.
Your three main options:
90-degree (perpendicular): Maximum capacity but harder to navigate 60-degree: Good balance of capacity and ease 45-degree: Easiest to park but uses more space
I prefer 60-degree angles for most lots. They offer good space efficiency while staying easy to use.
Small lots with light traffic work well with 90-degree spaces.
Remember: angled spaces need wider aisles. Factor this into your capacity calculations.
5. ADA Compliance and Handicap Spaces
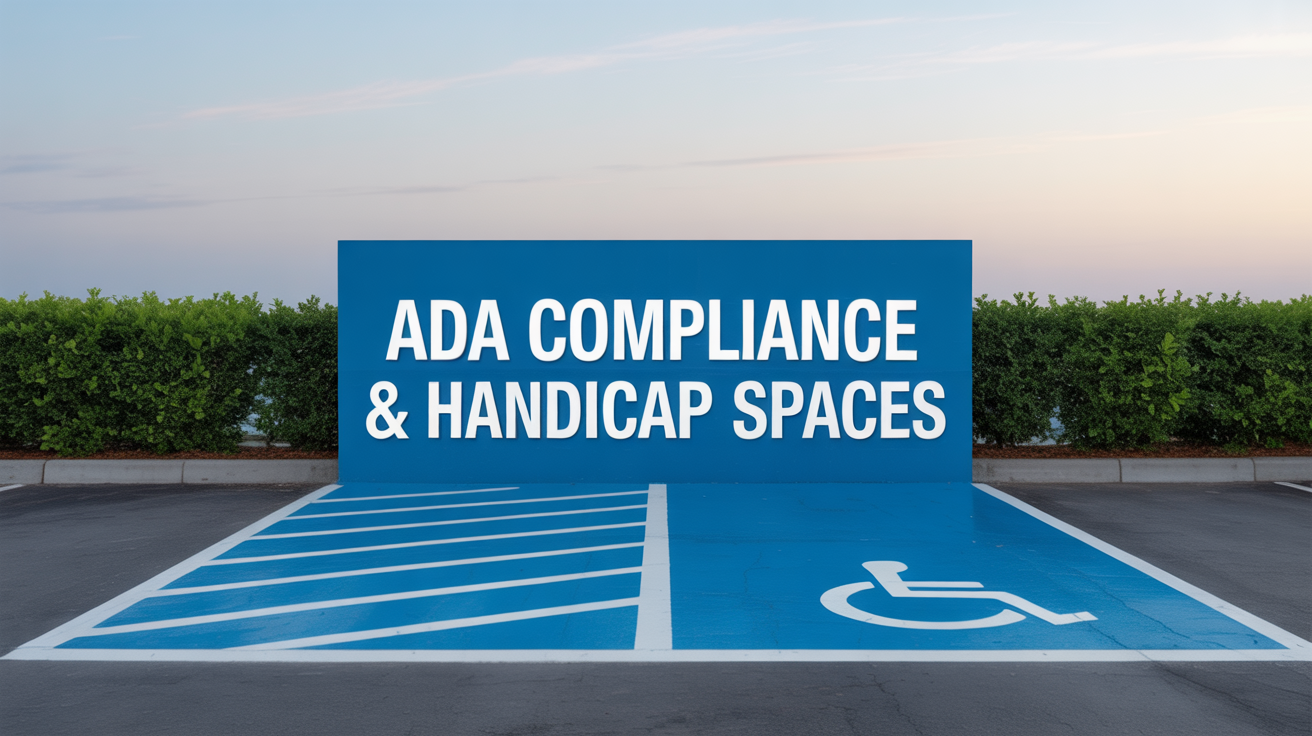
This isn’t optional. ADA compliance is federal law.
You need accessible spaces based on your total parking count:
- 1-25 spaces: 1 accessible space required
- 26-50 spaces: 2 accessible spaces required
- 51-75 spaces: 3 accessible spaces required
Requirements include:
- 8′ wide space plus 5′ access aisle
- Van accessible space: 8′ wide plus 8′ access aisle
- Maximum 2% slope
- Closest location to main entrance
I always exceed minimum requirements. It shows you care about all customers. Placing handicap spaces too far from entrances is a common mistake. Keep them within 200 feet of accessible building entrances.
6. Incorporating Fire Lanes and No-Parking Zones
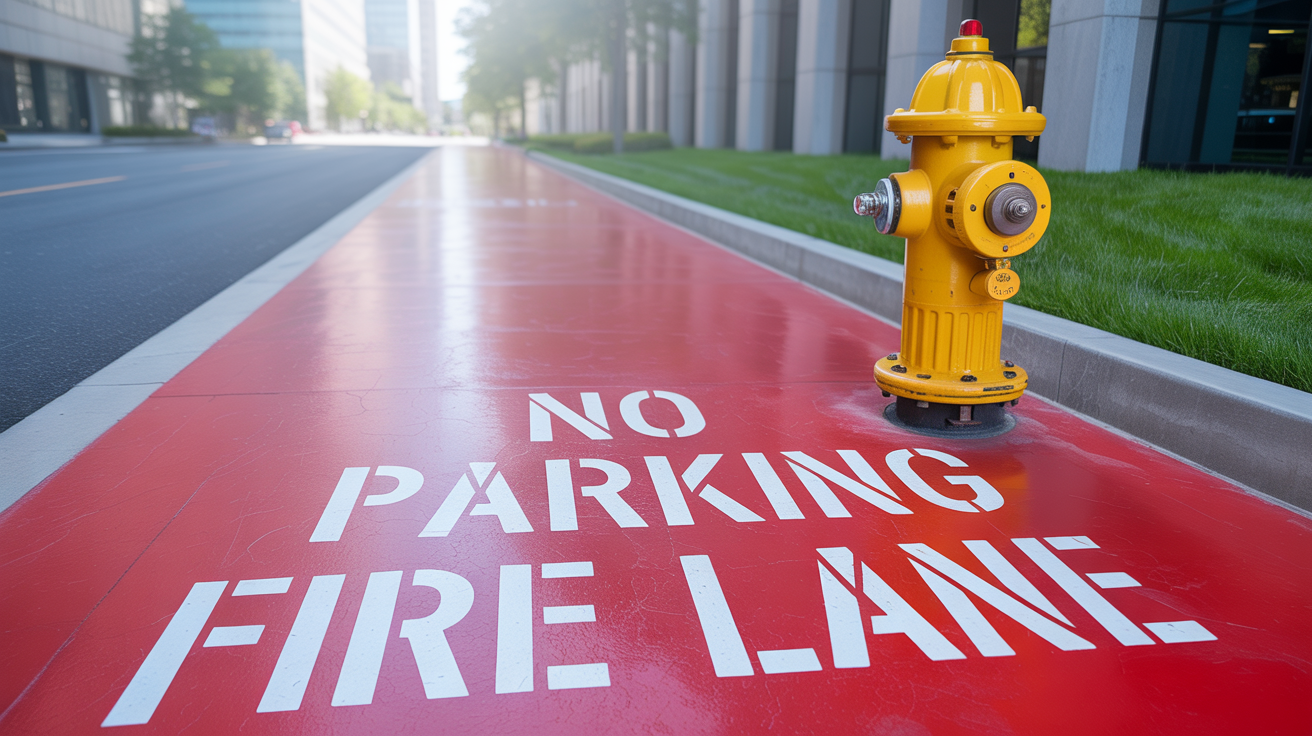
Fire lanes save lives. They’re not suggestions.
Fire departments need clear access to buildings. This means:
- Minimum 20′ width for fire lanes
- No parking within 15′ of fire hydrants
- Clear access to fire department connections
I mark fire lanes with red paint and “NO PARKING FIRE LANE” stencils every 25 feet. Don’t forget loading zones. Delivery trucks need space too. Plan for this or they’ll block fire lanes.
7. Using High-Visibility Paints and Materials
Your striping needs to last and be seen.
Paint options:
- Water-based: Cheaper but fades quickly
- Solvent-based: Longer lasting, better for high traffic
- Thermoplastic: Most durable but expensive
I recommend solvent-based paint for most commercial lots. It lasts 2-3 years with proper surface prep.
Color matters too:
- White: Standard for parking spaces
- Yellow: Traffic lanes and no-parking zones
- Blue: Handicap spaces
- Red: Fire lanes
Don’t skimp on paint quality. Cheap paint means frequent restriping.
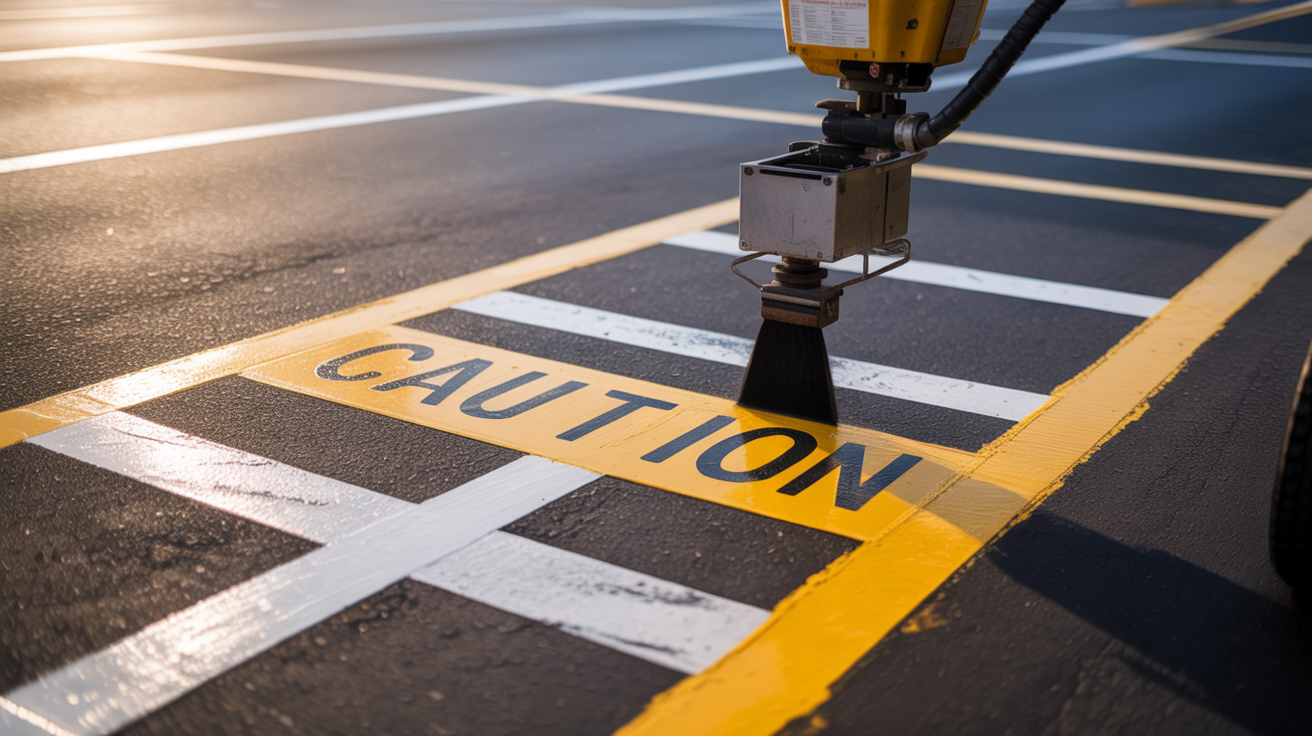
8. Labeling and Stenciling
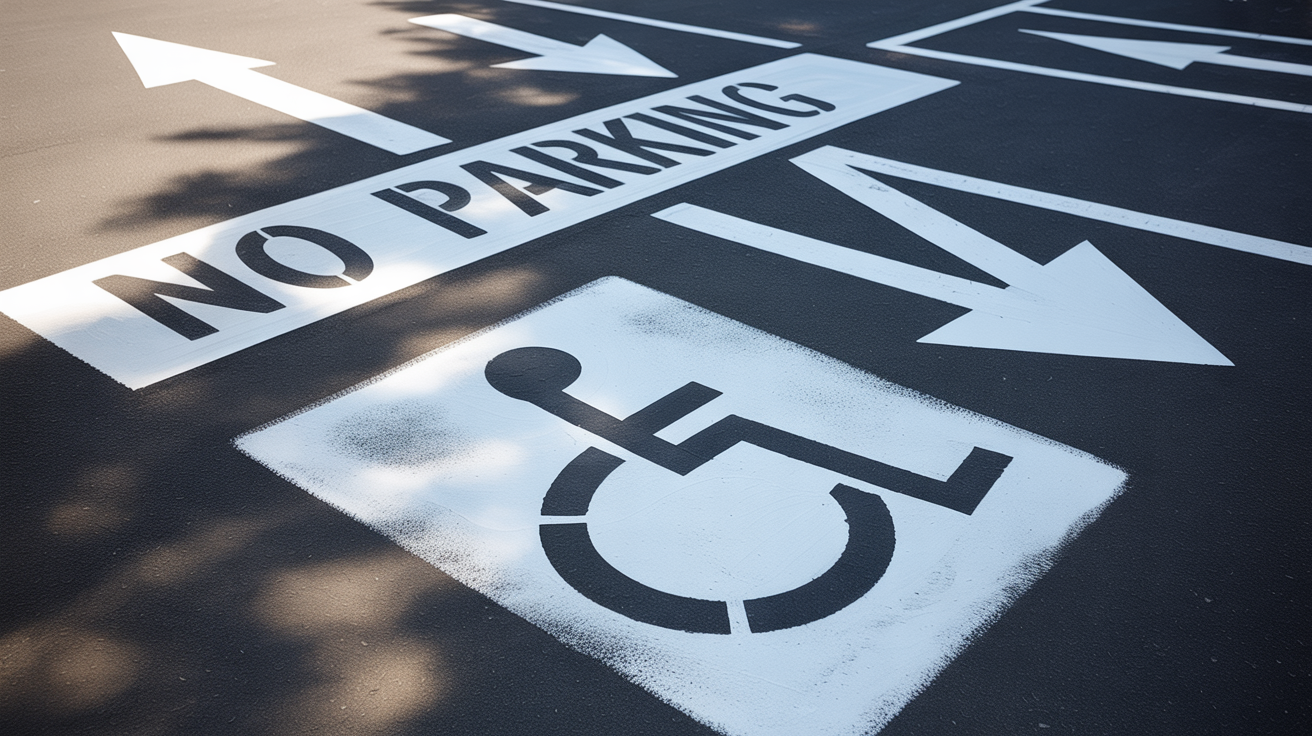
Clear markings prevent confusion.
Essential stencils:
- Handicap symbols
- “NO PARKING”
- “FIRE LANE”
- Directional arrows
- Speed limit signs
I use 6-inch letters for most text. They’re readable from a car but don’t waste space. Put stencils at the head of parking spaces. Drivers see them before committing to park.
Consider numbering spaces in large lots. It helps with organization and enforcement.
9. Drainage and Surface Considerations

Water is your enemy. Poor drainage creates puddles. Puddles hide your striping. Hidden striping causes accidents.
Before striping, check:
- Does water pool anywhere?
- Are there cracks that need repair?
- Is the surface clean and dry?
I never stripe over standing water or loose debris. The paint won’t stick and you’ll waste time and money. Surface repairs come first. Fill cracks, patch holes, and ensure proper drainage.
10. Striping for Pedestrian Safety

People walk through parking lots. Plan for their safety.
Key pedestrian features:
- Crosswalks at logical walking paths
- Clear sight lines at intersections
- Adequate lighting considerations
- Safe paths to building entrances
I mark crosswalks with white thermoplastic. It’s more visible and lasts longer than paint. Avoid creating blind spots. Tall vehicles shouldn’t block views of pedestrians.
11. Maintenance and Restriping Schedule
Your lot won’t stay perfect forever.
Plan for maintenance:
- Touch-ups: Every 6 months
- Partial restriping: Every 2-3 years
- Complete restriping: Every 5-7 years
Keep records of when work was done. It helps with budgeting and legal compliance.
Signs you need restriping:
- Lines are faded or hard to see
- Customers complain about confusing layout
- You’re getting parking violations
- Paint is peeling or cracking
Don’t wait until lines disappear. Proactive maintenance costs less than emergency restriping.
Common Mistakes to Avoid in Parking Lot Layout
- Ignoring local codes: Always check requirements first. Assumptions cost money.
- Making spaces too small: Tight spaces frustrate customers and cause door dings.
- Poor traffic flow planning: Backing into traffic creates accidents.
- Skipping handicap requirements: ADA violations bring serious penalties.
- Using cheap materials: Quality paint lasts longer and looks better.
- No maintenance plan: Faded lines look unprofessional and confuse drivers.
- Blocking fire access: Fire departments need clear paths. No exceptions.
Cost Breakdown & ROI
Typical striping costs:
- New lot: $0.50-$1.50 per linear foot
- Restriping: $0.30-$1.00 per linear foot
- Stenciling: $25-$50 per symbol
Factors affecting price:
- Lot size and complexity
- Paint quality chosen
- Surface preparation needed
- Local labor rates
Your ROI comes from:
- Maximized parking capacity
- Reduced liability insurance
- Better customer experience
- Avoided code violations
A well-striped lot pays for itself through increased efficiency and reduced problems.
DIY vs. Hiring a Professional
DIY might work if:
- You have a small, simple lot
- You own the right equipment
- Local codes are straightforward
- You have time for multiple coats
Hire professionals when:
- Your lot is large or complex
- ADA compliance is required
- You need permits
- Durability matters
I’ve seen too many DIY disasters. Uneven lines, wrong measurements, and code violations. Professional striping looks better and lasts longer.
Questions to ask contractors:
- Are you licensed and insured?
- What paint do you use?
- Do you guarantee your work?
- Can you provide local references?
Conclusion
A proper parking lot striping layout isn’t just about painting lines. It’s about creating a safe, efficient, and compliant space for your customers. Plan traffic flow first. Know your local codes inside and out.
Never skip ADA requirements no matter what. Use quality materials that last years, not months. Always plan for regular maintenance.
Good striping improves your business in measurable ways. It shows professionalism and demonstrates care for customer safety. Take action now.
Walk your current lot today. Does it meet these standards? If not, it’s time for an upgrade. Your customers will notice the difference immediately.
Your insurance company will appreciate the reduced liability too. The investment pays for itself through better customer experience and fewer problems down the road.
Frequently Asked Questions
How often should I restripe my parking lot?
Most parking lots need restriping every 2-3 years with quality paint. High-traffic areas may need touch-ups every 6-12 months to maintain visibility.
What’s the minimum width for a standard parking space?
Standard parking spaces should be at least 9 feet wide and 18 feet long. Compact spaces can be 7.5 feet wide, but most customers prefer the extra room.
Can I stripe my parking lot in winter?
Paint needs temperatures above 50°F to cure properly and dry conditions. Spring and fall offer the best weather conditions for long-lasting results.
How much does professional parking lot striping cost?
Professional striping typically costs $0.50-$1.50 per linear foot for new work. Restriping existing lots runs $0.30-$1.00 per linear foot depending on surface condition.
Do I need special permits for parking lot striping?
Many cities require permits for pavement marking work, especially for commercial properties. Check with your local planning department before starting any striping project.


