
I spent years decorating around a 1970s brick fireplace instead of dealing with it.
Dark orange brick, a chunky mantel, and a hearth that made the whole room feel stuck in another decade.
Then I finally did something about it. One weekend. Under $200. The room looked completely different.
A 70s brick fireplace makeover does not have to be expensive or complicated.
Some of the most jaw-dropping 70s brick fireplace makeover before and after results come from the simplest fixes, including a whitewash 70s brick fireplace makeover that takes a single afternoon.
What worked for me might genuinely surprise you.
Why 1970s Brick Fireplaces Feel Outdated Today

Most 1970s fireplaces share the same problems. Dark red or burnt orange brick, oversized hearths that eat up floor space, and full brick walls that dominate the room.
The mantels from that era are heavy and rustic in a way that clashes with how people decorate today. They draw attention for the wrong reasons.
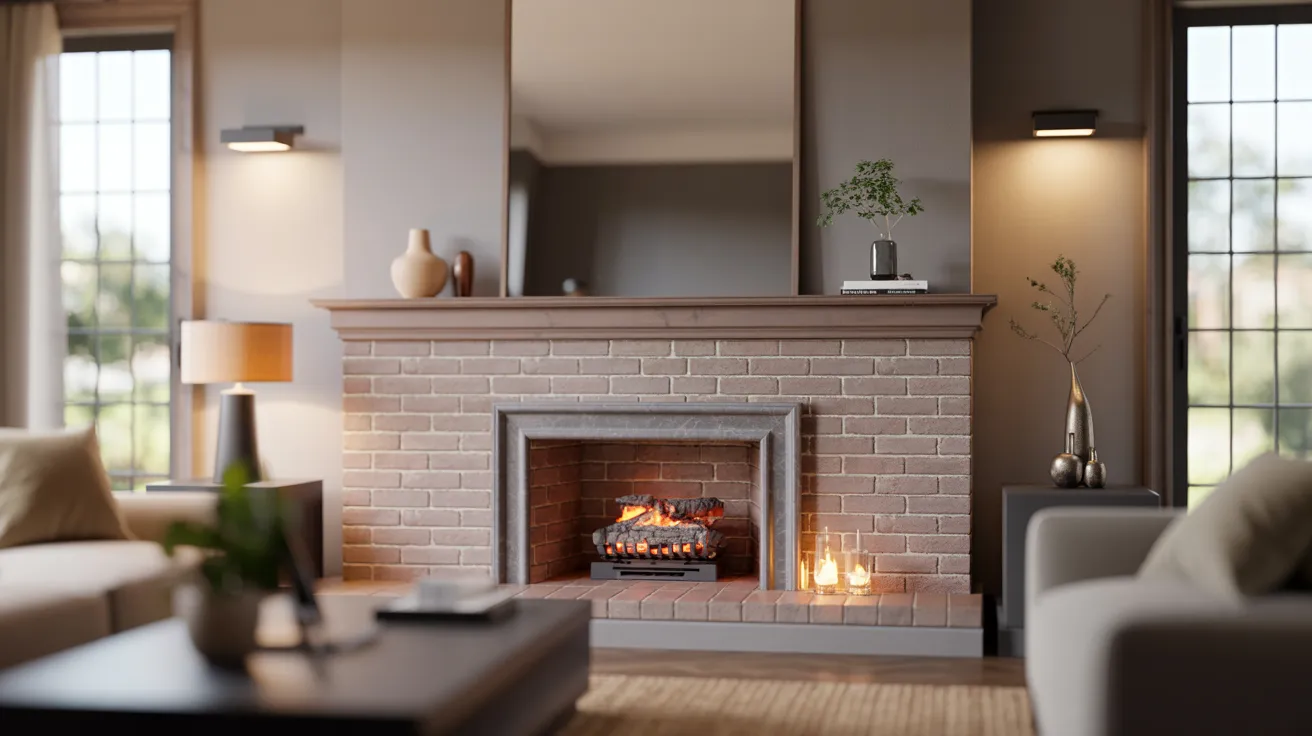
Modern fireplace design leans lighter and cleaner. Neutral tones, simple lines, and materials that do not compete with the rest of the room.
Removing the brick entirely is almost never necessary. Updating what is already there costs less and delivers better results than starting over.
7 Amazing 70s Brick Fireplace Makeover Before and After Ideas
These seven upgradations cover different styles, budgets, and skill levels. Whether you want a quick weekend project or a more involved redesign, there is something here that fits.
1. Classic White Painted Brick

Before, the fireplace is a wall of dark red brick pulling all the light out of the room. After a coat of white masonry paint, the entire space opens up immediately.
This is the most popular 70s brick fireplace makeover for a reason. It is affordable, beginner-friendly, and works with almost any interior style.
Clean the brick, apply a bonding primer, then use two coats of white or warm white interior latex paint. The before and after contrast is dramatic for the effort involved.
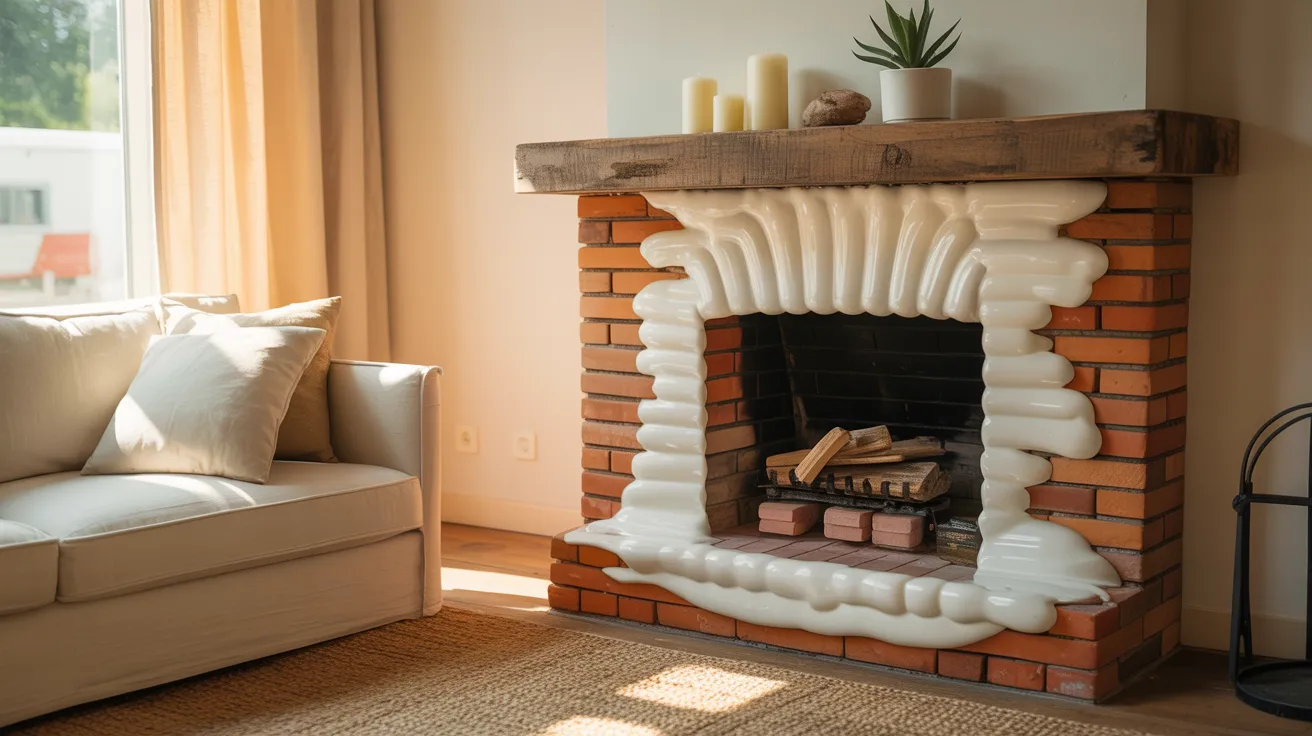
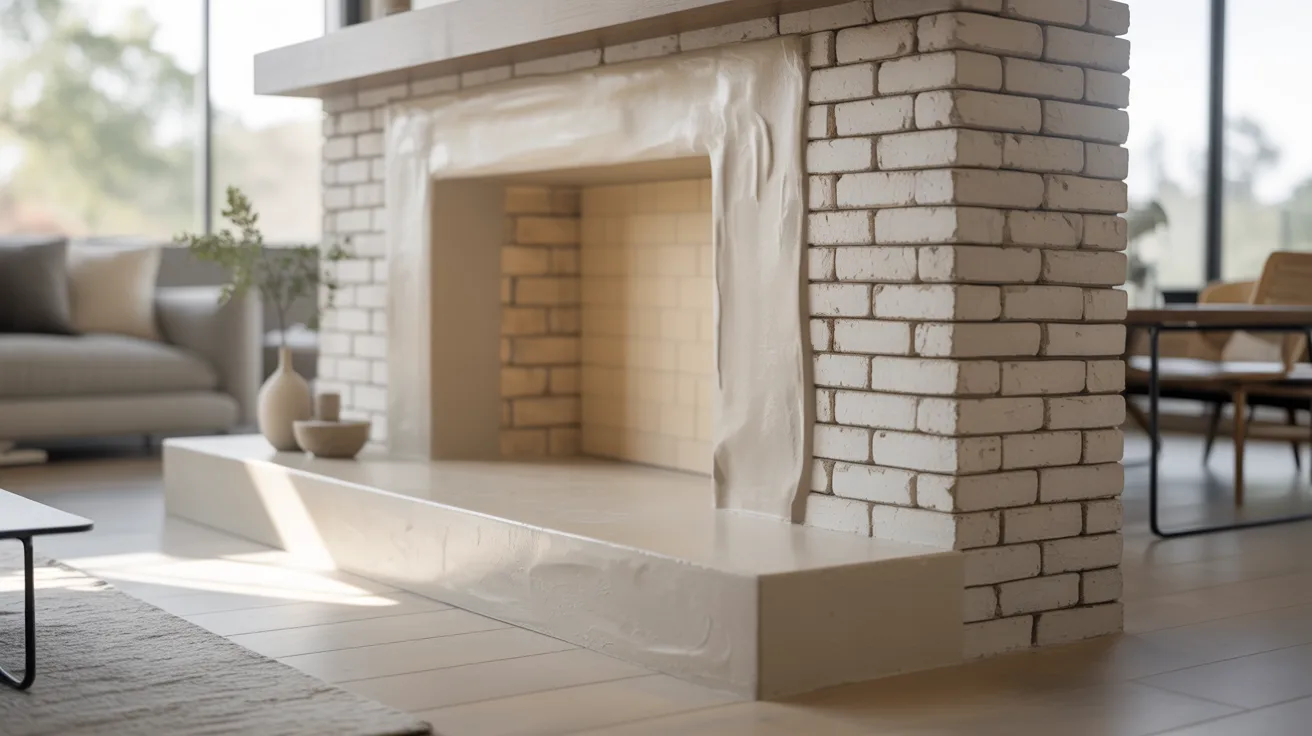
2. Whitewash Brick for a Soft Modern Look

A whitewash 70s brick fireplace makeover lightens the brick without hiding its texture completely. The natural surface stays visible beneath the wash, just toned down significantly.
Mix white paint with water at roughly a 50/50 ratio and brush it onto clean, damp brick. Work in sections and wipe back as you go to control coverage.
It suits rustic-modern homes especially well and forgives imperfect application, making it one of the more relaxed DIY options on this list.
3. German Schmear Brick Makeover
German schmear uses a thick mortar mixture spread unevenly across the brick. Some areas get full coverage, others stay partially exposed. The result has a layered, European cottage quality.
It is a great fix for fireplaces with harsh orange tones. The mortar finish neutralizes the color entirely without any painting required.
Work in small sections, apply the mortar, then scrape and shape it before it dries. No special skills needed, just some patience.
4. Minimalist Plaster or Limewash Finish
Skim coating brick with plaster creates a completely smooth surface. The bulky fireplace becomes a clean architectural feature that reads as intentionally modern.
Limewash soaks into the brick rather than sitting on top, creating a chalky, aged finish that looks high-end without the high cost.
Both options work well in contemporary homes where simplicity is the goal. They photograph well and pair easily with almost any furniture style.
5. Wood Mantel Upgrade

The original 1970s mantel is usually the first thing people notice for the wrong reasons. Heavy, dark, and oversized, it dates the whole room on its own.
Replacing it with a floating wood beam mantel is one of the highest-impact swaps you can make. The before and after difference is immediate.
A rough-hewn beam adds warmth without bulk. A clean painted shelf suits more modern interiors. Either way, the swap takes a few hours and costs far less than most people expect.
6. Black Painted Brick Fireplace Makeover
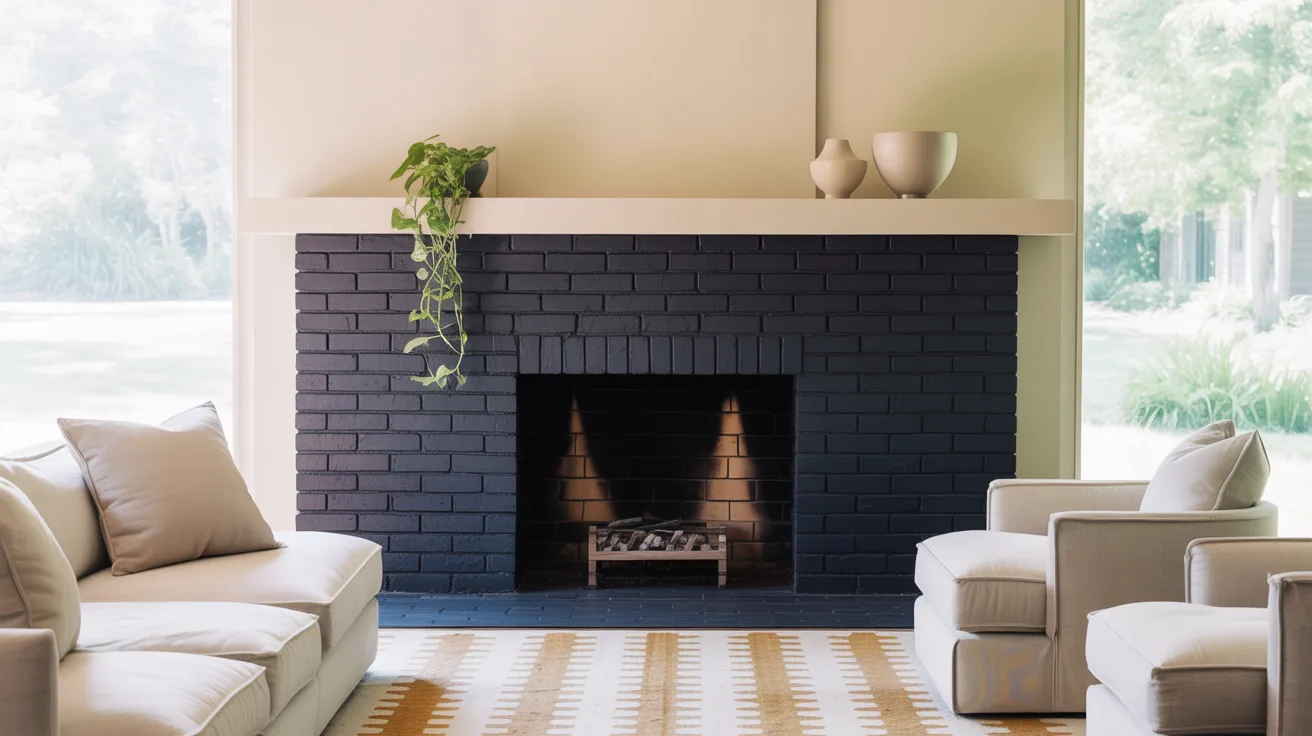
Matte black removes the dated color entirely and replaces it with something bold and current. In the right room, it is one of the sharpest finishes on this list.
It works best in contemporary living rooms with neutral walls and light furniture. The contrast is strong and intentional.
Use a flat or matte finish rather than gloss. High-sheen black on brick highlights imperfections rather than smoothing them out.
7. Floor-to-Ceiling Feature Wall Makeover
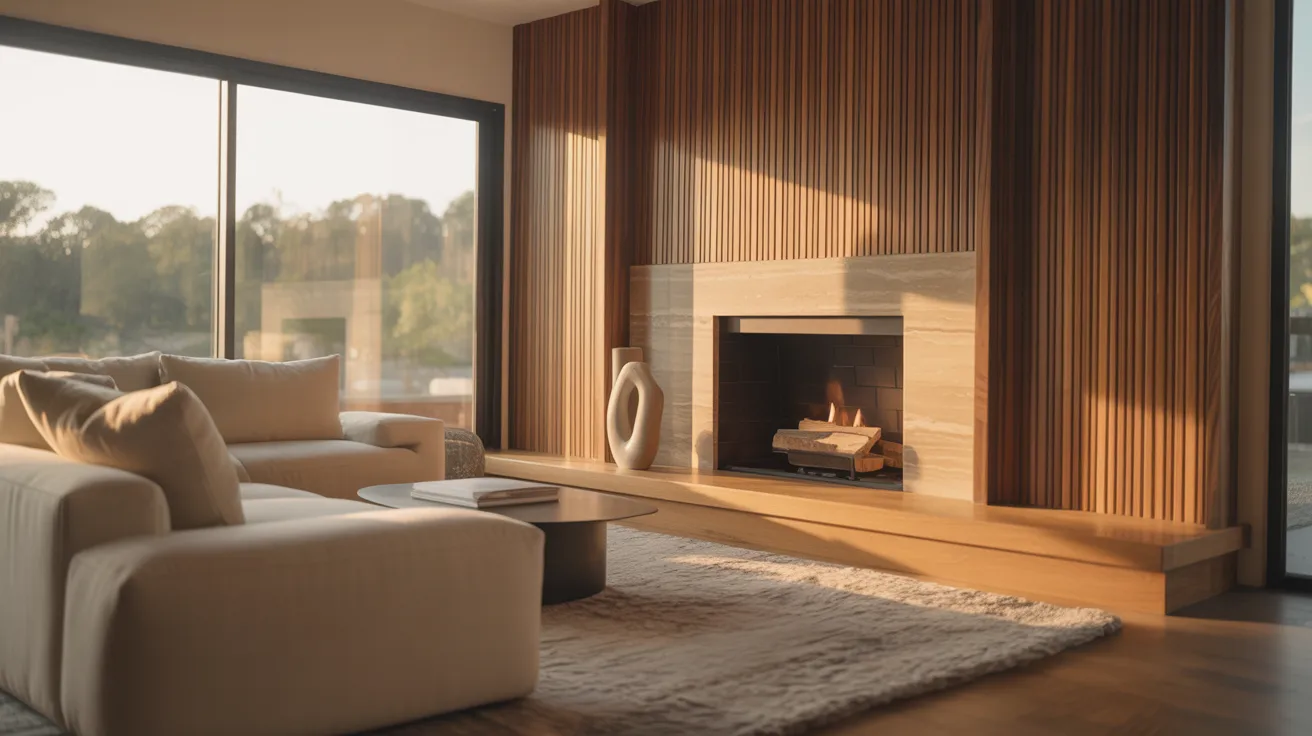
Adding shiplap, large-format tile, or modern wood paneling above and around the firebox turns the entire dated wall into a proper design statement.
The fireplace stops looking like a leftover from another decade and starts looking like a deliberate focal point.
This option takes more time and budget than paint, but the before and after result is the most dramatic on this list. Carry the same material from floor to ceiling for the most cohesive finish.
Step-by-Step DIY 70s Brick Fireplace Makeover

Most of these transformations follow the same basic process. Rushing the prep is where most DIY fireplace projects go wrong, so take your time with each step.
- Clean the brick thoroughly. Use a stiff brush and brick cleaner to remove dust, soot, and grease. Let it dry completely.
- Repair damaged mortar. Fill cracks or crumbling joints and let the mortar cure before applying any finish.
- Apply a bonding primer. This step is non-negotiable for paint and whitewash projects. It ensures proper adhesion.
- Work in small sections. Better control, more even results across the whole surface.
- Use the right tools. A thick-nap roller covers textured brick more evenly. Use a brush for joints and edges.
- Apply two coats. One coat rarely gives even coverage on brick. Let the first dry fully before adding the second.
- Seal the finished surface. A clear masonry sealer protects the finish from heat, moisture, and daily wear.
Finish by styling the mantel and hearth to match the new look. Fresh decor does a lot of work here and costs very little.
Cost of a 70s Brick Fireplace Makeover
The price range is wide, which is part of what makes a 70s brick fireplace makeover so appealing. You can see a real transformation without spending much at all.
| Makeover Type | Estimated Cost |
|---|---|
| DIY painted fireplace | $50 to $200 |
| Whitewash or limewash finish | $80 to $300 |
| Mantel upgrade | $150 to $600 |
| Professional brick refacing | $1,500 to $5,000 |
Most of the results that look the most expensive actually sit in the lower half of this range.
Paint, whitewash, and a new mantel shelf consistently deliver dramatic changes for under $300 combined.
Design Tips to Make Your Fireplace Look Modern
Getting the makeover right is one part of the process. Styling it well afterward is what pulls the whole room together.
- Keep mantel styling simple. Two or three well-chosen objects look better than a crowded shelf.
- Match the finish to your wall color. A finish that connects to surrounding walls looks more intentional than sharp contrast alone.
- Update the hearth. Painting or retiling in a neutral tone removes the last traces of the 1970s look.
- Use vertical elements above the mantel. A tall mirror or large artwork draws the eye upward and improves proportion.
- Add the right lighting. A sconce on each side or a lamp on the mantel adds warmth and highlights the new finish after dark.
- Update the firebox trim. A simple black metal insert modernizes the opening without any major work.
Small styling decisions make a bigger difference than most people expect.
Mistakes to Avoid During a Brick Fireplace Makeover
These are the most common errors in DIY brick fireplace projects. Most are easy to avoid once you know what to watch for.
- Skipping the primer. Paint applied directly to unprepared brick peels within months. Always prime first.
- Using standard paint near the firebox. High-heat areas need heat-resistant paint specifically made for that purpose.
- Rushing drying time. Applying a second coat too early causes streaks and uneven coverage.
- Painting over dirty brick. Any residue left on the surface prevents proper adhesion. Clean thoroughly and wait until fully dry.
- Ignoring the mortar joints. Work the finish into the joints deliberately or the result will look patchy.
- Going too dark in a small room. Dark finishes reduce light. Check how much natural light the room gets before committing.
Taking an extra hour on prep saves you from redoing the whole thing months later.
Final Thoughts
Most people stare at their 1970s fireplace for years before doing anything about it. Then they spend a weekend on it and wonder why they waited so long.
That is the part I hear most often. The regret of not starting sooner.
So here is your nudge. Pick one idea, order the supplies, and start this weekend. You do not need a big budget or a contractor to get a result you are genuinely proud of.
Drop a comment below and tell me which transformation you are going for. And share this with someone who needs the push.
Frequently Asked Questions
Can you paint a 1970s brick fireplace?
Yes. With proper cleaning and a bonding primer, painting is one of the simplest ways to modernize old brick with no special tools required.
What is the best color for a brick fireplace makeover?
White, warm white, greige, and matte black are the most popular choices. The right pick depends on your wall color and the overall tone of the room.
Is whitewashing better than painting brick?
Whitewashing keeps the natural brick texture visible while lightening the color. Paint creates a more solid, uniform finish. The better option depends on the look you want.
How much does a 70s brick fireplace makeover cost?
DIY projects using paint or whitewash typically run under $200. Professional refacing can cost several thousand dollars depending on scope.
Does updating a brick fireplace increase home value?
Yes. A modernized fireplace improves living room appeal and tends to make a strong impression on potential buyers.


