I was two minutes away from putting a perfectly good dresser on the curb.
Scratched finish, peeling edges, hardware that belonged in a different decade. It looked done. Then a friend stopped me and said give it a weekend first.
That weekend changed how I look at old furniture entirely.
The dresser that was almost trash is now the piece everyone asks about when they walk into the room. Total spend was under $40.
A diy dresser makeover is easier than most people think. This guide covers the full process, plus some creative diy dresser makeover ideas that might genuinely surprise you.
What Is a DIY Dresser Makeover?
A DIY dresser makeover refreshes or completely redesigns an old dresser using paint, new hardware, wallpaper, or decorative finishes. The goal is to make tired furniture look current without replacing it.
Most people choose DIY over buying new because the cost difference is significant. A new dresser can run several hundred dollars. A makeover often costs under $60.
It is fully customizable too. You choose the color, finish, and hardware. No settling for whatever the store has in stock.
Creative diy dresser makeover ideas like chalk painting, two-tone finishes, or a diy dresser makeover with wallpaper on drawer fronts are all achievable with zero
prior furniture experience.
Tools and Materials Required for a DIY Dresser Makeover
Getting everything together before you start keeps the project moving without interruptions. Running out of sandpaper or primer halfway through is frustrating and avoidable.
Here is what you will need:
- Screwdriver for removing existing knobs and handles
- Sandpaper or electric sander to prep the surface
- Furniture primer suited to wood or laminate
- Paint in chalk, acrylic, or latex finish
- Paint brushes and foam rollers for smooth application
- Painter’s tape to protect edges and create clean lines
- Clean cloths or tack cloth for wiping dust after sanding
- Wood filler for dents, scratches, or old hardware holes
- Wallpaper or contact paper for decorative drawer accents
- New knobs or drawer pulls for the finishing touch
- Protective sealant such as polyurethane or furniture wax
Many diy dresser makeover ideas combine paint with wallpaper accents on drawer fronts or interior panels. Having both ready gives you more options as you go.
Step-by-Step DIY Dresser Makeover Guide
This process works for almost any dresser style, from solid wood antiques to flat-pack laminate.
Follow each step in order and the results will look far more professional than most people expect from a first attempt.
Step 1: Choose the Right Dresser
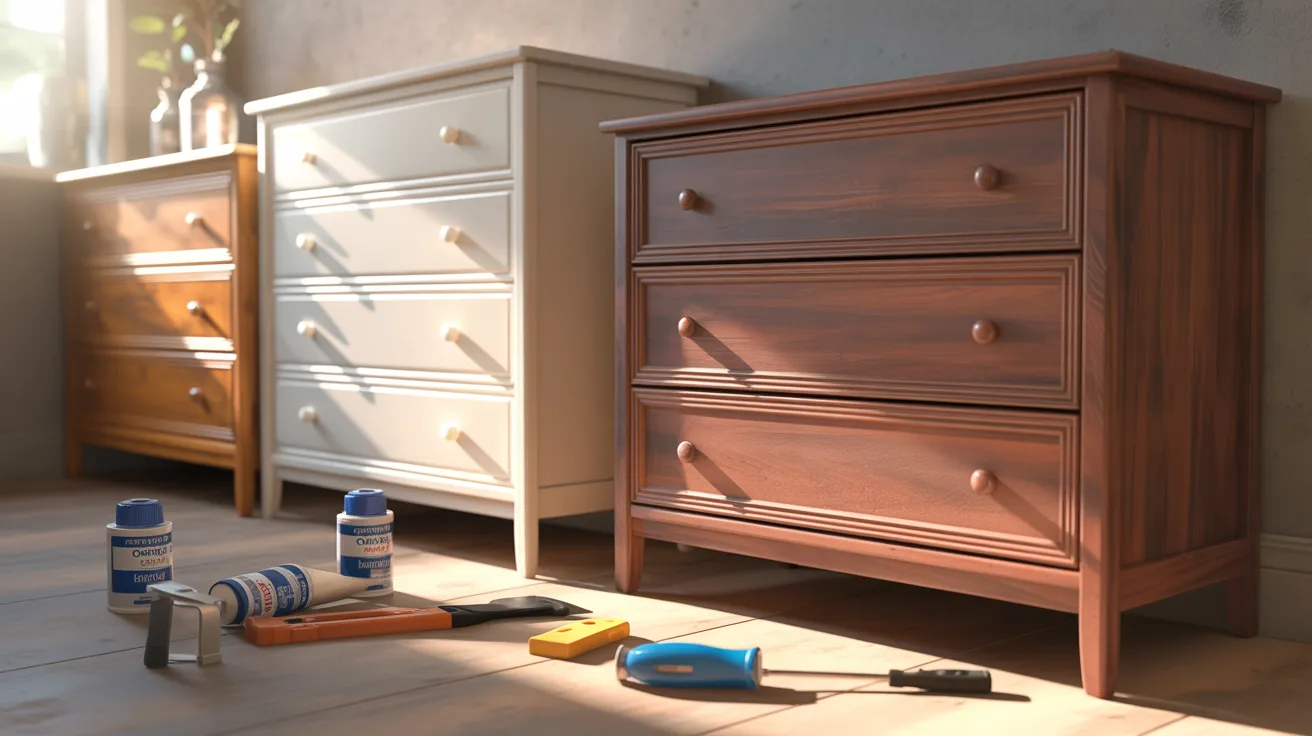
Solid wood dressers take paint and sanding better than laminate and are the easier starting point for a first diy dresser makeover.
Laminate pieces can still be painted but need a bonding primer and gentler sanding to avoid lifting the surface layer.
Check the structure before starting. Wobbly joints or broken drawer slides need fixing before any cosmetic work. Paint cannot hide structural problems.
Step 2: Gather Tools and Materials
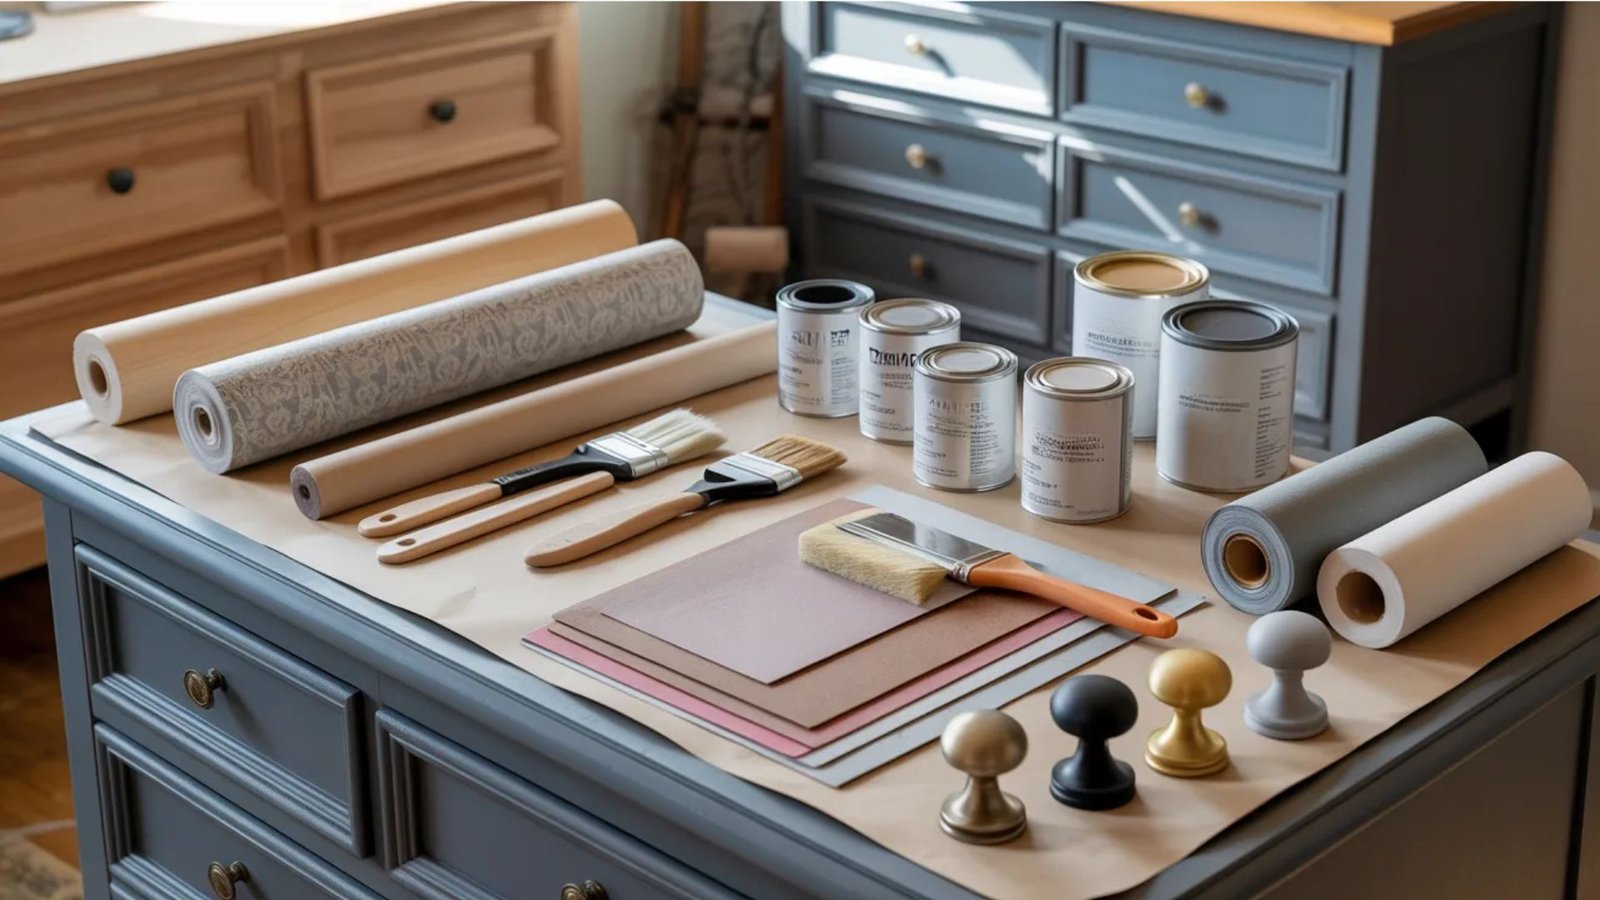
Before touching the dresser, have everything ready. Sandpaper in 120 and 220 grit, primer, paint, brushes, foam rollers, and any wallpaper if you plan to use it.
Choose new hardware at this stage too. Knowing the knob finish helps inform your paint color direction, especially with strong tones like brass or matte black.
Step 3: Remove Hardware and Clean the Surface
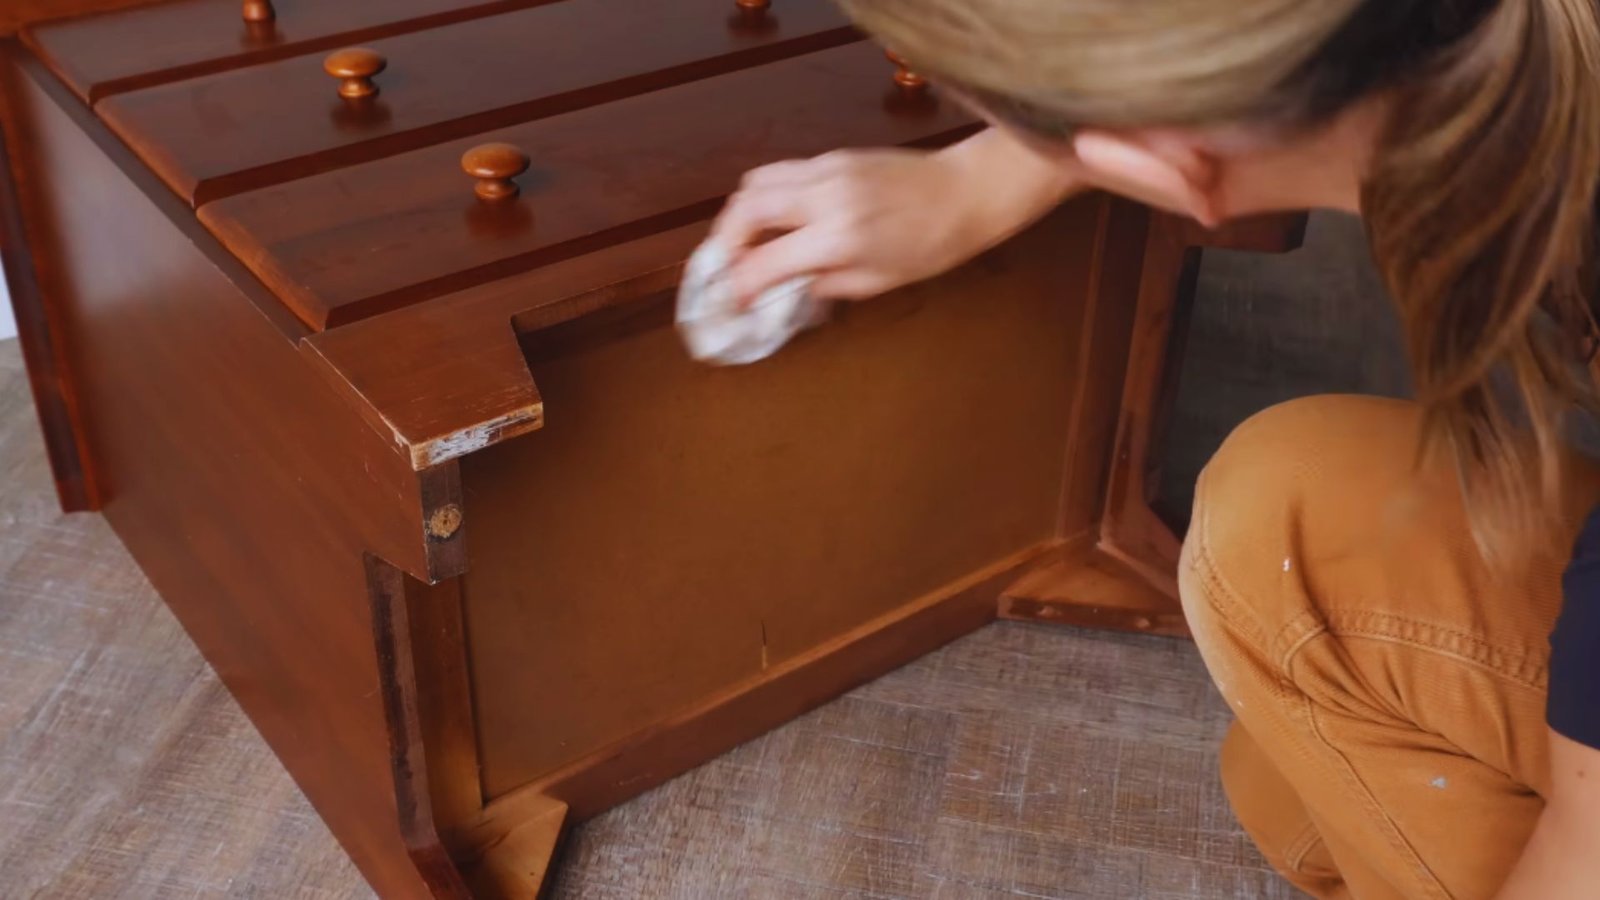
Take off all knobs, handles, and drawer pulls. Remove the drawers and set them aside to work on separately.
Wipe every surface with a degreasing cleaner or mild dish soap and warm water. Pay attention to the top and drawer fronts where oils build up most.
Skipping this step is the most common reason paint peels early. Primer and paint need a clean surface to bond properly.
Step 4: Sand the Dresser Properly
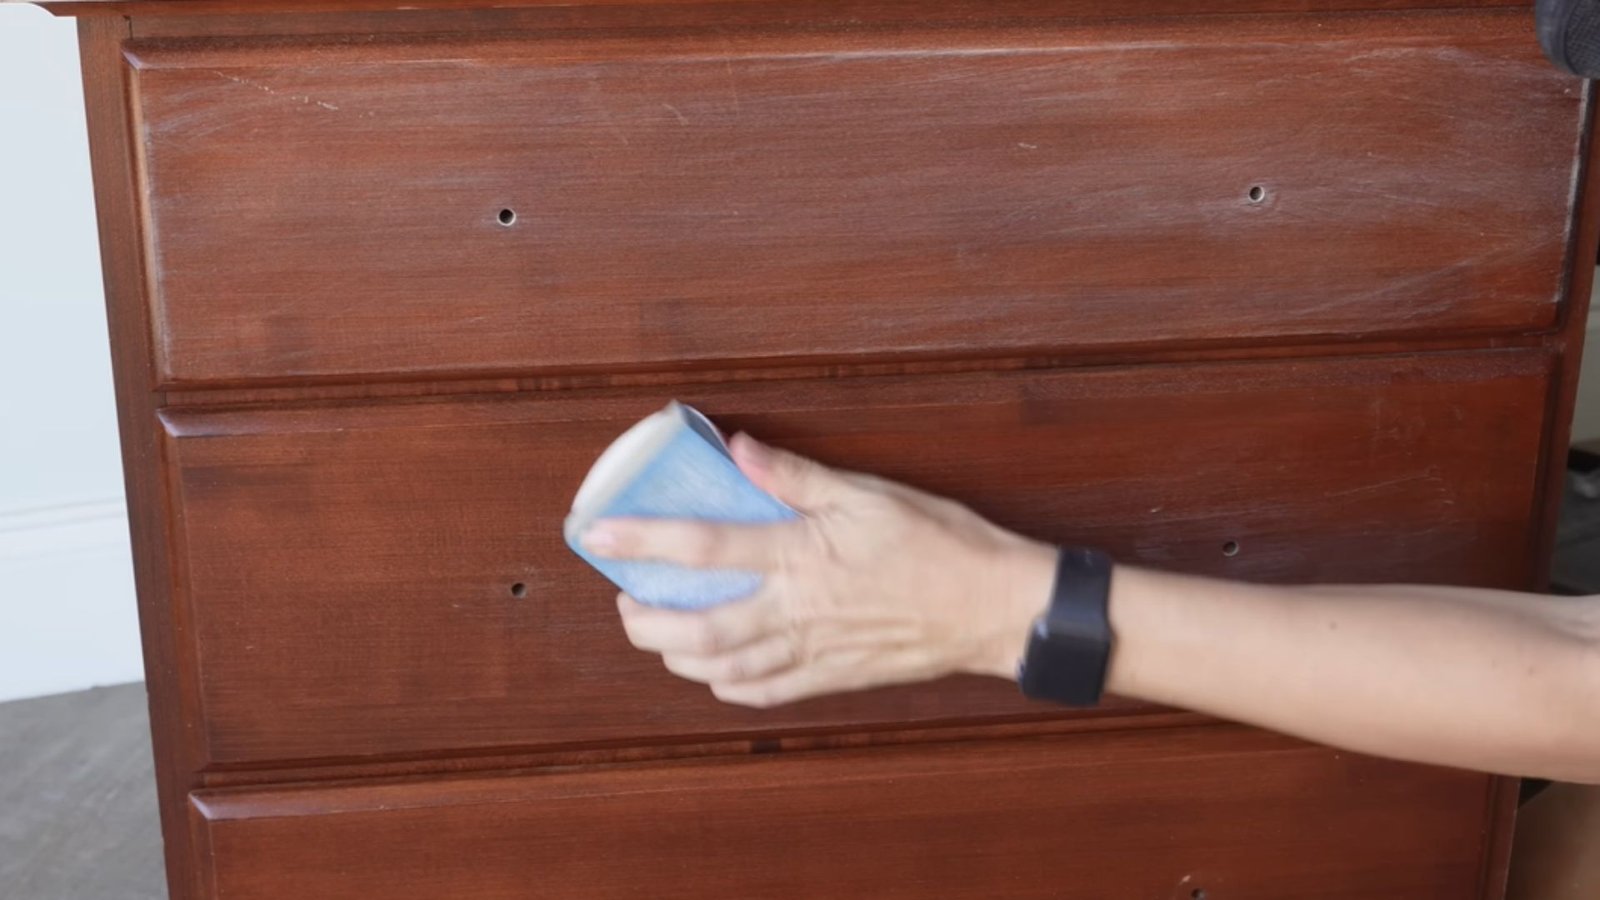
Start with 120-grit sandpaper to roughen the surface and remove any existing glossy finish. Follow up with 220-grit for a smoother base before priming.
You do not need to sand down to bare wood. A light, consistent pass over all surfaces is usually enough for primer to grip.
If using chalk paint, light sanding or skipping it entirely is sometimes acceptable. Check the product guidance for your specific paint.
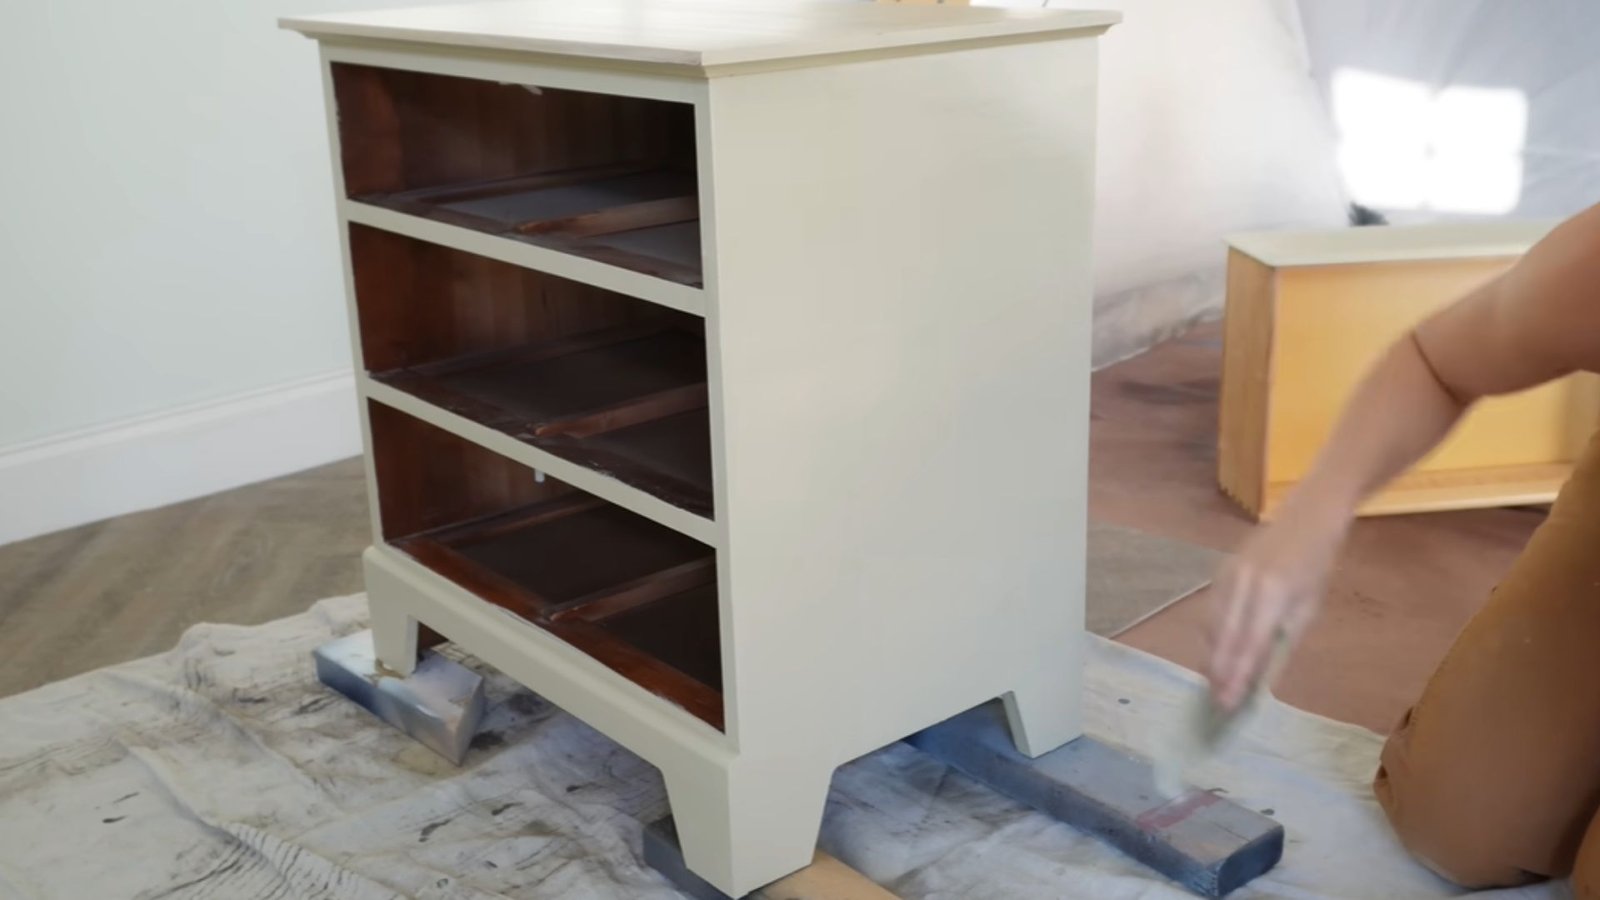
Step 5: Apply Primer

Primer is what makes paint stick and last. Skipping it almost always leads to chipping or peeling within months.
For wood, a standard furniture primer works well. For laminate, use a bonding primer designed for slick surfaces.
Apply in thin, even coats using a foam roller on flat surfaces and a brush on edges. Let it dry fully before adding paint.
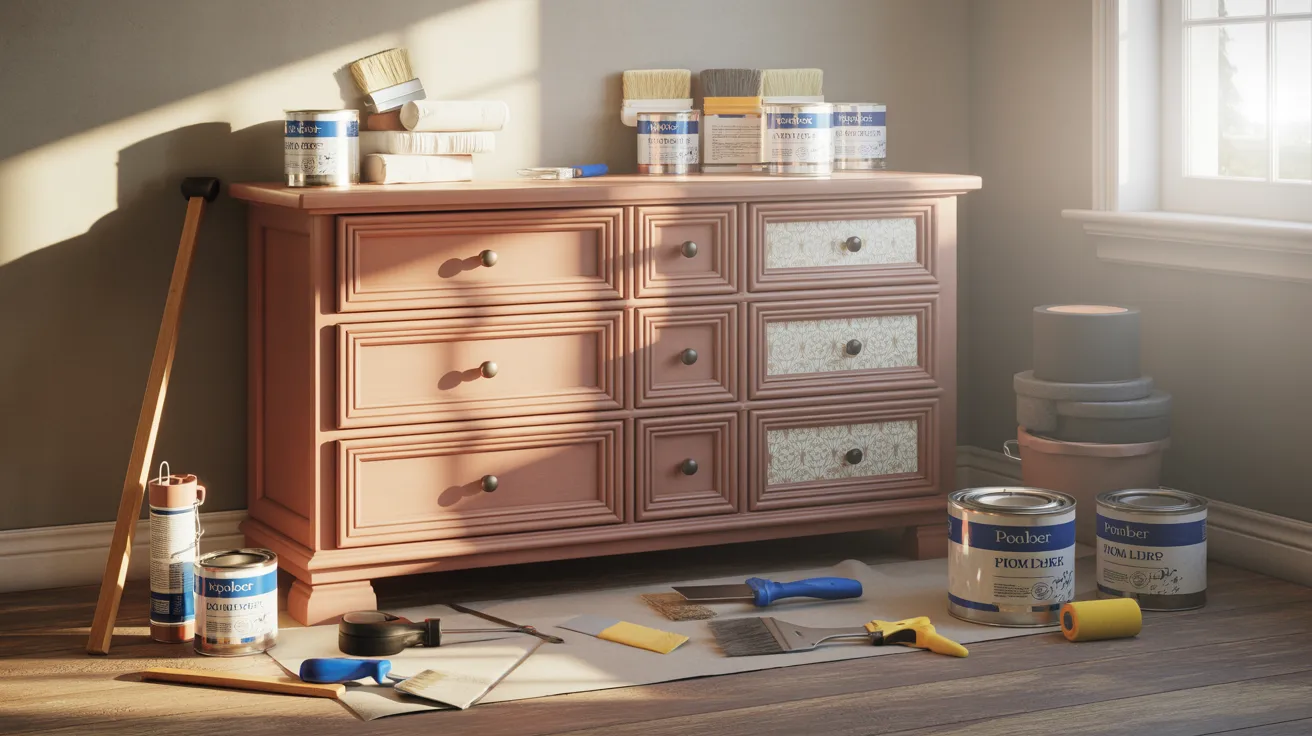
Step 6: Paint or Add Decorative Finishes
Apply your first coat of paint in thin, even strokes. Thin coats dry faster, adhere better, and build a more even finish than one thick coat.
Let the first coat dry, sand lightly with 220-grit, then apply the second. This removes brush marks and keeps the surface smooth.
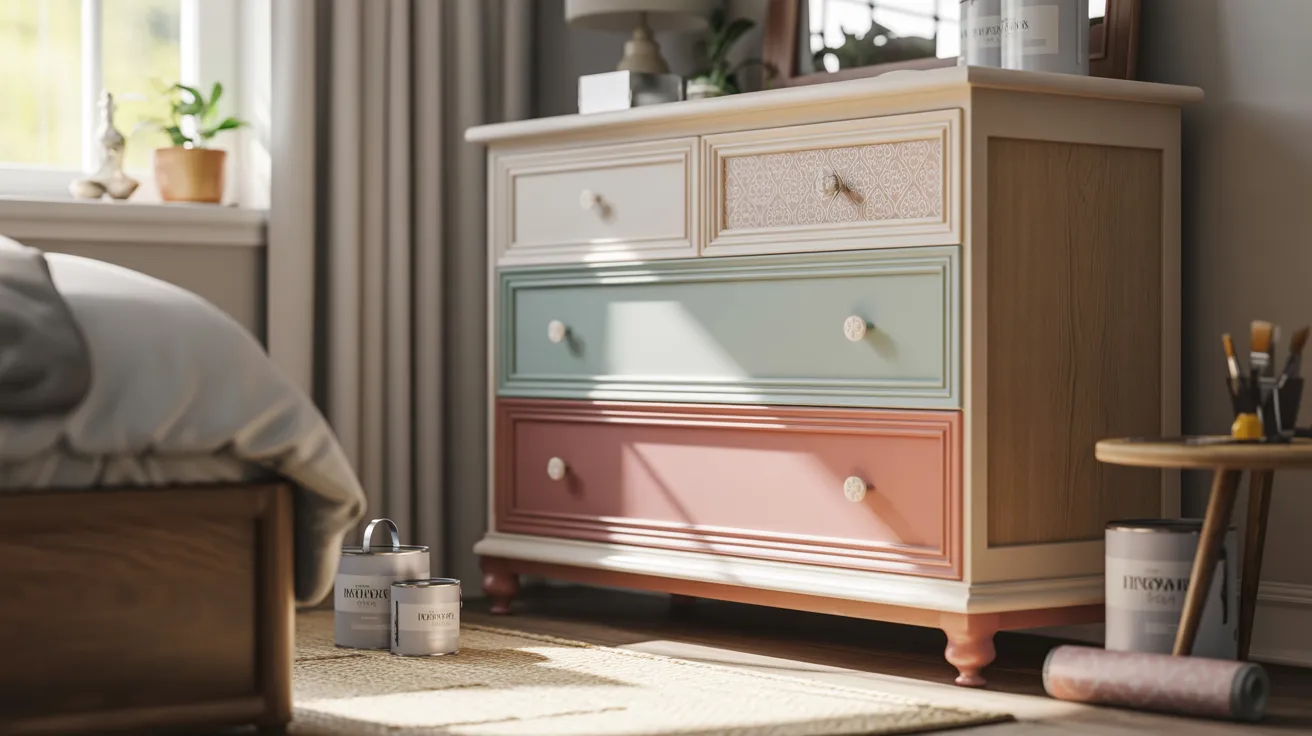
For a creative diy dresser makeover, try a two-tone finish. Paint the body one color and the drawer fronts another for a layered look.
A diy dresser makeover with wallpaper on the drawer fronts is one of the most popular current trends. Cut it to size, apply cleanly, and seal the edges for a custom result.
For a vintage look, lightly distress the painted edges with fine sandpaper after the final coat dries.
Step 7: Reassemble and Style
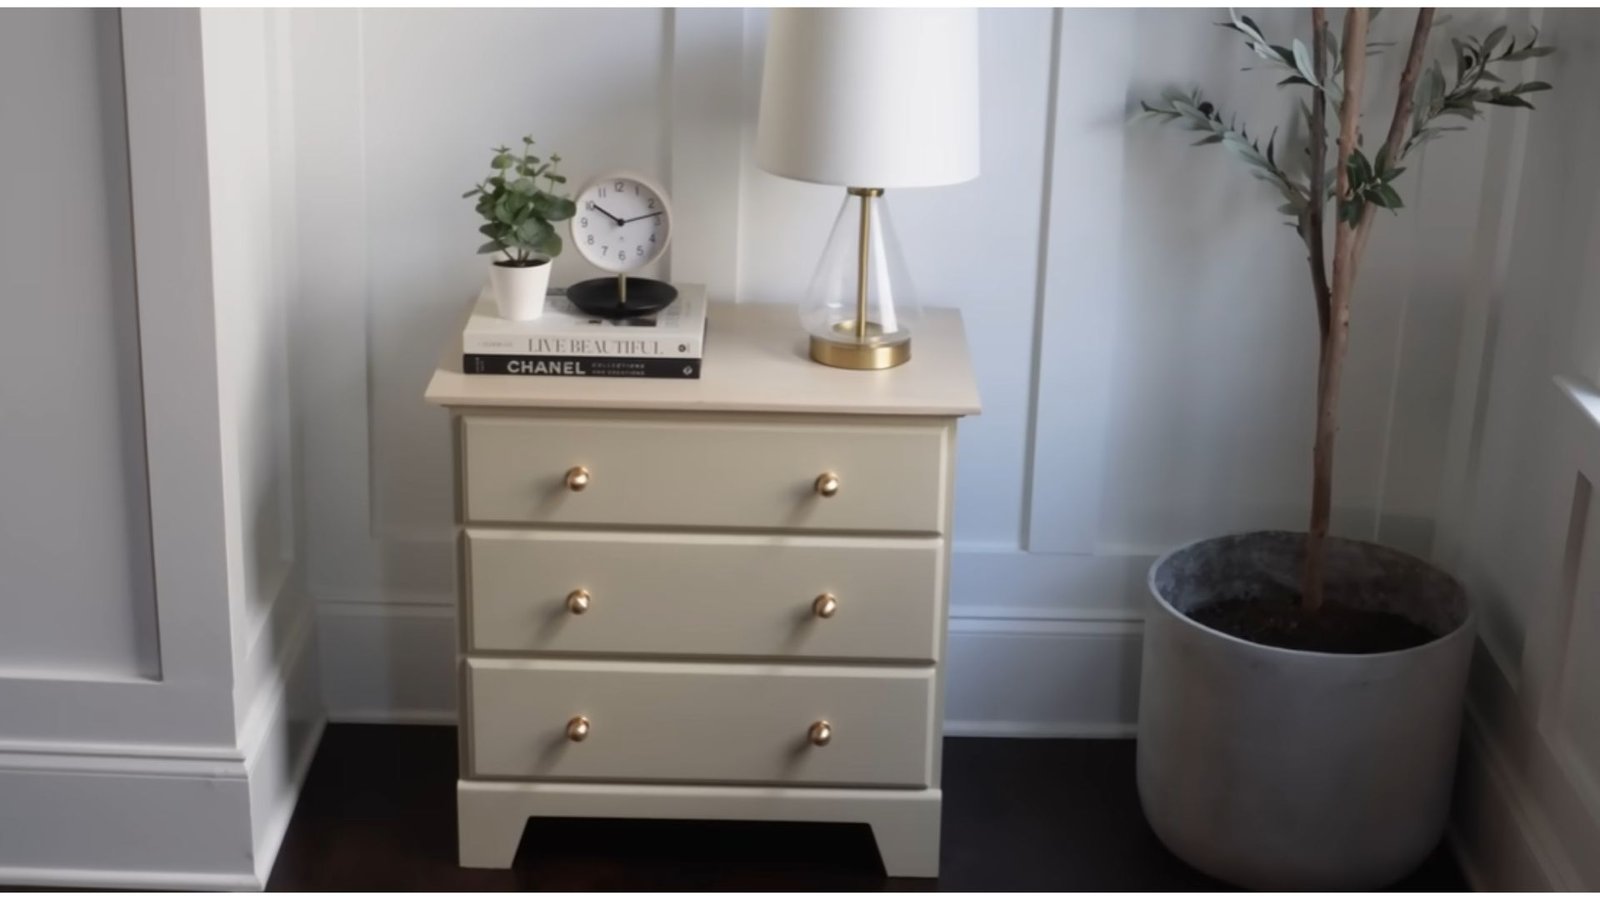
Install new knobs or pulls before sliding the drawers back in. New hardware makes a bigger visual difference than most people expect.
Let the paint cure fully before heavy use. Most paints feel dry within hours but take several days to fully harden. Avoid rough use during this window.
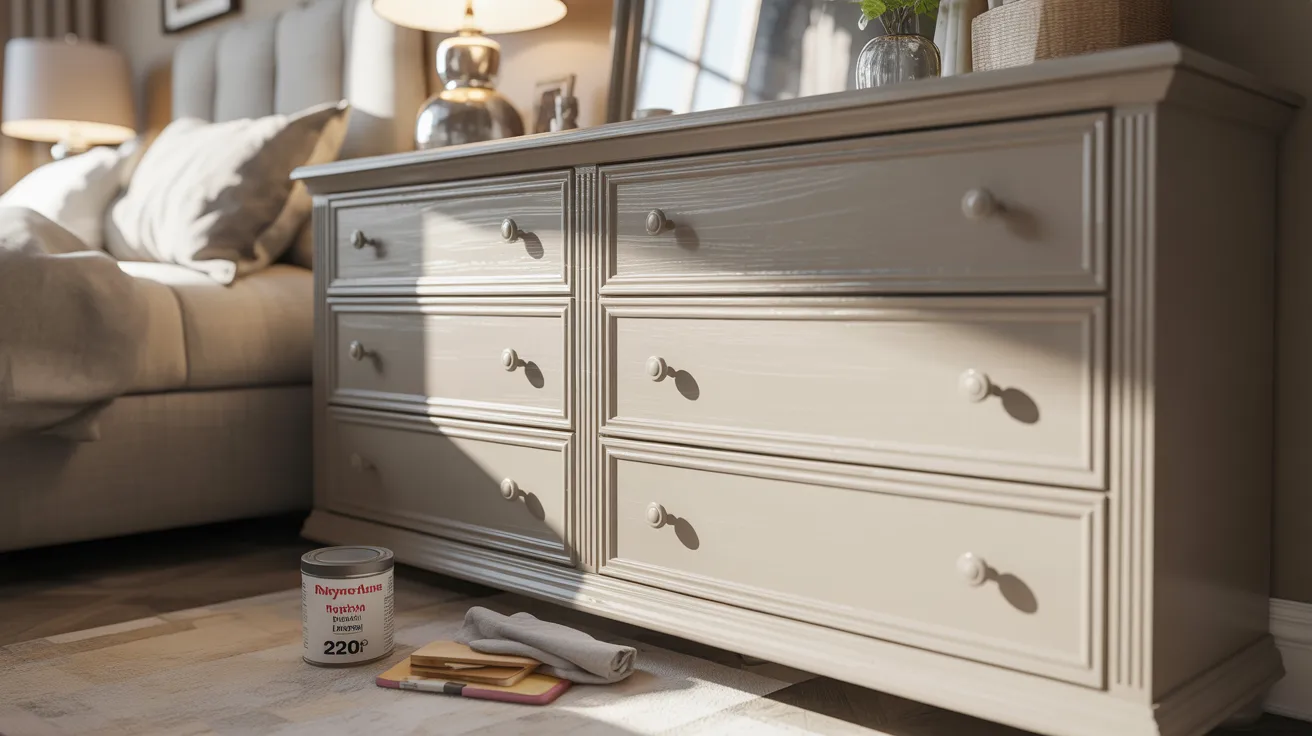
Style the top simply. A mirror, a small plant, and one or two objects is enough. Let the makeover itself be the main focus.
Common DIY Dresser Makeover Mistakes to Avoid
Most problems during a diy dresser makeover are easy to prevent. Knowing what goes wrong before you start saves real time and frustration.
- Skipping sanding or cleaning. Paint on a dirty or glossy surface will not bond and will peel sooner than expected.
- Using regular wall paint. It is not designed for furniture. Use chalk, latex furniture paint, or acrylic for a finish that holds up.
- Applying thick coats. Thick paint runs, takes longer to dry, and often cracks as it cures. Always build up in thin layers.
- Not letting paint cure. Dry to the touch is not fully cured. Give the dresser at least 48 to 72 hours before normal use.
- Keeping old hardware. Dated pulls on a freshly painted dresser undermine the whole result. New hardware costs little and changes everything.
Cost Breakdown of a DIY Dresser Makeover
Most diy dresser makeover projects cost a fraction of what a new dresser would. Here is a general breakdown.
| Item | Estimated Cost |
|---|---|
| Primer | $8 to $15 |
| Paint | $12 to $30 |
| Sandpaper | $5 to $10 |
| New hardware | $10 to $40 |
| Wallpaper or contact paper | $10 to $25 |
| Sealant | $8 to $20 |
| Total | $50 to $140 |
A comparable new dresser typically starts at $200 and runs well beyond $500 for quality pieces. The DIY route delivers a more personal result at a fraction of the cost.
How to Make Your DIY Dresser Look Professional
Use thin coats of paint throughout. Multiple thin coats always beat one thick coat for smoothness and durability.
Sand lightly between coats with 220-grit paper. It takes five minutes and makes the final surface noticeably smoother.
Upgrade the hardware without compromise. Even a beautiful paint job looks unfinished with cheap or dated knobs.
Seal the finished surface with polyurethane or furniture wax. This is the step that separates dressers that look good for years from ones that chip within months.
Style the top simply. A cluttered dresser pulls attention away from the makeover itself.
Final Thoughts
That dresser almost ended up on the curb. Now it is the first thing people notice when they walk into the room.
The gap between trash and treasure is usually just a weekend and the right approach.
You already have everything you need to get started. The dresser is sitting there right now.
Pick your color, grab your supplies, and start this weekend. You will not regret it.
Drop a comment below and tell me which finish you are going with. And if this helped, share it with someone who keeps walking past an old piece of furniture and doing nothing about it.
Frequently Asked Questions
What is the easiest DIY dresser makeover for beginners?
Painting the dresser and swapping out the hardware is the simplest starting point. It requires minimal tools and delivers a noticeable result quickly.
Do I need to sand a dresser before painting?
Light sanding is recommended because it helps primer and paint bond to the surface properly and last longer.
Can I do a DIY dresser makeover without painting?
Yes. Contact paper, a diy dresser makeover with wallpaper, new hardware, or peel-and-stick overlays all update a dresser without any paint.
What type of paint works best for dresser makeovers?
Chalk paint, latex furniture paint, and acrylic paint are the most popular options and all hold up well to regular use.
How long does a DIY dresser makeover take?
Most projects take one to two days from start to finish, including drying and curing time between coats.