I bought a stock tank pool thinking it would look cool. It did not. It looked like a metal tub sitting in my backyard. That changed the day I built a deck around it.
One weekend, some lumber, and the whole setup looked like something out of a magazine.
But finding decent stock tank pool deck plans that actually made sense was harder than the build itself.
So I put together this step-by-step guide for anyone who wants the finished result without the guesswork. What I found along the way might save you a lot of time.
Why Build a Deck Around a Stock Tank Pool

A stock tank pool on its own is functional. But getting in and out of a round metal tub without any kind of platform is awkward. A deck fixes that immediately and makes the whole experience better.
It also changes how the space looks. A bare tank in the grass feels temporary. Add a deck and it looks like something you planned and built on purpose.
You also get somewhere to put things. Towels, drinks, a chair. Even a small deck adds usable surface area around the pool that makes a real difference on a hot day.
And it works in smaller backyards too. You do not need a huge outdoor space to make a stock tank pool deck work well.
Step-by-Step Stock Tank Pool Deck Plans (DIY Guide)
These steps are written for someone building their first deck. No advanced tools, no complicated techniques. Just a clear sequence that gets the job done right.
Step 1: Choose the Right Location
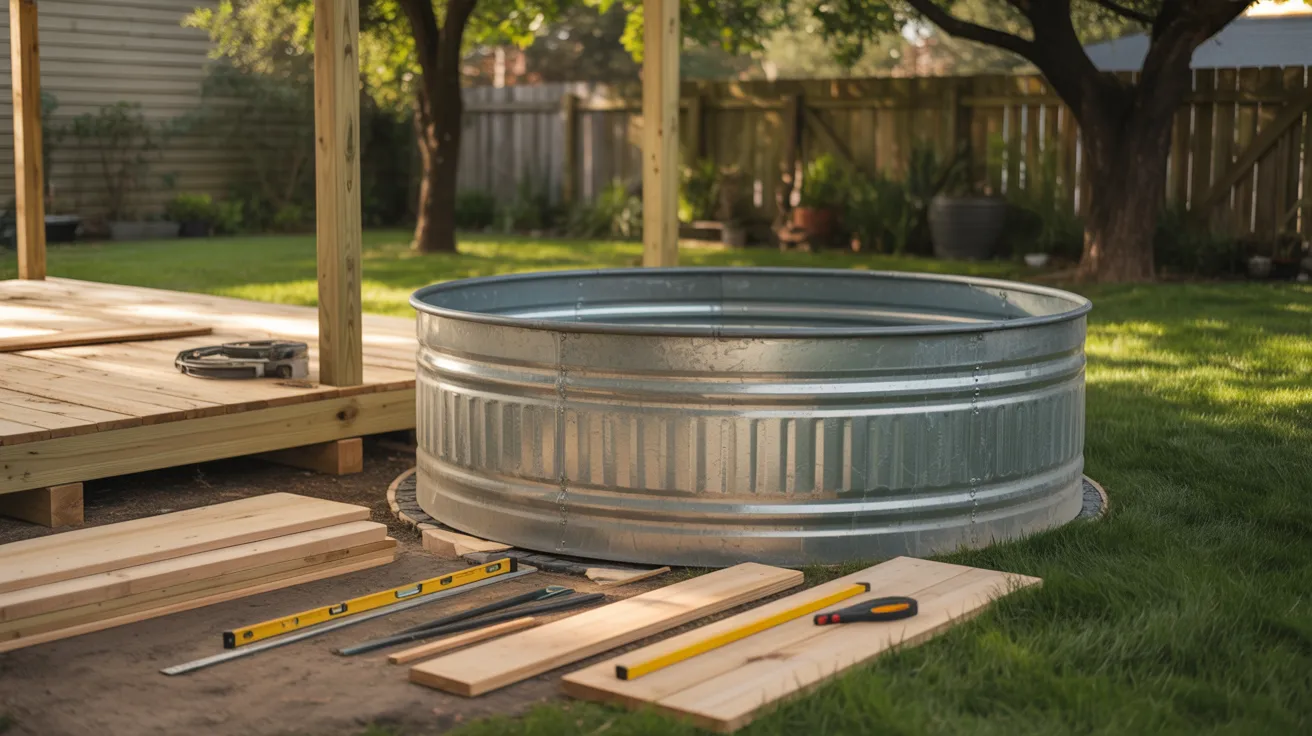
Start with level ground. Even a slight slope causes problems with the frame later, so take time here before anything else.
Check that water drains away from the area. You do not want rainwater or splashed pool water pooling under the deck over time.
Think about sunlight and privacy too. Most people want afternoon shade and some separation from neighbors. A few extra minutes of planning here saves a lot of frustration later.
Keep the pool at a safe distance from fences, walls, and structures. Give yourself room to move around all sides during both building and maintenance.
Step 2: Measure Your Pool and Plan the Deck Layout
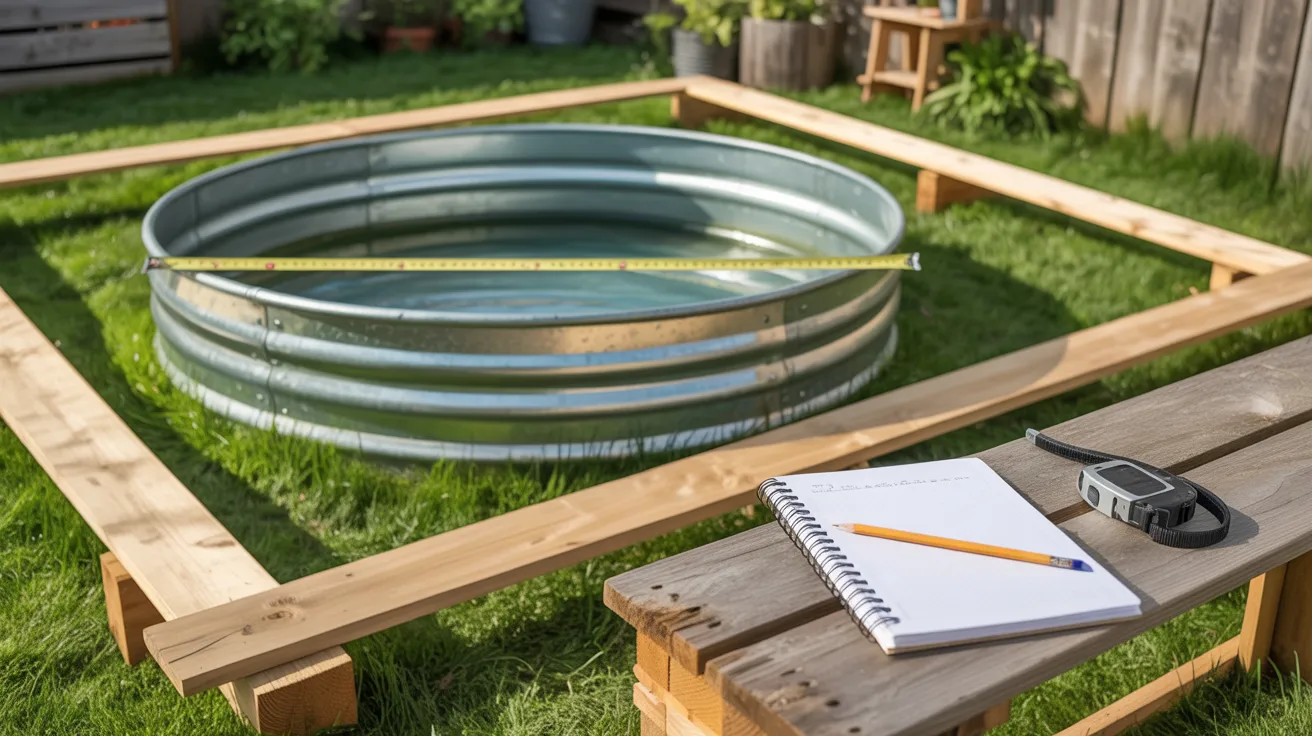
Measure the diameter of your tank. Most stock tanks run between 6 and 10 feet wide. Write that number down because everything else is built around it.
Decide what style of deck you want. A half deck sits on one side for entry and exit. A surround deck wraps all the way around. A platform deck raises the whole pool onto a flat structure. Each one has a different cost and complexity level.
Whatever layout you pick, leave clear access to the pool filter and drain. You will need to reach those points regularly, and boxing them in is a mistake you will notice quickly.
Step 3: Gather Materials and Tools

For most basic stock tank pool deck plans, you will need pressure-treated lumber for the frame, deck screws, concrete deck blocks or footings, and joist hangers.
On the tool side, you need a drill, a circular saw, a level, and a measuring tape. That covers the basics for a straightforward build.
If budget allows, composite decking boards are worth considering. They resist moisture and splashing better than standard wood and last longer without much maintenance.
Step 4: Build the Deck Foundation

Mark out the perimeter of your deck on the ground before you dig or place anything. Use stakes and string to keep the layout straight.
Set your deck blocks or concrete footings at each corner and along the frame at regular intervals. These carry the weight of the whole structure, so do not rush this part.
Place your support posts on the footings and check level in both directions. Adjust under the blocks if needed.
The deck structure should sit slightly above the ground, not flush with it. That small gap allows water to drain away rather than sitting under the frame.
Step 5: Construct the Frame
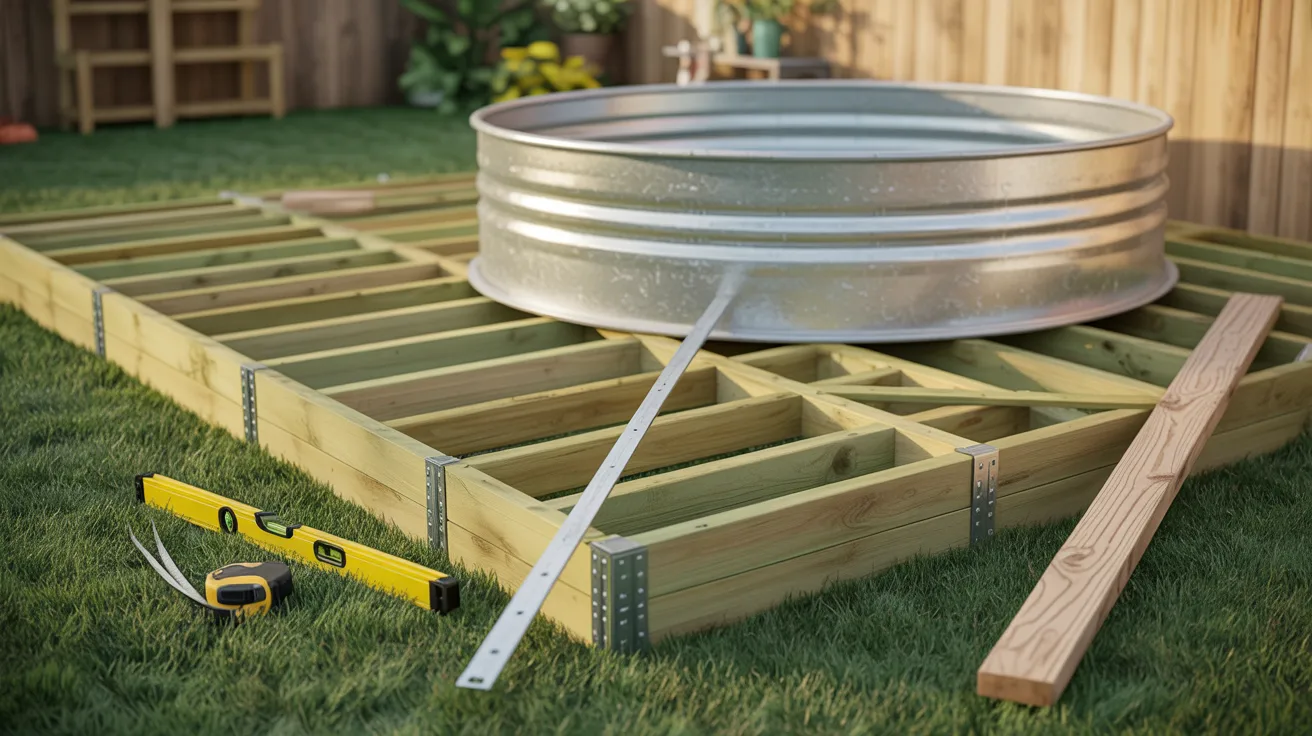
Build your outer frame first, then add joists running across the inside at 12 to 16 inch intervals. Closer spacing means a stronger, sturdier deck surface.
If your pool is round, you may need to angle some frame sections to follow the curve. Take your time with the cuts here. Gaps in the framing show up later.
Add cross-bracing between joists for extra strength, especially if kids will be using the deck regularly.
Check level again before moving on. A frame that is off even slightly will cause problems when the boards go down.
Step 6: Install Deck Boards

Lay your boards perpendicular to the joists and work from one end to the other. Keep a small gap between each board, around an eighth of an inch. This lets water drain through instead of sitting on the surface.
Where the deck meets the pool, you will likely need to cut boards to follow the curve of the tank. A jigsaw makes this much easier than a circular saw for curved cuts.
Secure every board with corrosion-resistant screws. Regular screws rust fast when they are near water, so do not skip this detail.
Step 7: Add Finishing Touches

Run a sander or sanding block over any rough edges or splinters before anyone walks on the deck barefoot. It takes twenty minutes and makes a big difference.
Add steps if the deck sits more than a few inches off the ground. Railings are worth adding too, especially if children or older adults will use the pool.
Seal or stain the wood before the first rain hits it. This protects the lumber and keeps it looking good for years instead of months.
Outdoor string lights, a small side table, or a couple of folding chairs finish the space and make it feel like somewhere you actually want to spend time.
How Much Does It Cost to Build a Stock Tank Pool Deck?

The cost really depends on how big you go and what materials you choose. A basic budget deck using simple lumber and deck blocks runs between $150 and $400.
A mid-range build with better materials, steps, and a larger footprint typically lands between $400 and $900. That range covers most backyard setups comfortably.
If you go with composite decking, add railings, and build a full surround deck for a larger tank, costs can reach $900 to $2,000 or more.
The two biggest cost factors are deck size and material choice. Keeping the layout simple and using standard pressure-treated lumber is the fastest way to keep the budget in check.
Common Mistakes to Avoid When Building a Stock Tank Pool Deck
Most of the problems people run into with stock tank pool deck plans come down to a few avoidable errors. Knowing them ahead of time saves you from tearing things apart and starting over.
- Blocking pool pump and drain access. Always leave a gap or a removable panel near the filter and drain before you lock the frame in place.
- Building the deck too tight around the tank. Metal expands in heat. Leave a small gap between the deck frame and the pool wall.
- Skipping the leveling step. An unlevel foundation shifts over time and leads to gaps, wobbles, and cracked boards.
- Using untreated wood. Untreated lumber near water warps and rots within a season. Always use pressure-treated or naturally weather-resistant wood.
- Ignoring drainage around the pool. Water that sits under or beside the deck breeds mold and speeds up wood decay significantly.
A little extra care during the build saves you from expensive fixes down the line. Build it right the first time and the deck will last for years.
Final Thoughts
A metal tub becomes a backyard feature you are actually proud of. That is what a good deck does.
The build is more forgiving than it looks. And the result is worth every hour you put into it.
Now it is your turn. Pick your layout, grab your materials, and start this weekend. You do not need to be a pro to get a result that looks like one.
Drop a comment below and tell me what size tank you are working with. And share this with someone who needs a summer project right now.
Frequently Asked Questions
What size deck should I build for a stock tank pool?
Most people build decks slightly larger than the pool diameter, leaving 12 to 24 inches of space around the edges for walking and maintenance access.
Do stock tank pool decks need a foundation?
Yes. Deck blocks, a gravel base, or concrete footings keep the deck stable and level over time.
What wood is best for a stock tank pool deck?
Pressure-treated lumber is the most common choice, but cedar and composite decking offer better durability and moisture resistance.
Can I build a stock tank pool deck without advanced carpentry skills?
Yes. Most stock tank pool deck plans use simple framing methods that beginners can follow without any prior building experience.
How long does it take to build a DIY pool deck?
Most people can finish a basic deck in a single weekend as long as all materials are gathered and cut before starting.